
The Anatomy and Purpose of a Red Electrical Outlet
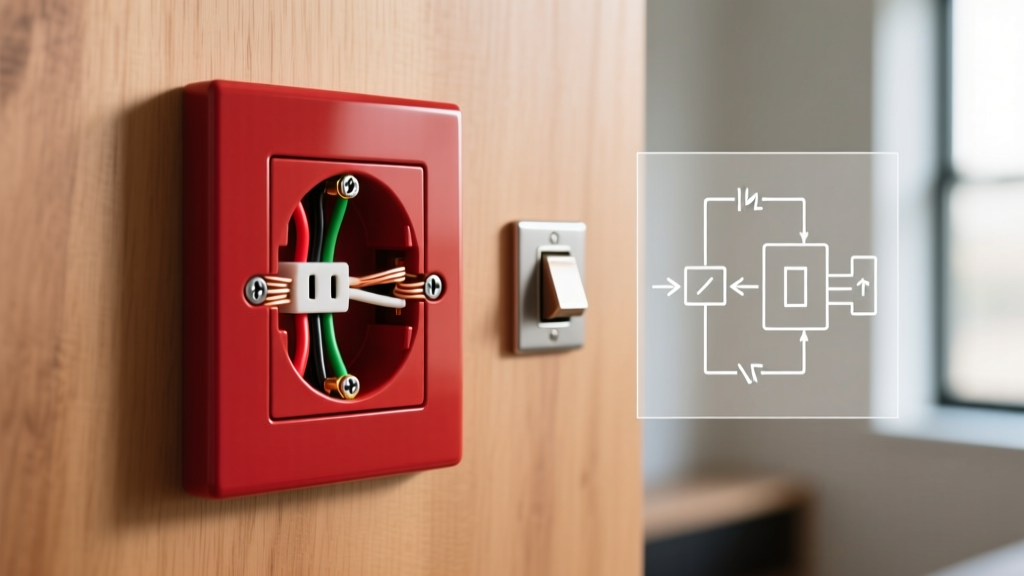
When wiring a residential or commercial space, the color of a receptacle is rarely an arbitrary aesthetic choice. While standard white and ivory duplex receptacles handle the bulk of general-purpose branch circuits, a red electrical outlet serves as a critical visual indicator for specialized circuits. In the electrical trade, color-coding prevents dangerous misconnections, aids in rapid troubleshooting, and ensures compliance with local Authority Having Jurisdiction (AHJ) mandates.
Unlike orange receptacles—which universally denote Isolated Ground (IG) circuits for sensitive medical or data equipment—red receptacles primarily signal two distinct applications: switch-controlled (half-hot) circuits and standby/emergency generator power. Understanding the material specifications, National Electrical Code (NEC) requirements, and physical wiring mechanics of red receptacles is essential for any 2026 electrical upgrade or new construction project.
Primary Applications: Switched vs. Standby Circuits
1. Switch-Controlled (Half-Hot) Receptacles
In residential living rooms and bedrooms, building codes require that at least one wall-switch-controlled lighting outlet be installed. Instead of hardwiring a ceiling fixture, electricians often use a red duplex receptacle to indicate that one half of the outlet is controlled by a wall switch, while the other half remains constantly hot. The red color alerts homeowners and maintenance personnel not to plug critical devices (like a CPAP machine or a refrigerator) into the switched half, where power could be inadvertently cut.
2. Standby Generator and Emergency Power
In commercial facilities and high-end residential builds with whole-home backup generators, red receptacles are frequently used to identify circuits backed by the standby system. During a grid failure, non-essential circuits are shed to conserve generator capacity. A red outlet visually confirms to the user that the device plugged into it will remain powered during an outage, or conversely, warns them that the circuit is on a specialized transfer switch.
Expert Note on Color Confusion: Do not confuse red receptacles with orange receptacles. Orange denotes an Isolated Ground (IG) receptacle, designed to reduce electromagnetic interference (EMI) for sensitive IT and medical equipment by routing the ground directly to the main panel. Red denotes switched or standby power. Always verify the internal strap configuration before purchasing.
Material Comparison Matrix: Standard vs. Red vs. Orange
| Receptacle Color | Primary Function | Internal Strap | Common Environments |
|---|---|---|---|
| White/Ivory | General Purpose Power | Intact (Both halves always hot) | Kitchens, bedrooms, garages |
| Red | Switched / Standby Power | Often broken on hot side (for half-hot) | Living rooms, commercial standby |
| Orange | Isolated Ground (IG) | Intact, isolated ground terminal | Hospitals, server rooms, studios |
Top Red Receptacle Models for 2026 Projects
When sourcing materials, avoid big-box generic brands that utilize low-grade brass contacts and brittle thermoplastic straps. Opt for commercial-specification grades (often labeled as 'Commercial' or 'Hospital Grade') which feature deeper wire wells and higher torque tolerances.
- Leviton 5262-R (15 Amp, 125 Volt, Commercial Grade): Priced between $3.15 and $3.85 per unit. This is the industry workhorse. It features a break-off plaster ear for easy alignment and a shallow profile that accommodates tight junction boxes. The hot-side break-off fin is scored deeply for clean removal with needle-nose pliers.
- Hubbell 5262R (15 Amp, Duplex, Commercial): Retailing for $4.20 to $5.10. Hubbell's commercial line features superior brass contact tension, reducing the risk of arcing and voltage drop over time. Ideal for commercial standby circuits where reliable plug retention is paramount.
- Eaton/Cooper 270-RED (Residential Grade): Available for $1.80 to $2.40. Suitable for low-budget residential flipped homes, but lacks the reinforced yoke and back-wire clamps of the commercial grades. We recommend side-wiring only if using this model.
Step-by-Step Wiring: Creating a Switched Half-Hot Red Outlet
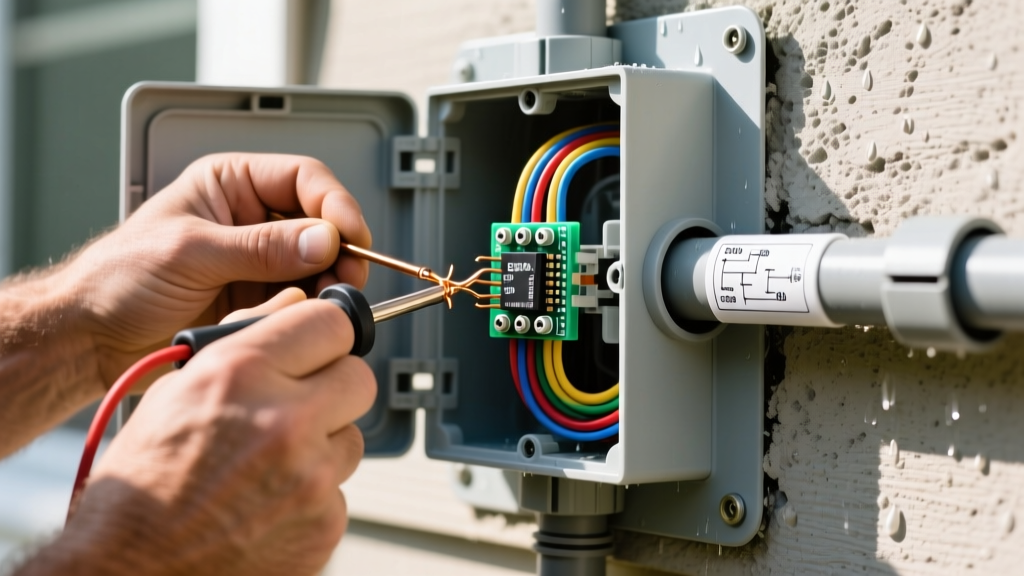
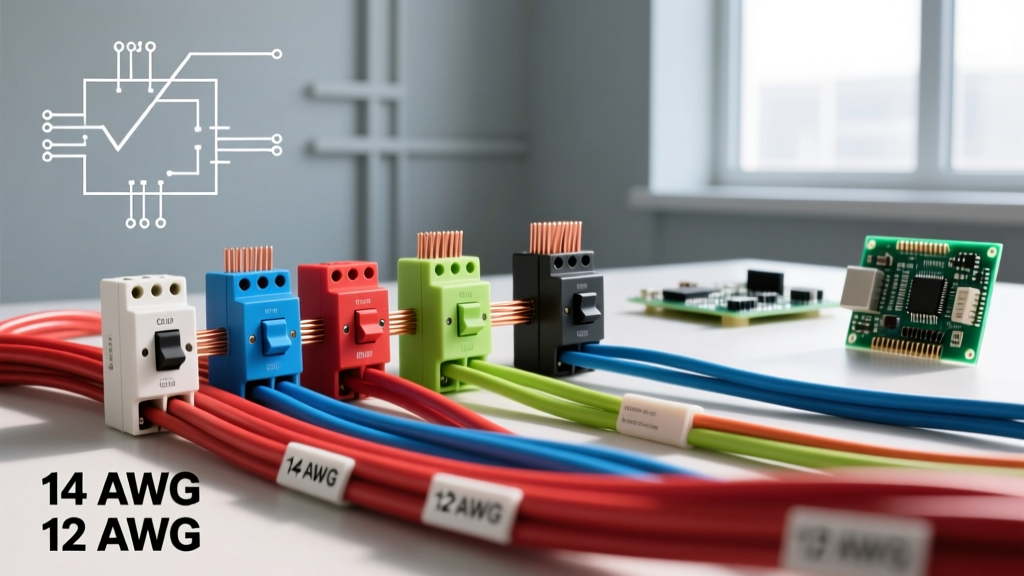
Wiring a red receptacle for a half-switched application requires splitting the hot circuit. This is achieved using a 3-wire cable (e.g., 14/3 or 12/3 NM-B Romex) running from the switch to the outlet. Always use a calibrated torque screwdriver to meet 2026 NEC termination standards.
- Prepare the Receptacle: Using needle-nose pliers, grip the small brass fin (break-off tab) on the hot side (the side with the brass screws) between the top and bottom terminals. Bend it back and forth until it snaps off completely. Do not break the tab on the nickel/ground side.
- Connect the Neutrals: Splice the white neutral wires (from the panel and the switch cable) together with a Wago 221 lever nut or wire nut, and run a single white pigtail to the top silver screw on the receptacle. Torque to 14 in-lbs.
- Wire the Constant Hot: Connect the black wire (always hot from the panel) to the bottom brass screw. This ensures the bottom half of the red outlet has continuous power.
- Wire the Switched Hot: Connect the red wire (the switched leg returning from the wall switch) to the top brass screw. Now, the top half of the outlet is controlled by the switch.
- Grounding: Connect the bare copper ground wires to the green grounding screw. If using a metal junction box, ensure the box itself is bonded to the ground system via a grounding pigtail or self-grounding receptacle strap.
Critical NEC Codes and AHJ Requirements
While the NEC does not universally mandate the color red for switched receptacles in all residential applications, it strictly governs the identification of specialized circuits. According to the National Fire Protection Association (NFPA), which publishes the NEC, emergency and standby systems have strict identification rules.
Specifically, NEC Article 702.7 requires that circuits connected to optional standby systems (like residential generators) be identified. Many local AHJs adopt the red receptacle as the standard visual identifier for these circuits to prevent overloading the generator with non-essential loads. Furthermore, OSHA regulations regarding wiring methods emphasize that all receptacles must be installed in a manner that prevents strain on terminal screws, reinforcing the need for commercial-grade models with robust wire clamps rather than residential back-stab connections.
For advanced troubleshooting and code interpretations, electrical professionals frequently consult resources like Mike Holt Enterprises, which provides exhaustive breakdowns of AHJ enforcement variances regarding receptacle color-coding and AFCI/GFCI requirements on switched circuits.
Troubleshooting Common Red Outlet Failures
When diagnosing issues with red electrical outlets, the failure modes usually stem from installation errors rather than defective materials.
- Both Halves are Switched: The most common error. The electrician failed to break the brass hot-side fin. The entire outlet will only receive power when the wall switch is flipped. Fix: Turn off the breaker, pull the receptacle, and snap the brass tab.
- Both Halves are Constant Hot: The switched red wire from the 3-wire cable is either disconnected at the switch, or the wall switch itself has failed. Verify voltage at the switch box using a non-contact voltage tester and a multimeter.
- Intermittent Power on Switched Half: This is almost always caused by 'backstabbing' (pushing the wire into the quick-wire holes on the back of the receptacle). Switched loads, particularly inductive ones like lamps with smart bulbs or transformers, create micro-arcing when the switch is toggled. This arcing degrades the weak internal spring of a backstabbed connection. Fix: Always use the side-screw terminals or the screw-clamp back-wiring feature on commercial-grade Leviton or Hubbell models.
- AFCI Breaker Tripping: If the red outlet is on an AFCI-protected circuit (required in most living spaces), a shared neutral or a ground fault at the switch loop will trip the breaker. Ensure the neutral from the switch loop is isolated from other circuits in the junction box.
Final Material Recommendations
Investing in high-quality red receptacles pays dividends in safety and longevity. For 2026 installations, always pair your commercial-grade red outlets with screw-down wall plates (not snap-on) to ensure a flush fit, especially when dealing with the slightly deeper profiles of commercial yokes. Keep a dedicated stock of 14/3 and 12/3 NM-B wire, Wago 221 lever nuts, and a Wiha insulated torque screwdriver in your inventory to ensure every switched and standby circuit you build meets the highest professional standards.