
The Hidden Culprit Behind Outlet Failures: Wrong Tool, Stripped Screws
When a standard 15A or 20A residential receptacle fails, overheats, or causes voltage drops, most DIYers immediately blame the $3 outlet. However, in 2026, the most common root cause of terminal failure isn't the receptacle itself—it is the improper use of a worn or incorrectly sized electrical outlet screwdriver. According to the National Fire Protection Association (NFPA), loose electrical connections are a leading cause of residential electrical fires. A loose connection creates high resistance, generating excessive heat under load. While the National Electrical Code (NEC) 110.14 mandates that connections be tight, you cannot achieve a secure termination if your screwdriver tip cam-outs and strips the soft brass terminal screw.
Why Standard Hardware Store Screwdrivers Fail at the Receptacle
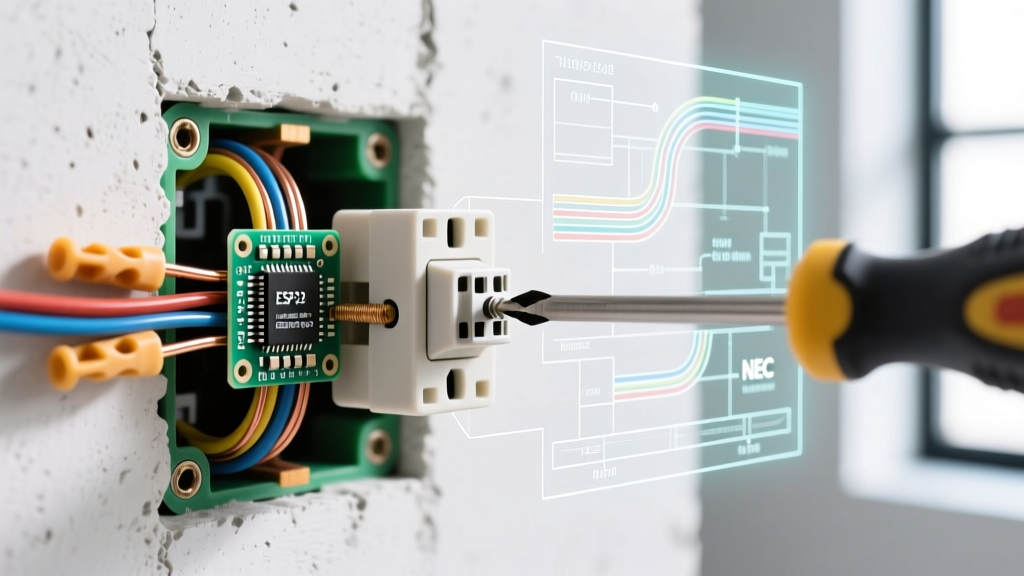
Modern Tamper-Resistant (TR) receptacles feature deep, narrow terminal wells designed to prevent accidental contact with live parts. Standard hardware store screwdrivers often have shafts that are too thick to reach the terminal screw at a 90-degree angle. When forced in at an angle, the tip fails to seat fully in the screw head. This misalignment causes 'cam-out'—the slipping of the driver tip—which rapidly destroys the cross-slots on soft brass screws.
The Physics of Brass Creep and Thermal Cycling
Brass terminal screws are susceptible to thermal cycling. As current flows, the wire and screw heat up and expand; when the load stops, they cool and contract. If the initial torque was compromised by a slipping screwdriver, this expansion and contraction will gradually work the screw loose. A precision-fitting electrical outlet screwdriver ensures maximum surface contact between the driver tip and the screw head, allowing you to apply the necessary 12 to 14 inch-pounds of torque required for a lasting connection.
Screwdriver Tip Types vs. Outlet Terminal Screws
Using the exact tip geometry for the specific receptacle brand and grade is critical. Here is a diagnostic matrix for matching your tool to the terminal:
| Screwdriver Tip | Best Application | Torque Transfer | Cam-Out Risk |
|---|---|---|---|
| #2 Phillips | Standard Residential 15A (Leviton, Eaton) | Medium | High (if tip is worn) |
| #2 Square (Robertson) | Commercial/Spec Grade 20A (Hubbell, Pass & Seymour) | Very High | Extremely Low |
| 1/4' Slotted | Legacy/Vintage Receptacles (Pre-1980s) | Low | Very High |
| #1 Phillips | Light Switches (Never use on outlet terminals) | Low | Guaranteed Stripping |
Essential Specs for an Electrical Outlet Screwdriver in 2026
When troubleshooting live circuits or verifying multi-wire branch circuits (MWBCs), your tool must provide shock protection. The Occupational Safety and Health Administration (OSHA) strictly outlines the hazards of arc flash and shock during diagnostic work. Even if you have turned off the breaker, a shared neutral or backfed circuit can leave the terminal energized. Therefore, your electrical outlet screwdriver must meet specific safety and mechanical standards.
- IEC 60900 Certification: Look for the double-triangle symbol and a 1000V rating. This ensures the insulation is permanently bonded to the tool and tested for dielectric integrity, not just a slipped-on plastic sleeve.
- Slimline Shaft Profile: The shaft diameter must be narrow enough to navigate the deep recesses of modern 20A TR receptacles without binding against the plastic housing.
- Laser-Tipped or Machined Precision: High-end driver tips feature micro-etching that bites into the brass screw, drastically reducing the axial force required to keep the driver seated.
Step-by-Step Troubleshooting: Diagnosing Loose Connections
Follow this diagnostic workflow when an outlet shows signs of intermittent power, heat, or voltage drop.
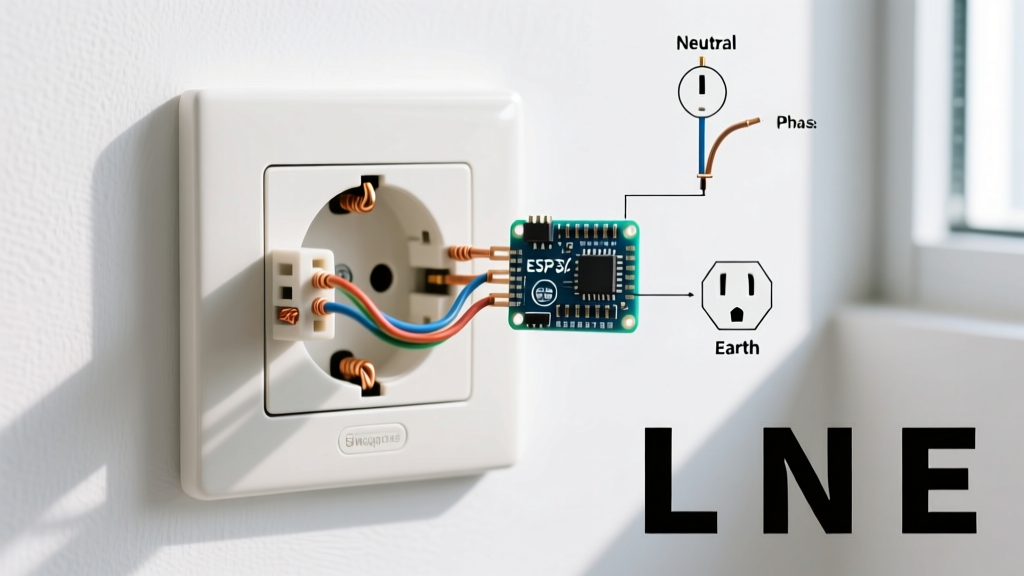
- Isolate and Verify: Turn off the breaker. Use a non-contact voltage (NCV) tester, followed by a digital multimeter to confirm 0V between hot, neutral, and ground.
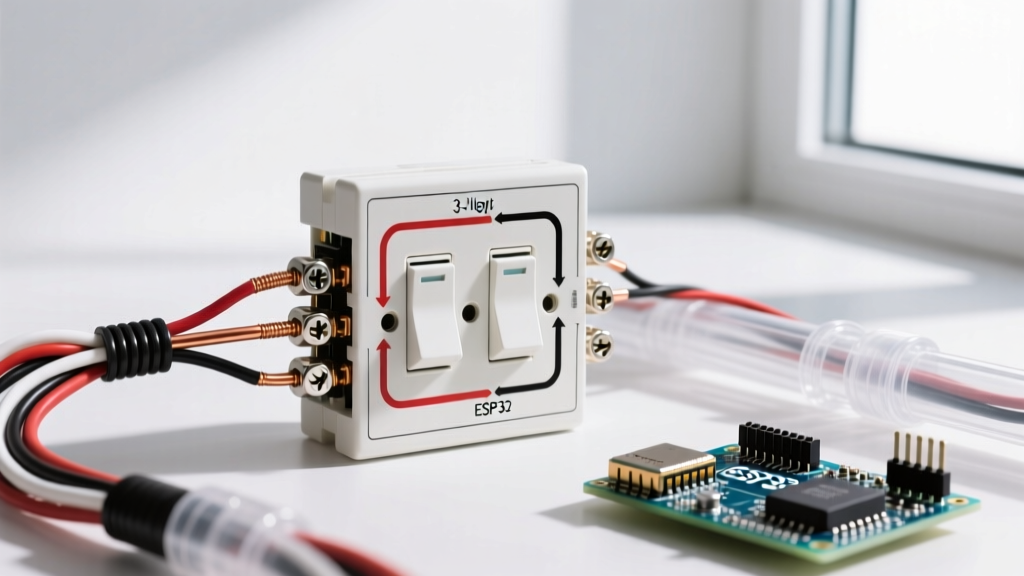
- Extract and Inspect: Unscrew the faceplate and extract the receptacle. Inspect the wiring method. If the wires are 'backstabbed' (pushed into the rear spring-loaded holes), this is likely your failure point. Backstab connections are notorious for loosening over time.
- Diagnose the Terminal Screw: Examine the brass screw heads. Is there black carbon tracking (soot)? Are the Phillips slots rounded out? If the screw is stripped, do not attempt to reuse it. The mechanical integrity is compromised.
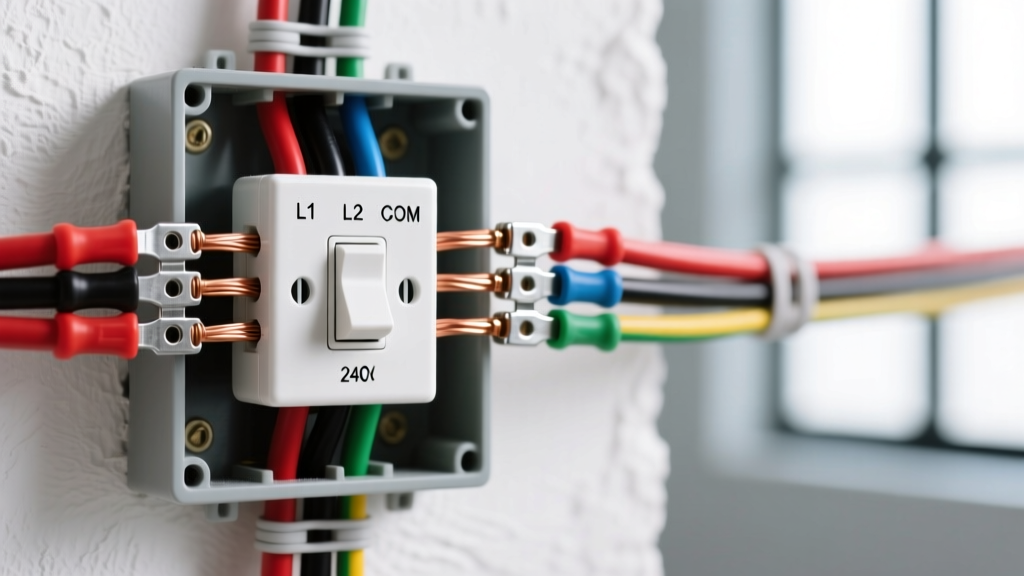
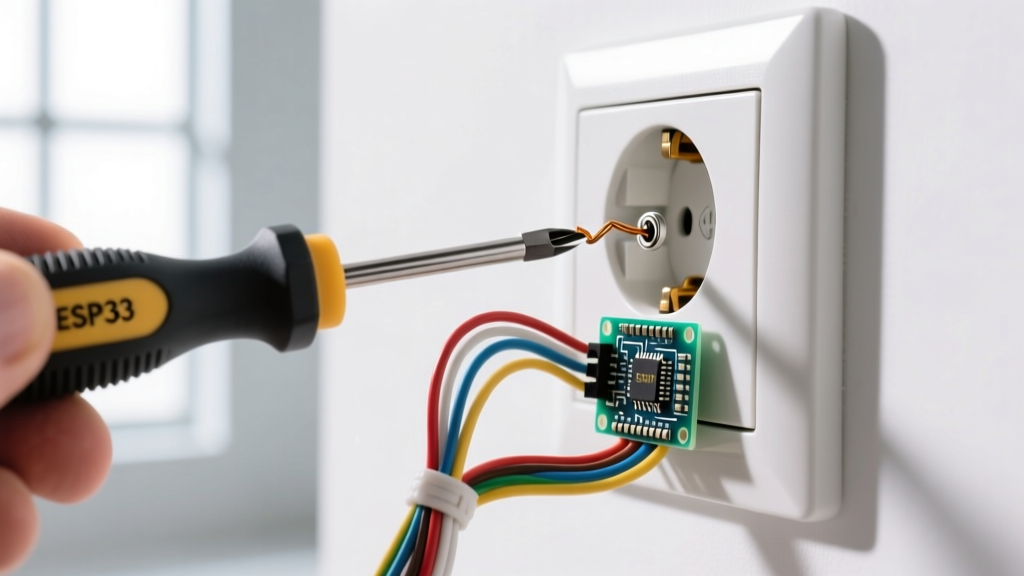
- Re-Terminate Using Side-Wiring: Strip 3/4 inch of insulation from the solid copper wire. Hook the wire clockwise around the terminal screw. Using your precision #2 electrical outlet screwdriver, tighten the screw until the wire is firmly seated and the washer (if present) is flush. The loop should not spread or open as the screw tightens.
Critical Safety Warning: Never tin (solder) the ends of stranded or solid wires before placing them under a screw terminal unless the device is explicitly listed for it. Solder creeps under pressure, leading to a loose connection and severe fire hazard over time.
Top Insulated Screwdriver Models for Outlet Troubleshooting
Investing in the correct tool prevents $3 outlets from becoming $3,000 fire hazards. Here are the top-tier models used by master electricians for receptacle diagnostics:
- Wiha 32090 Insulated SlimLine ($28 - $35): Features a remarkably thin shaft that easily reaches deep into commercial-grade receptacle wells. The 1000V insulation is molded directly to the blade, providing excellent tactile feedback and safety.
- Wera Kraftform Plus VDE #2 Phillips ($18 - $24): Wera's Lasertip technology is a game-changer for troubleshooting older outlets with slightly worn screws. The laser-etched tip grips the brass aggressively, preventing cam-out even when applying high torque.
- Klein Tools 32500 Multi-Bit ($12 - $16): While not 1000V insulated, this is the industry standard for dead-circuit terminations in tight junction boxes. Its interchangeable shaft allows quick swapping between #2 Phillips and #2 Square for mixed-brand receptacle panels.
Real-World Failure Modes: When the Screw Won't Budge
During troubleshooting, you may encounter a terminal screw that is seized due to corrosion, paint overspray, or previous over-torquing. Forcing it with an undersized screwdriver will snap the screw head off, leaving the wire trapped inside the terminal block.
If a screw refuses to turn, apply a microscopic drop of penetrating oil (like PB Blaster) to the threads, wait five minutes, and use a precision-fitting Wera or Wiha driver with firm, continuous downward pressure. If the head is already stripped, use a specialized micro screw extractor (such as the SpeedOut Micro) or simply cut the wire flush to the terminal and replace the entire receptacle. Given that a high-quality commercial-grade 20A TR receptacle costs less than $6 in 2026, destroying the device to save the wire is rarely worth the time or safety risk.
Frequently Asked Questions
Can I use an impact driver to tighten outlet screws?
Absolutely not. Impact drivers deliver rotational hammering forces that will instantly strip soft brass terminal screws, shatter the plastic receptacle housing, and compromise the internal tension of the contact wipers.
Why do some new outlets use Square (Robertson) screws instead of Phillips?
Commercial and specification-grade outlets (like those from Hubbell) use #2 Square screws because they allow for higher torque transfer without cam-out, ensuring compliance with strict commercial torque requirements and reducing installer fatigue.
Is a magnetic tip safe for electrical troubleshooting?
Yes. A magnetized tip is highly recommended for outlet work. It holds the small brass terminal screws securely, preventing them from dropping into the wall cavity or falling onto live busbars in a panel. The Consumer Product Safety Commission (CPSC) notes that preventing dropped conductive materials near energized parts is a key safety practice.