
Overcoming the Fear of Electrical Outlet Shock
For many beginner DIYers, the fear of an electrical outlet shock is the primary barrier to tackling basic home wiring projects. While 120V alternating current (AC) is indeed lethal under the wrong conditions, the vast majority of residential shocks occur not because the task is inherently dangerous, but because of skipped verification steps, misunderstood circuit topologies, and improper tool usage. According to the National Fire Protection Association (NFPA), hundreds of civilian injuries occur annually due to improper DIY electrical work and failure to de-energize circuits properly.
This comprehensive beginner installation tutorial is designed to bridge the gap between professional electrician safety protocols and accessible DIY practices. By the end of this guide, you will understand how to safely replace a standard 15-amp or 20-amp duplex receptacle while completely eliminating the risk of electrical outlet shock.
⚠️ CRITICAL SAFETY WARNING: Never assume a circuit is dead simply because the wall switch or appliance is off. Always verify the absence of voltage at the physical wire level before making contact. For official workplace and advanced residential safety standards, refer to the OSHA Electrical Safety guidelines regarding Lockout/Tagout (LOTO) procedures.The Hidden Trap: Multi-Wire Branch Circuits (MWBC)
Before you even touch a screwdriver, you must understand the single biggest cause of unexpected electrical outlet shock for beginners: the Multi-Wire Branch Circuit (MWBC). Often found in kitchens, bathrooms, and older living spaces, an MWBC shares a single neutral (white) wire between two separate hot wires (typically one black and one red) on opposite phases of your electrical panel.
Why MWBCs Cause Shocks
Imagine you are replacing a kitchen outlet. You find the breaker that turns off the top half of the receptacle, flip it off, and verify the top brass screw is dead. However, the bottom half of the receptacle is wired to a different breaker that is still ON. If you touch the bottom brass screw or the shared neutral wire while grounded, you will experience a severe electrical outlet shock.
- Visual Identification: Look for a red wire and a black wire connected to the same receptacle, or a tab removed from the brass (hot) side of the outlet.
- The Fix: You must identify and turn off both breakers at the panel. In modern panels, these should be secured with a handle tie. If they are not, you must test both sides independently with a non-contact voltage tester.
Essential Safety & Testing Arsenal
You cannot safely avoid electrical outlet shock without the right diagnostic tools. Relying on a cheap, uncalibrated tester is a gamble with your life. Below is the professional-grade tool matrix recommended for residential DIYers in 2026.
| Tool Category | Recommended Model | Purpose & Safety Function | Approx. Cost |
|---|---|---|---|
| Non-Contact Voltage Tester (NCVT) | Fluke 1AC-II VoltAlert | Detects AC voltage through wire insulation without physical contact. Essential for initial sweep. | $35 - $45 |
| Solenoid Voltage Tester | Southwire 40100A (Wiggy) | Confirms absolute zero voltage between hot/neutral and hot/ground. Immune to phantom voltage. | $40 - $50 |
| Receptacle Tester | Klein Tools RT250 | Verifies correct wiring sequence and tests GFCI trip functionality post-installation. | $25 - $35 |
| Torque Screwdriver | Wiha 320P (0-40 in-lbs) | Ensures terminal screws are tightened to NEC 110.14(D) specifications to prevent arcing. | $50 - $70 |
| Wire Strippers | Klein Tools 11055 | Strips 14 and 12 AWG solid copper to exact lengths without nicking the conductor. | $25 - $30 |
Step-by-Step Shock-Free Installation Tutorial
Follow this exact sequence to install a standard 15A Tamper-Resistant (TR) duplex receptacle (such as the Leviton 47605-W, which costs roughly $2.50 to $4.00 per unit) while maintaining a zero-shock environment.
Step 1: The "Live-Dead-Live" Verification Test
Professional electricians use the Live-Dead-Live method to ensure their testing equipment is actually working, preventing false-negative readings that lead to electrical outlet shock.
- Live: Test your NCVT (Fluke 1AC-II) on a known live source (e.g., a nearby lamp cord or an outlet on a different circuit). The pen should beep and glow red.
- Dead: Turn off the target breaker at the main panel. Test the target outlet. The NCVT should remain silent and dark.
- Live: Test the NCVT on the known live source again to confirm the pen's battery didn't die during the previous step.
Step 2: Physical Wire Extraction and Secondary Testing
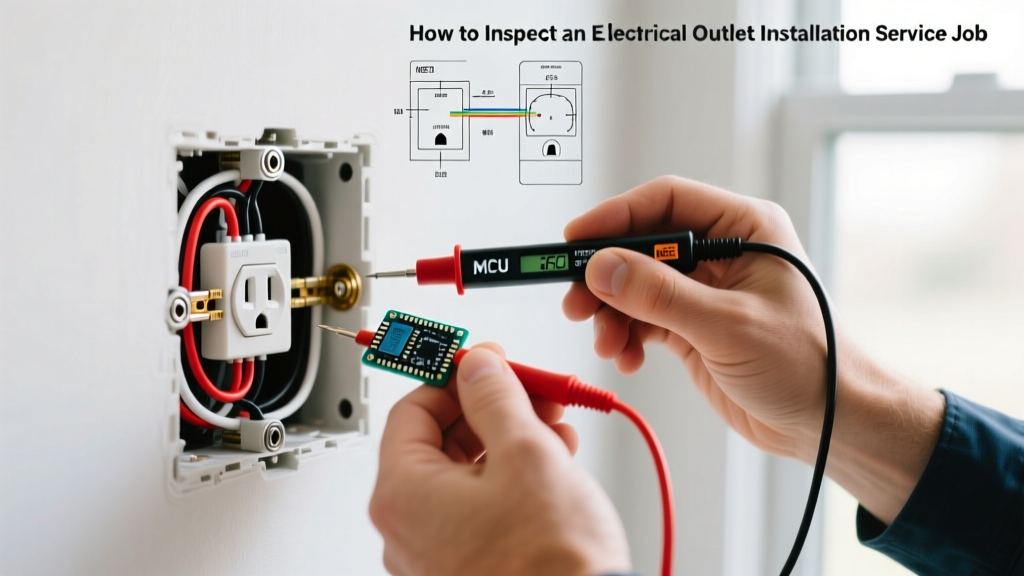
Unscrew the faceplate and the receptacle mounting screws. Gently pull the outlet out of the gang box. Do not touch any bare wire yet. Use a solenoid voltage tester or a digital multimeter to test between the black (hot) wire and the bare copper (ground) wire. If the meter reads 0V, the circuit is verified dead.
Step 3: Proper Wire Preparation
Nicked wires create high-resistance hot spots that melt insulation over time, leading to exposed conductors and future shock hazards. Use your Klein 11055 strippers to remove exactly 3/4 inch (19mm) of insulation from the 14 AWG or 12 AWG solid copper wires. If the wire is heavily oxidized or deeply scored, snip the end off and re-strip.
Step 4: Making the Connections (No Backstabbing)
Never use the push-in "backstab" holes on the rear of a receptacle. They rely on spring tension that degrades over time, leading to arcing, melted plastic, and exposed live parts. Always use the side terminal screws.
- Ground (Green Screw): Connect the bare copper or green wire.
- Neutral (Silver Screws): Connect the white wire(s).
- Hot (Brass Screws): Connect the black wire(s).
Pro Tip: Form a "J-hook" with the stripped wire using needle-nose pliers. Loop the hook clockwise around the terminal screw so that tightening the screw pulls the loop tighter rather than pushing it out.
Step 5: Torque to Code
Since the 2017 NEC update (and reinforced in 2023/2026 codes), section 110.14(D) requires electrical connections to be torqued to the manufacturer's specifications. For standard Leviton and Eaton 15A/20A residential receptacles, this is typically 14 inch-pounds (in-lbs). Use your Wiha torque screwdriver to tighten the terminal screws until the tool clicks. This prevents the wires from loosening due to thermal expansion and contraction cycles.
Post-Installation Verification and Troubleshooting
Once the outlet is pushed back into the gang box and secured with the faceplate, restore power at the breaker. According to the Consumer Product Safety Commission (CPSC), verifying proper grounding and polarity is just as critical as the physical installation.
Plug your Klein Tools RT250 receptacle tester into the new outlet. Observe the LED sequence:
- Correct Wiring: Two amber lights illuminated. (Safe to use).
- Open Ground: Middle amber light only. (The ground wire is disconnected; shock risk if an appliance faults).
- Hot/Neutral Reversed: One amber, one red light. (Polarity is backward; severe shock hazard for appliances with internal switches).
What if you feel a "Tingle"?
If you touch the faceplate screw or a plugged-in appliance and feel a slight tingle, you are experiencing stray voltage or a bootleg ground. This happens when a previous DIYer connected the neutral wire to the ground screw to trick a receptacle tester into reading "correct." Immediately turn off the breaker, remove the outlet, and separate the neutral and ground connections. In a standard residential panel, neutrals and grounds are bonded only at the main service disconnect; they must remain strictly separated at the outlet level.
Frequently Asked Questions (FAQ)
Do Tamper-Resistant (TR) outlets prevent electrical outlet shock?
TR outlets feature internal spring-loaded shutters that prevent children from inserting single objects (like paperclips) into the hot or neutral slots. While they drastically reduce pediatric insertion shocks, they do not protect an adult installer from shock if they touch exposed live wires during the installation process. De-energizing the circuit is the only way to prevent installation shocks.
Can I get shocked by the neutral (white) wire?
Yes. Under normal conditions, the neutral wire carries current back to the panel and is near 0V relative to ground. However, if there is an "open neutral" further upstream in the circuit, or if a large appliance on the same circuit is running, the neutral wire can carry full line voltage (120V). Always treat the neutral wire with the same caution as the hot wire until verified dead with a meter.
Why does my NCVT beep constantly when I put it near the wall?
This is known as "phantom voltage" or capacitive coupling. It occurs when a de-energized wire runs parallel to a live wire inside the wall, picking up an electromagnetic field. This is why the Live-Dead-Live test and a secondary solenoid/multimeter test are mandatory to confirm the absence of real, current-delivering voltage before touching the wires.