
The Terminology Trap: What is a 'Blank GFCI'?
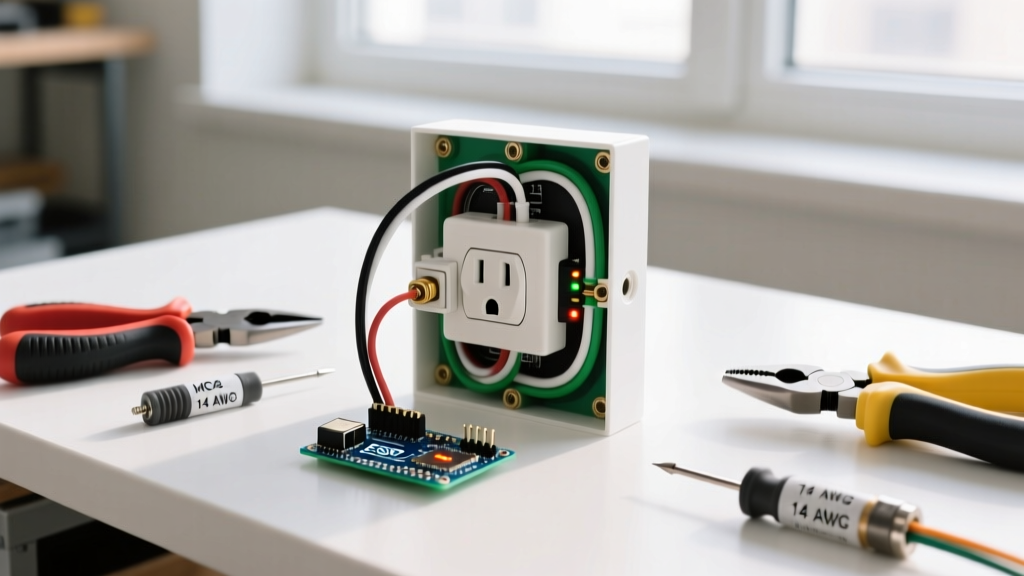
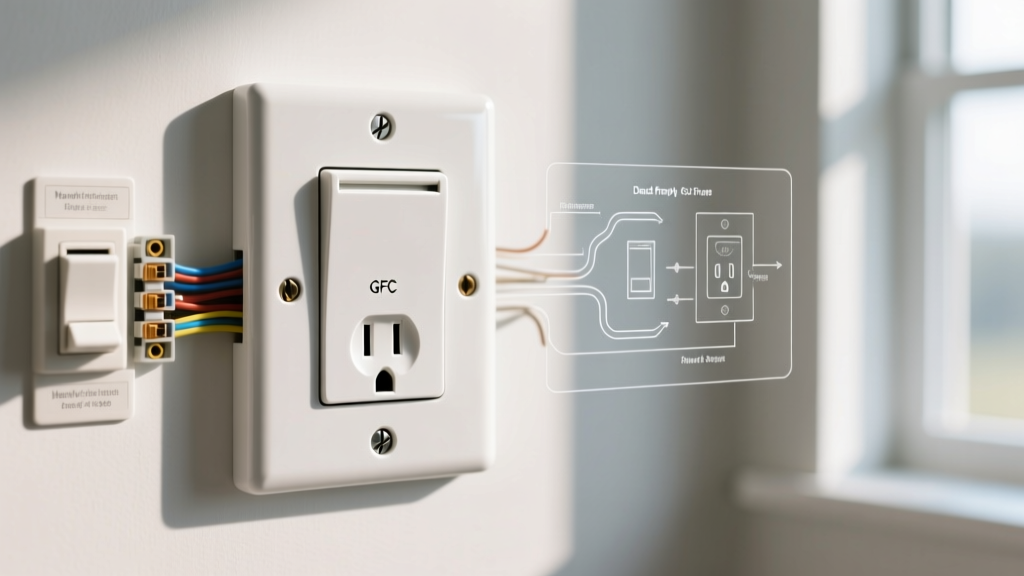
When electricians and DIYers search for a "blank GFCI," they are typically referring to one of two distinct wiring devices. Understanding the difference is critical for passing inspection and ensuring safety. The phrase the blank gfci fits into the standard electrical outlet box usually points to a Dead-Front GFCI—a device that provides Ground Fault Circuit Interrupter protection but features no receptacle slots on its face, only Test and Reset buttons. Alternatively, it can refer to a standard GFCI receptacle covered by a blank wall plate to cap an unused box while maintaining downstream protection.
Both scenarios rely on the same physical premise: the device's mounting yoke and body conform to NEMA WD6 dimensional standards, meaning the blank GFCI fits into the standard electrical outlet box (a single-gang box) exactly like a traditional 15A or 20A duplex receptacle. However, the internal wiring scenarios, box depth requirements, and National Electrical Code (NEC) applications differ vastly.
Scenario 1: The Dead-Front GFCI (No Receptacle)
A dead-front GFCI (such as the Leviton 15942-W or Hubbell GF520M1) is designed for situations where local GFCI reset capabilities are required by code, but providing an accessible plug is either dangerous or prohibited. As of the 2026 NEC adoption cycles, GFCI protection has been aggressively expanded to cover hardwired appliances in damp or wet locations.
Common Wiring Scenarios for Dead-Front Devices
- Hardwired Smart Bidets & Toilets: Many high-end smart toilets are hardwired directly into a wall cavity to avoid unsightly cords. A dead-front GFCI mounted in a standard single-gang box nearby provides the required personnel protection and an accessible reset button without offering a plug that a user might mistakenly use for a hair dryer in a wet zone.
- Outdoor Spa & Hot Tub Control Panels: Spa skirts often house hardwired pumps and heaters. A dead-front GFCI fits into the standard electrical outlet box mounted inside the spa cabinet, protecting the equipment from ground faults without exposing standard receptacle slots to high-humidity environments.
- Ceiling-Mounted Garage Door Openers: While older codes allowed standard plugs, newer interpretations and local amendments often require GFCI protection for garage ceiling motors. If a plug is deemed inaccessible, a dead-front GFCI on the wall circuit feeding the ceiling box provides the reset point.
Dead-Front vs. Capped Standard GFCI
| Feature | Dead-Front GFCI (e.g., Leviton 15942) | Standard GFCI + Blank Wall Plate |
|---|---|---|
| Primary Use | Hardwired loads, dedicated equipment protection | Capping unused boxes while protecting downstream loads |
| Average Cost (2026) | $22.00 - $28.00 | $18.00 (GFCI) + $1.50 (Blank Plate) |
| Receptacle Slots | None (Blank face with buttons) | |
| Box Depth Required | Minimum 2.5" (Deep box recommended) |
Scenario 2: Capping a Standard GFCI for Downstream Protection
In some retrofit scenarios, an electrician may need to provide GFCI protection to a downstream hardwired fixture (like an outdoor landscape lighting transformer or a hardwired bathroom exhaust fan with a humidity sensor) but has no need for a receptacle at the source box. By wiring a standard 20A GFCI and covering it with a blank insert plate, the device fits into the standard electrical outlet box while serving purely as a protective node. The LOAD terminals feed the downstream hardwired equipment, and the blank plate prevents accidental plugging of unapproved devices into the circuit.
Physical Fit: Box Depth and Wire Gauge Math
The most common failure point when installing any GFCI—blank or standard—is underestimating box volume. GFCI bodies are significantly deeper than standard switches, typically measuring between 1.35 and 1.6 inches from the mounting yoke to the back of the enclosure.
NEC Box Fill Warning: According to NFPA's National Electrical Code (NEC) Article 314, a standard shallow "old-work" single-gang box (approx. 14 to 18 cubic inches) is rarely sufficient for a GFCI device combined with 12 AWG wire and wire nuts. The device itself counts as two wire allowances, and the internal clamps and grounding wires add to the fill calculation.
Recommended Box Specifications
To ensure the blank GFCI fits into the standard electrical outlet box without crushing the conductors—which can degrade insulation and cause arc faults—use the following specifications:
- 14 AWG Circuits: Use a minimum 20.3 cubic inch single-gang box (e.g., Carlon B618R or extra-deep zip boxes).
- 12 AWG Circuits: Use a minimum 22.5 cubic inch "deep" single-gang box. The thicker insulation and stiffer copper of 12 AWG wire require the extra 1/2 inch of depth to fold the wires safely behind the GFCI body.
Step-by-Step: Wiring a Dead-Front GFCI
Wiring a dead-front GFCI is identical to wiring a standard receptacle, but the stakes for proper termination are higher because the load is often hardwired and inaccessible. Follow OSHA's electrical safety guidelines by verifying the circuit is de-energized with a non-contact voltage tester before beginning.
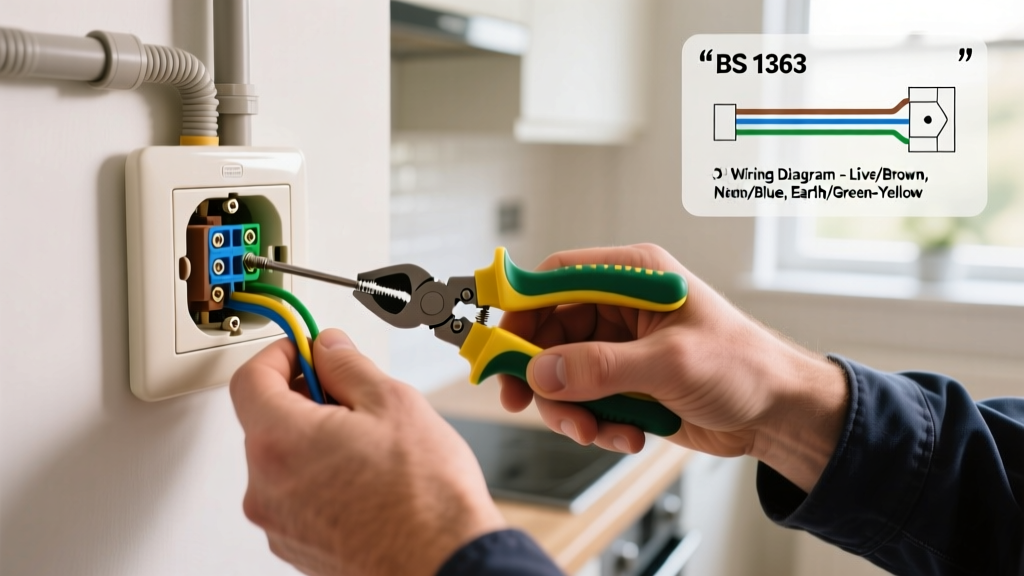
- Identify Line vs. Load: Dead-front GFCIs have clearly marked LINE (power source) and LOAD (downstream protection) terminals. If you are only protecting the hardwired device connected directly to the box's cable, you will only use the LINE terminals.
- Strip to Exact Measurements: Strip the 14 AWG or 12 AWG solid copper wire to exactly 5/8 inch. Exposed copper beyond the terminal pad can cause a short against the grounded metal box or the device's internal ground strap.
- Form the J-Hook: Bend the wire into a tight J-hook and loop it clockwise around the terminal screw. This ensures the screw pulls the wire tighter as it is torqued.
- Torque to Specification: This is where most DIYers fail. Use a calibrated torque screwdriver set to 14 in-lbs (or the specific manufacturer's rating printed on the device). Under-torqued terminals cause micro-arcing and heat buildup; over-torqued terminals can strip the brass threads or snap the screw head.
- Secure and Fold: Gently fold the grounding wires to the back left of the box, the neutrals to the back right, and push the hot wires behind the GFCI body. Mount the device using the provided 6-32 machine screws, ensuring the yoke sits flush against the drywall or plaster ring.
Troubleshooting Nuisance Trips in Hardwired Setups
When a blank GFCI protects a hardwired load like a smart toilet or a spa pump, nuisance tripping is a frequent complaint. Because there is no receptacle to unplug, the GFCI is detecting a ground fault within the appliance or the wiring itself.
- Capacitance on Long Runs: If the dead-front GFCI is feeding a long run of cable (over 100 feet) to a hardwired load, the natural capacitive leakage of the cable can accumulate to the 4mA–6mA trip threshold of the GFCI. Solution: Move the GFCI closer to the load or use a GFCI breaker at the panel instead.
- Moisture Ingress in Hardwired Connections: Unlike a plug which is enclosed, hardwired wire nuts in damp locations (like behind a bidet) can wick moisture. Always use silicone-filled wire nuts (e.g., 3M DBY series) when making hardwired splice connections inside the box feeding the dead-front GFCI.
- Harmonic Distortion: Variable frequency drives (VFDs) in modern spa pumps can generate electrical noise that mimics a ground fault. Ensure you are using a standard Class A GFCI, and if the manufacturer specifies it, upgrade to a GFCI with built-in EMI/RFI filtering.
Understanding the physical dimensions, box fill mathematics, and specific application scenarios ensures that when the blank GFCI fits into the standard electrical outlet box, it does so safely, legally, and reliably for decades of use.