
Why Is Your Outside Electrical Outlet Not Working?
Discovering your outside electrical outlet not working is a common frustration for homeowners, especially when you need power for landscaping tools, holiday lighting, or outdoor entertainment. Outdoor receptacles face harsh environmental stressors—UV radiation, driving rain, freezing temperatures, and humidity—that indoor outlets simply do not encounter. Consequently, they fail at a much higher rate.
If you are a beginner looking to diagnose and repair this issue, you are in the right place. This tutorial will walk you through a systematic diagnostic process, explain the most common failure modes, and provide a step-by-step guide to replacing a dead outdoor GFCI (Ground Fault Circuit Interrupter) receptacle with a modern, code-compliant unit.
⚡ SAFETY FIRST: According to the Occupational Safety and Health Administration (OSHA), electrical hazards are a leading cause of residential and workplace injuries. Always verify that power is completely disconnected at the main breaker panel before removing any outlet faceplate or touching bare wires.
Common Reasons for an Outside Electrical Outlet Not Working
Before you grab a screwdriver, run through this 5-minute diagnostic checklist. In 80% of cases, the outlet itself is fine, but an upstream protection device has tripped.
- Tripped Upstream GFCI: Outdoor outlets are often wired on the 'LOAD' side of an indoor GFCI. Check your garage, basement, bathrooms, and kitchen. If a GFCI inside the house has tripped, your outside outlet will be dead.
- Tripped Circuit Breaker: Inspect your main electrical panel. Look for a breaker that is in the middle (tripped) position. Switch it fully OFF, then firmly back to ON.
- Moisture Ingress: If the weatherproof 'bubble' cover is cracked or the foam gasket is degraded, water may have entered the electrical box, causing the GFCI to trip internally to prevent a shock hazard.
- Backstabbed Wire Connections: Older installations sometimes use 'push-in' (backstab) connectors on the back of the receptacle. Temperature fluctuations cause metal expansion and contraction, eventually loosening these connections and breaking the circuit.
Failure Mode Matrix: Symptom vs. Root Cause
Use this diagnostic table to pinpoint the exact nature of your electrical failure based on the symptoms you observe at the receptacle.
| Observed Symptom | Likely Root Cause | Required Fix |
|---|---|---|
| Outlet is completely dead; GFCI reset button won't click or stay in. | Upstream GFCI tripped, or main breaker is off. | Reset indoor GFCI or flip breaker OFF then ON. |
| GFCI button clicks in, but immediately pops back out. | Internal ground fault detected, or moisture inside the outlet box. | Dry the box; if it persists, replace the GFCI unit. |
| Breaker trips the moment you press the GFCI reset button. | Dead short between Hot (Line) and Ground/Neutral wires. | Inspect wiring for pinched insulation or water-logged connections. |
| Outlet works intermittently when you wiggle the plug. | Loose terminal screws or failed backstab connections. | Replace outlet and use screw-terminal side wiring. |
Step-by-Step: Replacing a Dead Outdoor GFCI
If your diagnostics confirm the receptacle itself has failed, it is time to install a replacement. As of 2026, the National Electrical Code (NEC) strictly mandates that all outdoor 15A and 20A receptacles must be GFCI protected, Weather-Resistant (WR), and Tamper-Resistant (TR). The Consumer Product Safety Commission (CPSC) heavily emphasizes GFCI usage in damp locations to prevent fatal electrocution.
Phase 1: Tools and Materials (2026 Buyer's Guide)
You will need specific, code-compliant materials. Do not use standard indoor receptacles outside; they will corrode and fail within months.
- Replacement Receptacle: Leviton Decora 15A SmartLockPro WR/TR GFCI (Model #8599-W) or Eaton 15A WR/TR GFCI (Model #GFTR15-W). Cost: $20 - $26.
- Weatherproof Cover: TayMac MM540C Extra-Duty In-Use Bubble Cover. Cost: $14 - $18.
- Voltage Tester: Klein Tools NCVT-2 Non-Contact Voltage Tester. Cost: $25.
- Multimeter: Klein MM400 (for verifying Line vs. Load). Cost: $45.
- Sealant: 100% Silicone outdoor caulk. Cost: $6.
Phase 2: Safe Removal and Wiring Verification
- Kill the Power: Turn off the corresponding breaker at the main panel. Lock it out or tape it so no one accidentally turns it back on while you work.
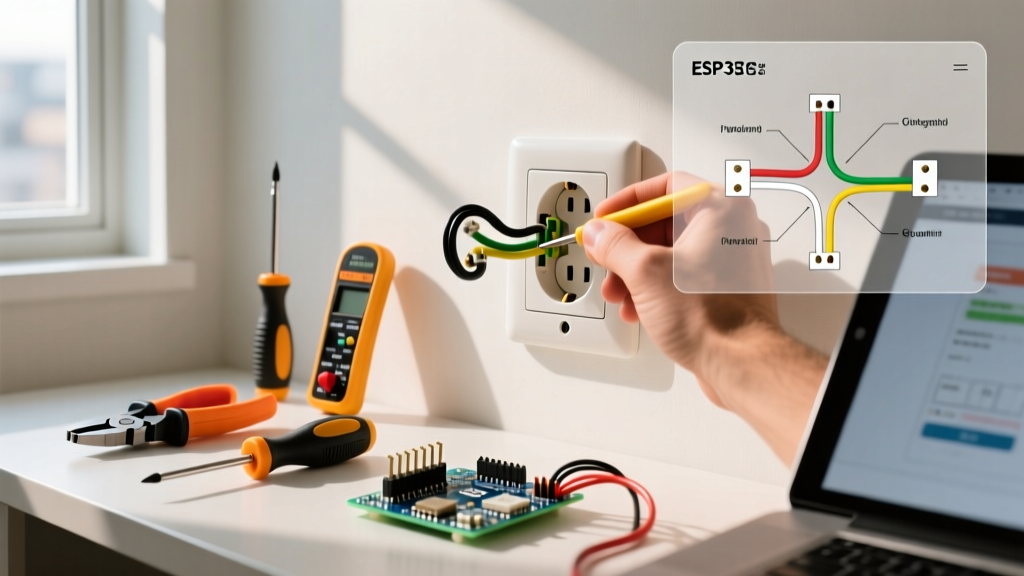
- Verify Zero Voltage: Remove the existing bubble cover and faceplate. Insert your multimeter probes into the hot (short slot) and neutral (long slot) slots. The reading must be 0.0V. Test between hot and ground (round hole) as well.
- Extract the Receptacle: Unscrew the top and bottom mounting screws. Gently pull the outlet out of the weather box. Take a photo of the wiring before disconnecting anything.
- Identify LINE vs. LOAD: The wires bringing power from the panel connect to the LINE terminals. The wires continuing to other downstream outlets connect to the LOAD terminals. If you only see one set of wires (two black, two white, one bare ground), they are LINE.
Phase 3: Installing the New WR/TR GFCI
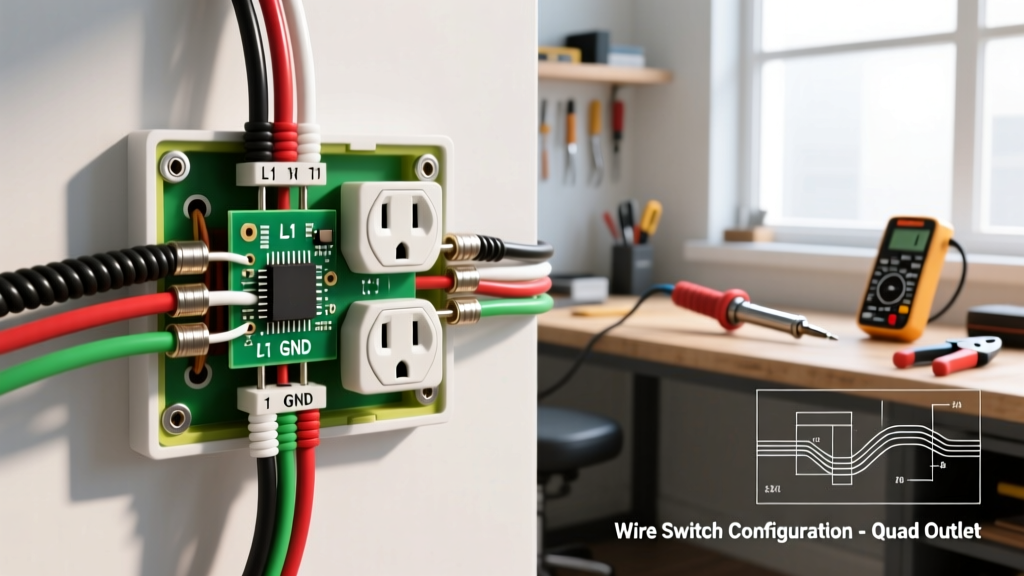
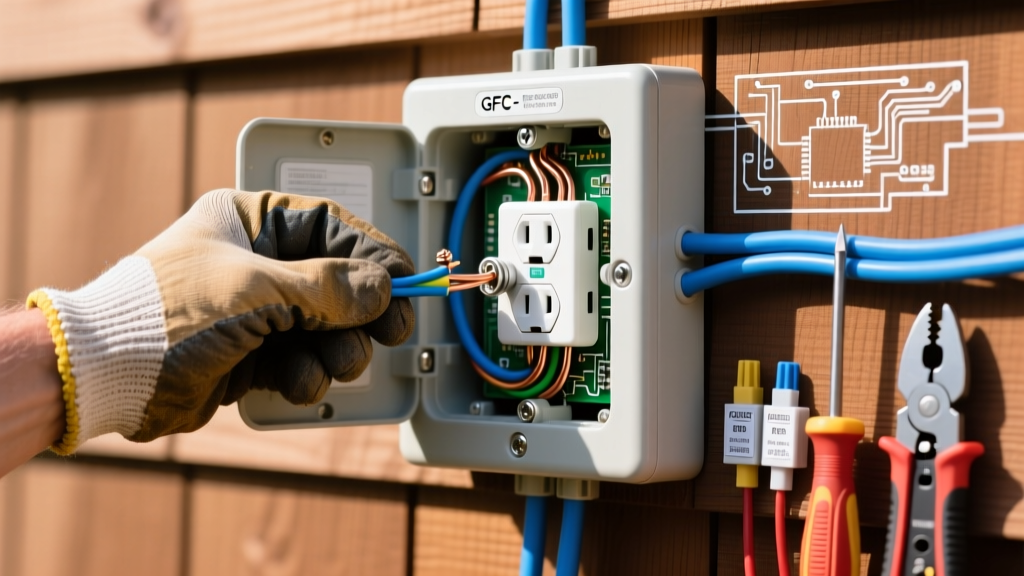
- Prep the Wires: If the old wire ends are frayed or oxidized, snip them back and strip exactly 3/4 inch of insulation using wire strippers. Create a tight 'J-hook' curve on the exposed copper using needle-nose pliers.
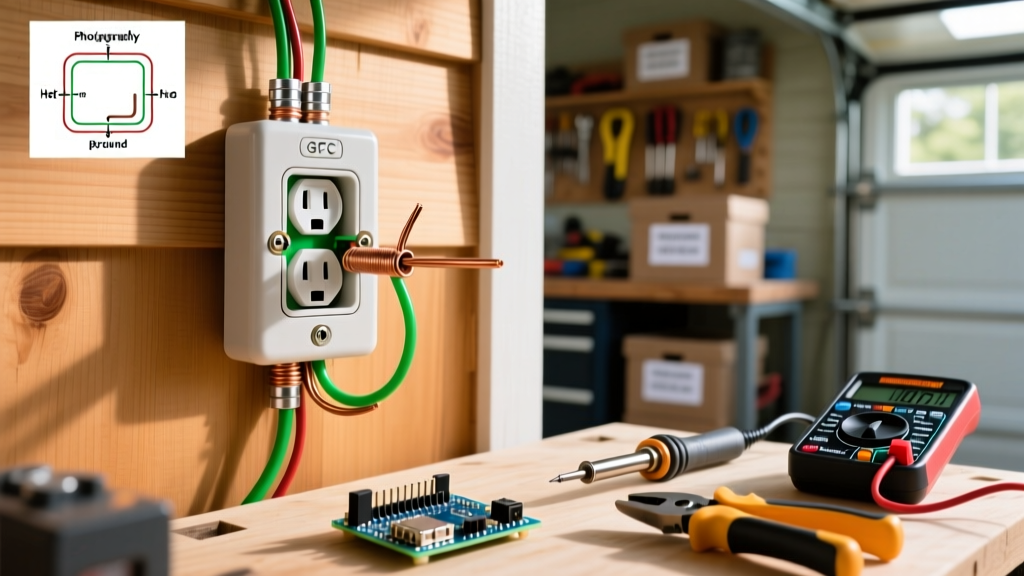
- Make the Connections: Hook the bare copper ground wire around the green ground screw and tighten. Hook the white (neutral) LINE wire to the silver LINE screw. Hook the black (hot) LINE wire to the brass LINE screw. Always hook the wire clockwise around the screw so that tightening the screw pulls the wire loop tighter, rather than pushing it out.
- Secure the LOAD Wires (If Applicable): If you have downstream outlets, connect the secondary black and white wires to the brass and silver LOAD screws, respectively.
- Tighten to Specification: Ensure terminal screws are torqued firmly. Loose connections cause arcing, which is a primary fire hazard.
Phase 4: Weatherproofing and Final Seal
Moisture is the enemy of outdoor electrical components. The NEC requires an 'in-use' bubble cover that allows cords to be plugged in while the cover is fully closed.
- Wrap the perimeter of the electrical box flange with a bead of 100% silicone sealant before placing the new bubble cover's foam gasket. This prevents water from migrating behind the cover and into the wall cavity.
- Mount the new WR GFCI into the box, ensuring the rubber weather shield (included with the outlet) sits flush against the gasket.
- Secure the bubble cover using the provided corrosion-resistant screws.
- Restore power at the breaker. Press the 'TEST' button on the GFCI (it should click and pop out). Press 'RESET' (it should click and stay in). Plug in a simple lamp or phone charger to verify functionality.
Critical Code Requirements for Outdoor Receptacles
When repairing or upgrading your outdoor electrical infrastructure, adherence to the National Electrical Code (NEC NFPA 70) is not just a legal requirement; it is a life-saving necessity.
NEC Article 406.9 (Receptacles in Damp or Wet Locations): All 15- and 20-ampere, 125- and 250-volt nonlocking receptacles installed in damp or wet locations must be listed as Weather-Resistant (WR) and Tamper-Resistant (TR). Furthermore, they must be enclosed in a weatherproof enclosure that provides protection whether a plug is inserted or not (commonly known as an 'extra-duty' or 'in-use' bubble cover).
The 'WR' designation means the outlet's internal contacts and external yoke are manufactured from specialized alloys and UV-resistant polycarbonates that resist rust and degradation from sunlight. Standard indoor GFCIs will quickly corrode in outdoor environments, leading to the exact failure you are currently trying to fix.
Frequently Asked Questions (FAQ)
Can I replace an outdoor GFCI with a standard indoor outlet?
No. This is a severe code violation and a massive shock hazard. Standard outlets lack the internal ground-fault monitoring required for damp locations and do not feature the UV-stabilized plastics or corrosion-resistant contacts mandated by the WR rating.
Why does my outdoor outlet keep tripping every time it rains?
This indicates a compromised weather seal. Inspect the foam gasket behind the bubble cover. If it is compressed, torn, or missing, water is blowing into the box and triggering the GFCI's internal safety shunt. Replace the gasket and apply a bead of silicone caulk around the top and sides of the cover mounting plate (leave the bottom uncaulked to allow condensation to drain).
Do I need to hire an electrician to replace an outdoor outlet?
If you are comfortable identifying LINE vs. LOAD wires, using a multimeter to verify dead circuits, and following the safety steps outlined above, this is a standard DIY repair. However, if you open the box and find melted wires, extensive corrosion, or aluminum wiring, stop immediately and consult a licensed electrical contractor.