
Why Did My Electrical Outlet Stop Working? A Diagnostic Approach
Realizing that my electrical outlet stopped working is one of the most common, yet frustrating, electrical issues homeowners face. While the immediate assumption is often a tripped breaker, the root cause usually lies within the wall box itself. As electrical loads increase and wiring ages, specific failure modes emerge that standard visual inspections miss.
According to the U.S. Fire Administration (USFA), electrical receptacles and switches are frequent points of origin for residential electrical fires, often due to high-resistance connections that generate invisible heat over time. Before tearing into your drywall, you need a systematic approach to diagnose the exact wiring scenario causing the failure.
CRITICAL SAFETY WARNING: Never assume a circuit is dead just because a device isn't powering on. A broken neutral wire can leave the "hot" conductor fully energized at 120V even when the appliance fails to run. Always verify with a non-contact voltage tester (NCVT) and a digital multimeter before removing the receptacle faceplate.
Scenario 1: The "Backstab" Push-In Connection Failure
If your home was built between the 1970s and early 2000s, there is a high probability your receptacles were wired using "backstab" push-in terminals. Builders favor these because they allow for rapid installation—simply strip the wire and push it into the rear of the 15A receptacle.
The Failure Mode: Thermal Cycling
Backstab connections rely on a small, spring-loaded metal tang to bite into the copper wire. However, these terminals are only rated for 14 AWG solid copper wire. When a high-draw appliance (like a vacuum or space heater) is used, the wire heats up and expands. When the appliance is unplugged, it cools and contracts. Over years of this thermal cycling, the spring tension weakens, leading to a high-resistance connection. Eventually, the tang loses contact entirely, and the outlet dies.
The Expert Fix
- Remove the receptacle and inspect the rear. If wires are inserted into the quick-wire holes, release them using a small flathead screwdriver in the release slot.
- Strip the wires back to 3/4 inch of bare copper using a precision stripper like the Klein Tools 11063.
- Form a clockwise shepherd's hook and terminate the wires under the side terminal screws.
- Pro Tip: Per NEC 110.14(D), use a torque screwdriver (such as the Klein Tools 695) set to the manufacturer's specification (typically 14 in-lbs for standard 15A/20A receptacles) to ensure a permanent, code-compliant connection.
Scenario 2: Downstream GFCI/AFCI Tripping (The Hidden Reset)
A frequent reason an outlet stops working is that it is daisy-chained downstream from a tripped Ground Fault Circuit Interrupter (GFCI) or Arc Fault Circuit Interrupter (AFCI). Modern electrical codes require GFCI protection in wet areas and AFCI protection in living spaces.
The Wiring Scenario
Electricians often wire multiple standard duplex receptacles to the "LOAD" terminals of a single upstream GFCI to save money and meet code. For example, a standard outlet in your hallway might actually be protected by a GFCI located in a nearby bathroom, garage, or exterior wall. If the upstream GFCI trips due to a minor ground leakage or moisture ingress, all downstream standard outlets will instantly lose power without showing any physical signs of a trip.
Diagnostic Steps
- Map your circuit using a circuit tracer (e.g., the Klein Tools ET310).
- Locate the first outlet on the circuit run; this is usually where the GFCI or AFCI receptacle is installed.
- Press the "RESET" button firmly until it clicks. If it immediately trips again, you have a ground fault or neutral-to-ground short downstream that requires megohmmeter testing.
Scenario 3: The Broken Daisy-Chain (Loose Neutral)
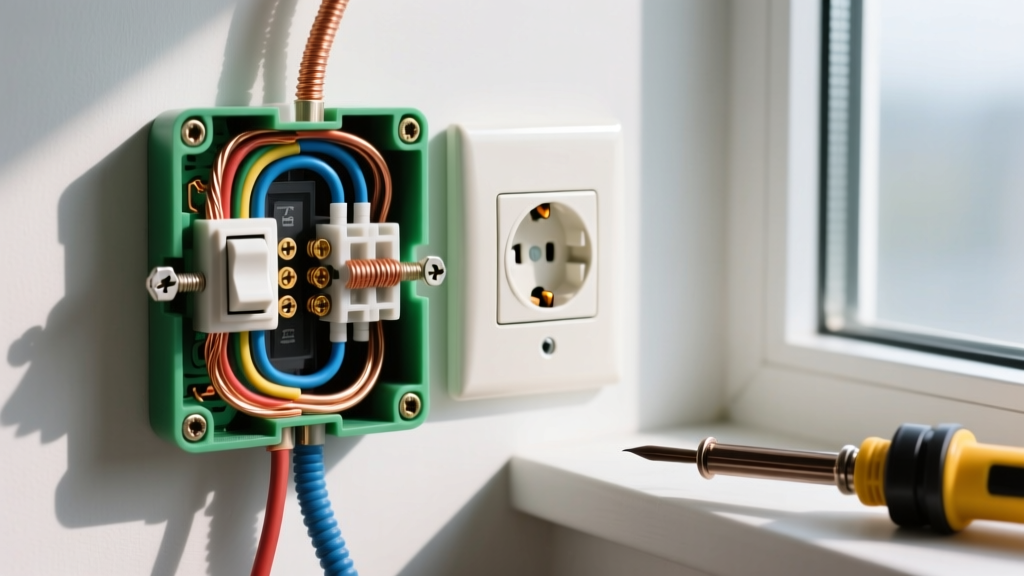
Outlets are typically wired in a series (daisy-chain) using "pigtails" or by passing the line and load wires directly through the receptacle's side screws. If a wire nut connection in a previous junction box or wall box fails, the circuit breaks.
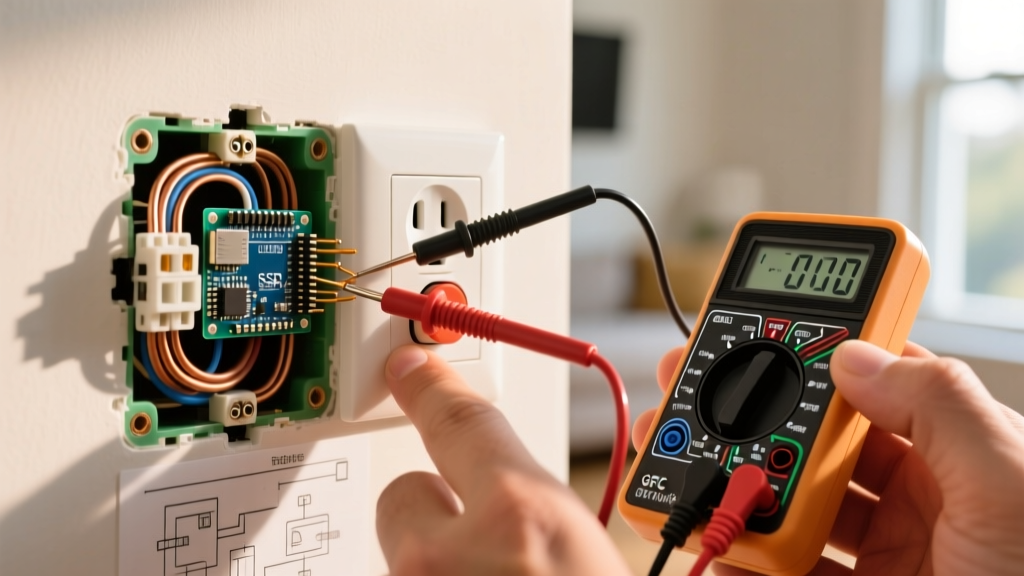
Multimeter Triage: Hot vs. Neutral
To confirm a broken neutral scenario, use a True-RMS Digital Multimeter (like the Fluke 117). Set the dial to AC Voltage (V~).
- Test 1 (Hot to Ground): Place the black probe on the bare copper ground wire and the red probe on the shorter (hot) slot. If you read ~120V, power is reaching the box.
- Test 2 (Hot to Neutral): Move the black probe to the white neutral wire. If you read 0V (or a fluctuating "ghost" voltage of 10-30V), your neutral connection has failed upstream.
The Fix: You must trace the circuit back to the previous working outlet on the same breaker. Open that box and check for loose wire nuts or a disconnected white wire. Upgrade old twist-on wire nuts to WAGO 221 Series Lever-Nuts, which provide a vibration-proof, visually verifiable connection that will not loosen over time.
Scenario 4: Melted or Burnt Receptacle Contacts
If you plug in a 1500W space heater (which draws 12.5 Amps) into a builder-grade 15A receptacle, the internal brass contacts can overheat, lose their temper, and permanently warp. This results in a physical failure where the plug feels "loose" in the socket, leading to arcing and eventual power loss.
The U.S. Consumer Product Safety Commission (CPSC) warns that loose-fitting plugs are a primary cause of residential electrical fires due to the intense heat generated by electrical arcing.
Receptacle Grade Comparison Matrix
Not all outlets are created equal. When replacing a failed receptacle, always upgrade to Commercial or Spec Grade to handle continuous high-draw loads.
| Receptacle Grade | Example Model | Approx. Cost | Internal Contact Material | Best Use Case |
|---|---|---|---|---|
| Builder / Residential | Leviton 5262-SW | $1.25 - $1.75 | Thin Brass | Low-draw lighting, phone chargers, bedrooms. |
| Commercial / Spec | Leviton 5362 | $4.00 - $5.50 | Heavy-Duty Brass / Steel | Kitchens, living rooms, space heaters, vacuums. |
| Hospital Grade | Leviton 8300 | $11.00 - $14.00 | Extra-Thick Brass, Nickel-Plated | Medical equipment, sump pumps, critical servers. |
Scenario 5: Aluminum Wiring Oxidation (Pre-1973 Homes)
If your home was built between 1965 and 1973, it may have been wired with solid aluminum branch circuit wiring. Aluminum expands and contracts at a different rate than the brass and steel screws on standard receptacles. Furthermore, aluminum oxidizes rapidly when exposed to air, creating a highly resistive layer that chokes off current flow and causes the outlet to stop working.
The Code-Compliant Remediation
You cannot simply wire an aluminum wire to a standard copper-rated (CU-AL) receptacle. The National Fire Protection Association (NFPA) strictly outlines the hazards of improper aluminum terminations. You have two safe options:
- CO/ALR Receptacles: Replace the dead outlet with a specifically rated CO/ALR (Copper-Aluminum Revised) receptacle, such as the Leviton 2026-ALR. These feature special alloy screws designed to bite through aluminum oxide.
- Alumiconn Pigtailing: Pigtail the aluminum wire to a short piece of 12 AWG copper wire using an AlumiConn 95103 lug connector (filled with antioxidant paste), then connect the copper pigtail to a standard commercial receptacle. Never use standard purple wire nuts for this application, as they are prone to failure with aluminum.
Essential Diagnostic Tools for Outlet Troubleshooting
To accurately diagnose why your outlet stopped working without guessing, your toolkit must include the following professional-grade instruments:
- Non-Contact Voltage Tester: Klein Tools NCVT-3TI (Tests both 12-1000V AC and 70-1000V AC, crucial for identifying phantom voltages).
- True-RMS Digital Multimeter: Fluke 117 (Features VoltAlert and low-impedance mode to eliminate ghost voltage readings on open neutrals).
- Receptacle Tester: Gardner Bender GFI-3501 (Instantly identifies open neutrals, open grounds, and hot/neutral reversals).
- Torque Screwdriver: Klein Tools 695 (Ensures NEC-compliant termination pressure to prevent future thermal failures).
Final Thoughts on Outlet Diagnostics
When your electrical outlet stops working, the issue is rarely a mystery; it is a matter of systematic elimination. By moving past the breaker panel and testing the physical integrity of the terminations, the continuity of the neutral path, and the grade of the receptacle itself, you can permanently resolve the issue. Always prioritize commercial-grade components and torque-verified terminations to ensure your home's electrical infrastructure remains safe and functional for decades to come.