
The Problem with Flush Mounts and NEC Code Violations
Mounting a flat-panel television flush against the wall creates a clean, modern aesthetic, but it introduces a significant wiring challenge. Many homeowners attempt to hide the TV's factory power cord and HDMI cables directly inside the wall cavity. This is not only a fire hazard but a direct violation of the National Electrical Code (NEC).
According to the National Fire Protection Association (NFPA), NEC Article 400.12 strictly prohibits running flexible power cords (like the one attached to your TV) inside walls, ceilings, or floors. Furthermore, standard HDMI and coaxial cables must be CL2 or CL3 rated for in-wall use to prevent fire propagation.
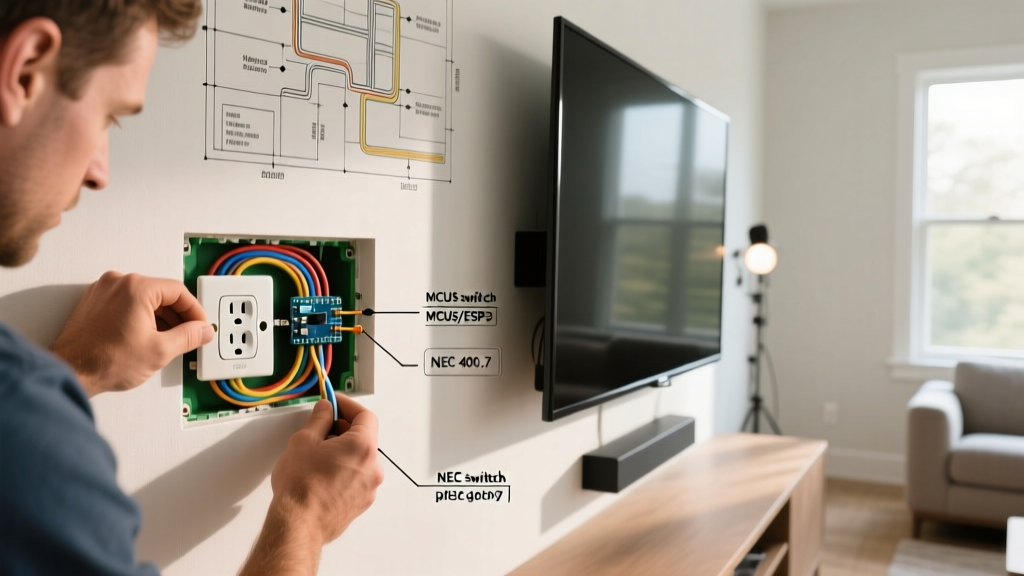
To achieve a hidden-cable look legally and safely, you must install a dedicated, code-compliant electrical outlet behind TV locations. This involves running permanent in-wall rated cable (NM-B Romex) from an existing circuit to a recessed media box or outlet mounted directly behind the display. As of 2026, with the widespread adoption of heavy 8K displays and thick, high-bandwidth HDMI 2.2 cables, selecting the right recessed hardware is more critical than ever to prevent cable damage and signal dropout.
Choosing the Right Hardware: Recessed Box vs. Power Bridge
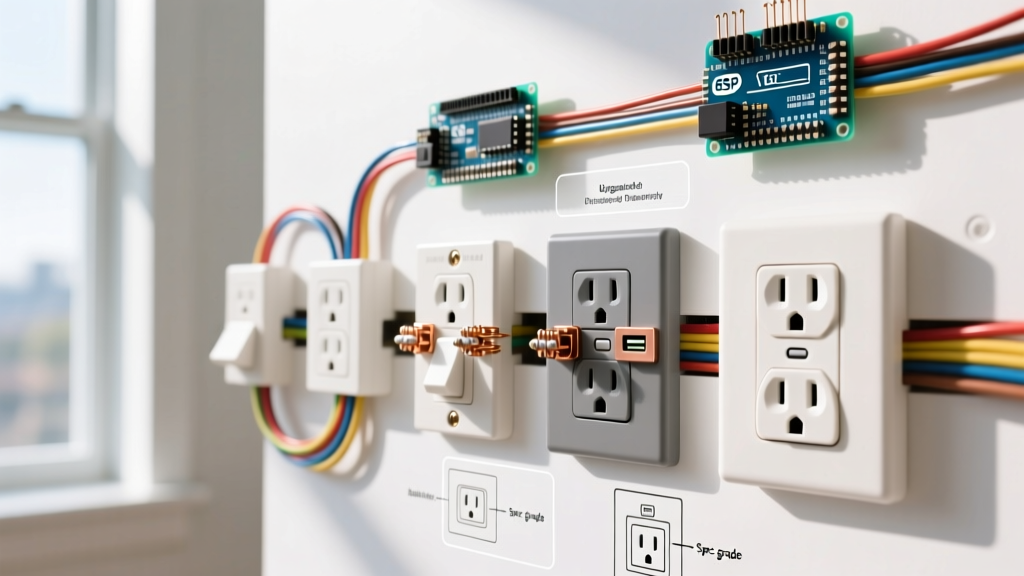
Before cutting into your drywall, you must select the appropriate hardware. A standard flush-mount outlet will push the TV's power plug and stiff HDMI cables outward, preventing the TV from sitting flush. You need specialized hardware.
| Feature | Carlon CMK500 Recessed Media Box | Legrand Pass & Seymour Power Bridge | Standard 1-Gang Outlet |
|---|---|---|---|
| Average Cost (2026) | $28 - $35 | $45 - $65 | $3 - $8 |
| Box Depth | 3.75 inches (Extra Deep) | 2.5 inches (Standard) | 2.5 inches (Standard) |
| Cable Accommodation | Excellent for thick HDMI 2.2 | Poor (cables bend sharply) | Fails (plug hits TV) |
| Installation Complexity | Moderate (Requires wire fishing) | High (Requires two cutouts) | Low (But unusable for flush TVs) |
Expert Recommendation: The Carlon CMK500 or the Arlington Industries DBVR1 are the industry standards for this application. Their extra-deep 3.75-inch cavities allow the TV's power plug and stiff HDMI cables to bend at a safe radius without snapping the internal copper shielding or causing HDMI handshake failures.
Tools and Materials Required
Do not rely on cheap, generic tools for electrical work. Precision prevents drywall blowout and ensures safe wire termination.
- Stud Finder: Franklin Sensors 710-3024 (Provides multi-stud detection for accurate cavity mapping, ~$45).
- Drywall Saw: Klein Tools 56043 or Milwaukee 48-22-8422 (Short blade prevents puncturing wires behind the wall, ~$16).
- Wire Strippers: Klein Tools 11055 (For precise 14/12 AWG stripping without nicking copper, ~$28).
- Cable: Southwire 14/2 NM-B (for 15A circuits) or 12/2 NM-B (for 20A circuits). Expect to pay ~$0.65 per foot in 2026.
- Torque Screwdriver: Wiha 645P (Calibrated to 14 in-lbs for receptacle terminals, ~$40).
- Fish Tape: Klein Tools 56315 (1/4-inch steel, 50ft, ~$35).
Step-by-Step Installation Guide
Step 1: Locating Studs and Planning the Cutout
Turn off the power at the main breaker panel to the circuit you will be tapping into. Verify the power is dead using a non-contact voltage tester (NCVT). Use your stud finder to locate the vertical wooden or metal studs. Most modern homes use 16-inch or 24-inch on-center (OC) stud spacing.
Mark the center of the stud bay where the TV's center bracket will sit. Hold the Carlon CMK500 faceplate against the wall and trace the cutout template. Use a torpedo level to ensure the horizontal lines are perfectly plumb. A crooked outlet will be visible around the edges of smaller TV mounts.
Step 2: Cutting the Drywall and Fishing the Romex
Score the drywall with a utility knife, then use your short-blade drywall saw to cut the opening. Critical Safety Note: Only insert the saw blade 1 inch into the wall cavity. Plumbers and electricians frequently run wires and PVC pipes horizontally through studs; plunging a full-length saw blade can easily sever an existing circuit or water line.
Next, fish the NM-B cable from an existing outlet below or from the attic above. If tapping into an existing outlet below, remove the old receptacle, disconnect the wires, and feed your fish tape up through the top knockout of the existing box. Have a helper guide the fish tape into the new upper cutout using a bent wire coat hanger. Once the tape emerges, tape your new Romex cable to the fish tape, wrap it tightly in electrical tape to prevent snags, and pull it down into the lower box.
Per the Consumer Product Safety Commission (CPSC), if your NM-B cable runs through a drilled hole in a stud and is less than 1.25 inches from the face of the stud, you must install a steel nail plate (NEC 300.4) to prevent future drywall screws from piercing the wire and causing a fire.
Step 3: Terminating the Wires at the Recessed Box
Insert the new recessed box into the drywall cutout. For old-work (remodel) boxes, tighten the mounting screws until the plastic flanges flip and clamp securely against the back of the drywall. Do not overtighten, or you will crush the drywall core.
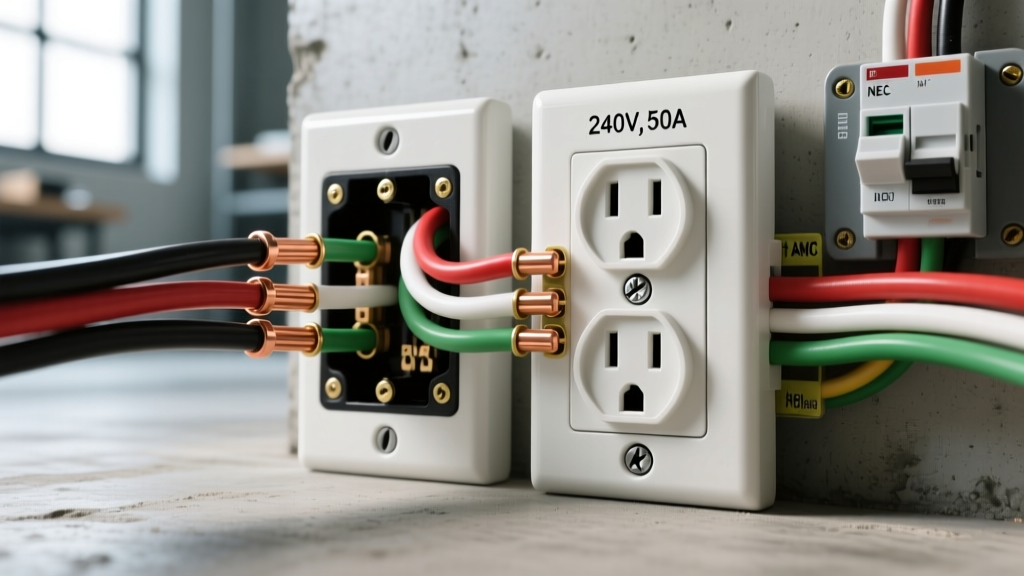
Strip the outer NM-B jacket back 8 inches, and strip 3/4 inch of insulation from the black (hot), white (neutral), and bare (ground) wires. Form a J-hook in the exposed copper. Wrap the bare ground wire around the green grounding screw, the white wire around the silver screw, and the black wire around the brass screw. Always wrap the wire clockwise so that tightening the screw pulls the loop tighter rather than pushing it out.
Using your torque screwdriver set to 14 in-lbs (the standard for most 15A UL-listed receptacles per UL 498), tighten the terminal screws. Proper torque prevents arcing, thermal expansion, and eventual connection failure.
Step 4: Mounting the TV and Managing Cables
Before mounting the TV, plug in a lamp or voltage tester to the new recessed outlet to verify correct wiring and polarity. Once confirmed, route your CL3-rated HDMI and optical cables through the bottom of the recessed box. The 3.75-inch depth of the Carlon box will allow the cables to loop gently downward, maintaining their minimum bend radius. Mount the TV bracket, ensuring the lag bolts hit the center of the studs, and hang the display.
Troubleshooting Common Installation Failures
Even with careful planning, in-wall electrical projects can present edge cases. Consult this matrix if you encounter issues during or after installation.
| Symptom | Probable Cause | Expert Solution |
|---|---|---|
| GFCI breaker trips immediately upon plugging in TV. | The tapped circuit is part of a GFCI/AFCI protected loop (common in bedrooms/bathrooms per 2023+ NEC updates). | Ensure the neutral (white) pigtail from the new outlet is connected to the LOAD side of the upstream GFCI, or move the tap to a standard, non-protected lighting/receptacle circuit. |
| TV displays 'No Signal' or HDMI flickers intermittently. | The HDMI cable was bent at a 90-degree angle against the wall, breaking internal shielding. | Remove the TV. Swap the standard flush outlet for an extra-deep recessed box (min 3.5 inches) or use a 90-degree HDMI adapter to relieve mechanical stress on the cable head. |
| Drywall crumbles around the outlet flanges. | Overtightening the old-work mounting screws or cutting the hole 1/8-inch too wide. | Loosen the screws, insert wooden shim stock or specialized drywall repair clips (like the Strap-Toggle) behind the drywall to provide a solid clamping surface, then retighten. |
Final Safety and Inspection Notes
Installing an electrical outlet behind TV setups is a highly rewarding DIY project that dramatically improves your living space's aesthetics. However, electrical work carries inherent risks. Always verify local municipal codes, as some jurisdictions require a permit and a rough-in inspection by a licensed electrical inspector before closing the wall with drywall or mounting the television. For comprehensive guidelines on safe wiring methods and equipment, refer to the Occupational Safety and Health Administration (OSHA) standards on wiring methods. When in doubt, consult a licensed master electrician to ensure your home entertainment setup is both beautiful and fundamentally safe.