
The Physics of the Spark: Inrush Current vs. Arc Faults
It is a terrifying moment for any homeowner: you push a plug into the wall, and a bright flash accompanies a sharp popping sound. A common panic-driven search query we see on the ElectricalFlux forums is: 'My electrical outlet sparks when I plug something in, is my house going to catch fire?' The short answer is: it depends entirely on the physics of the spark and the load you are connecting.
To diagnose the issue accurately, we must differentiate between normal capacitive inrush arcing and dangerous high-resistance series faults. Not all sparks indicate an impending electrical fire, but ignoring the wrong type of arc can lead to catastrophic thermal degradation.
Normal Arcing: Switch-Mode Power Supplies (SMPS)
Modern electronics like laptop chargers, television power supplies, and vacuum cleaners utilize Switch-Mode Power Supplies (SMPS). These devices contain large internal capacitors that are completely discharged when unplugged. The exact millisecond the plug's prongs make contact with the receptacle's internal wipers, the capacitors act as a dead short, drawing a massive inrush current—often peaking between 20 to 40 amps for a few milliseconds—before settling down to their normal operating draw. This rapid ionization of the air gap between the plug and the outlet creates a brief, bright blue or white spark. This is a normal byproduct of capacitive charging and does not necessarily mean your outlet is failing.
Dangerous Arcing: High-Resistance Connections
Conversely, if you notice orange or yellow sparks, a lingering smell of ozone or melting plastic, or if the spark occurs when plugging in a purely resistive load (like a basic incandescent lamp or a simple phone charger), you are likely witnessing a series arc fault. This occurs when the internal brass contacts of the receptacle have lost their spring tension, or when the wiring connections on the back of the device have loosened due to years of thermal cycling. According to the National Fire Protection Association (NFPA), loose electrical connections are a leading cause of residential electrical fires, as the high resistance generates intense localized heat.
Step 1: The Visual Inspection Protocol (Power OFF)
Before touching a multimeter, you must perform a rigorous visual and physical inspection. Safety is paramount.
- Lockout/Tagout: Locate your main electrical panel and switch off the breaker controlling the suspect outlet. Verify the power is off using a non-contact voltage tester (NCVT), such as the Klein Tools NCVT-3, testing both the top and bottom receptacles.
- Remove the Faceplate: Unscrew the decorative cover. Inspect the inside of the polycarbonate faceplate for brown scorch marks or localized melting around the plug slots.
- Extract the Receptacle: Remove the two long mounting screws securing the yoke to the junction box. Gently pull the receptacle out without disconnecting the wires.
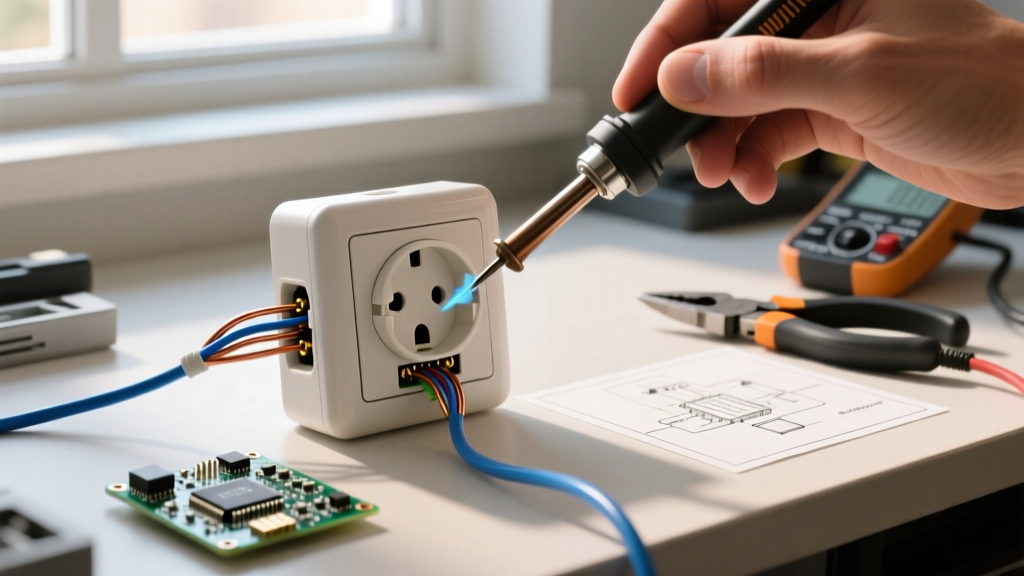
- Inspect the Terminals: Look closely at where the wires meet the brass (hot) and silver (neutral) screws. Are the wires pushed into the small holes on the back (backstabbed)? Is the insulation melted or discolored?
Expert Insight: If you see 'backstabbed' (push-in) connections on a 15-amp circuit, this is almost always the culprit for intermittent sparking. The internal spring-loaded tangs in cheap receptacles lose tension over time, creating a microscopic air gap that arcs under load.
Step 2: Multimeter Diagnostics for Outlet Integrity
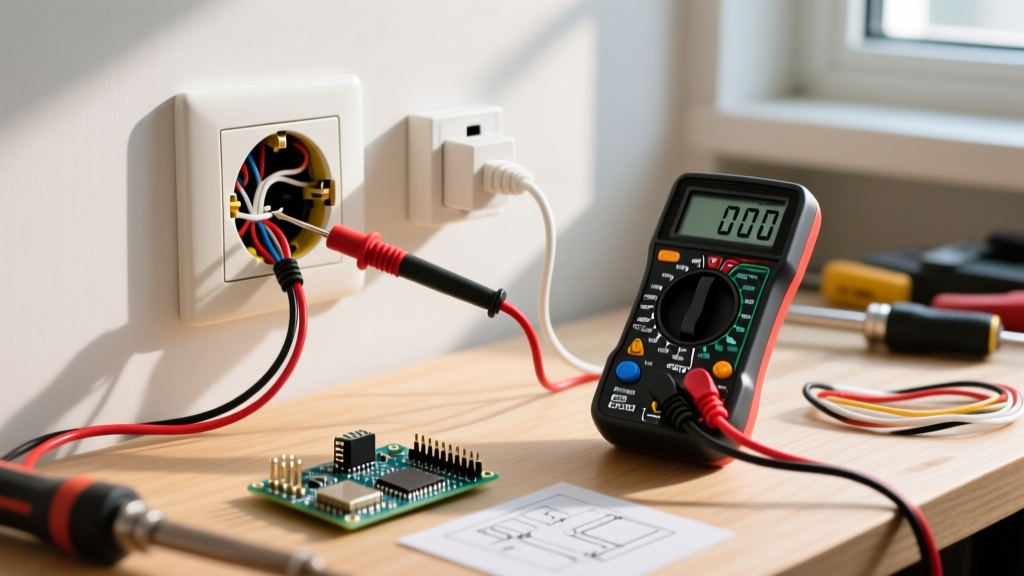
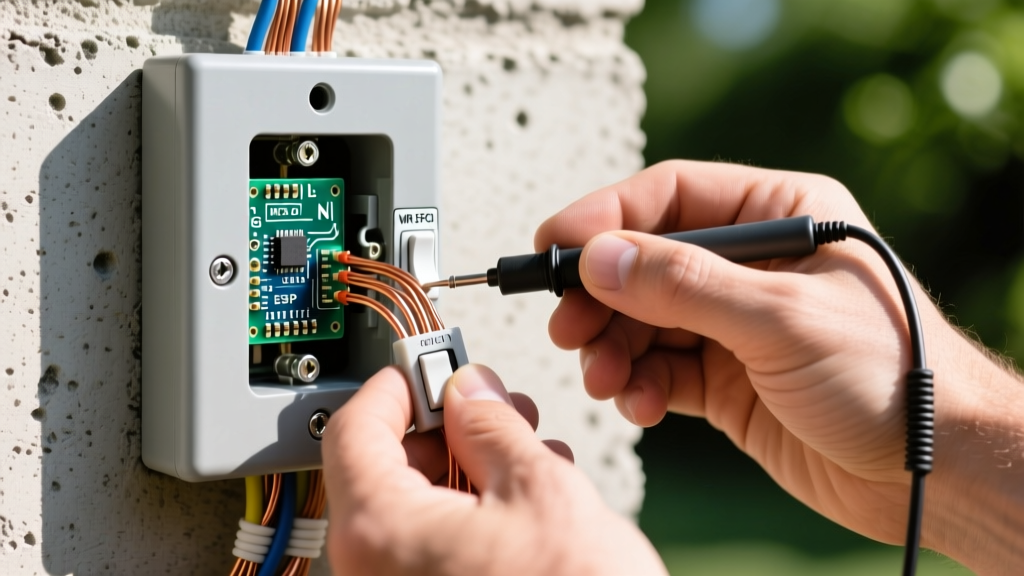
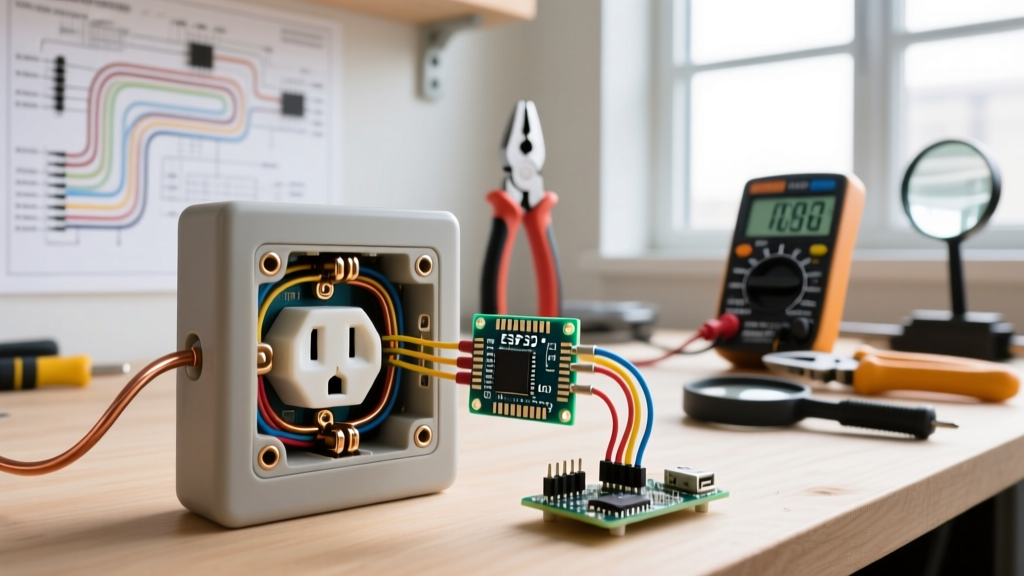
Once the visual inspection is complete and you have confirmed the outlet is either safe to re-energize for testing or you are testing a different outlet on the same circuit, use a True RMS multimeter (like the Fluke 117) to verify electrical integrity.
- Hot to Neutral (Brass to Silver): Should read between 110V and 125V. A reading below 108V under load indicates severe voltage drop, likely from a loose neutral somewhere upstream.
- Hot to Ground (Brass to Green): Should match the Hot-to-Neutral reading exactly (within 0.5V).
- Neutral to Ground (Silver to Green): Should read less than 1.5V. A higher reading indicates a compromised neutral path or an illegal neutral-ground bond downstream.
If your voltage readings fluctuate wildly when you gently wiggle the plug, the internal wipers of the receptacle are permanently fatigued and the device must be replaced.
Appliance Load & Spark Behavior Matrix
Use the following diagnostic matrix to determine if the spark you witnessed requires immediate intervention or is merely a characteristic of the connected load.
| Appliance Type | Spark Characteristics | Root Cause | Action Required |
|---|---|---|---|
| Laptop Chargers / SMPS | Bright blue/white, single quick pop | Capacitive inrush current (up to 40A peak) | Normal; no action needed |
| Vacuums / Power Tools | Yellow/Orange, accompanied by physical plug resistance | Worn receptacle contacts or loose internal wiring | Replace receptacle immediately |
| Space Heaters (1500W+) | Continuous buzzing, melting smell, large orange arc | Thermal degradation, backstabbed connection failure | Cease use; inspect wiring and replace outlet |
| Phone Chargers (Low Wattage) | Any visible spark | Failing internal SMPS bridge rectifier or bad outlet | Test outlet with a heavy load; replace if arcing persists |
Receptacle Degradation: Backstab vs. Screw Terminals
The most common failure mode we diagnose in the field regarding outlet sparking is the use of push-in backstab connectors. While the National Electrical Code (NEC) permits them for 14 AWG wire on 15-amp circuits, they are notorious for causing high-resistance faults. When a high-draw appliance like a space heater or a microwave is used, the wire heats up and expands. When turned off, it cools and contracts. Over hundreds of these thermal cycles, the tiny brass spring inside the backstab connector weakens. This creates a microscopic gap. When current flows across this gap, it arcs, generating temperatures exceeding 1,500°F, which eventually melts the plastic housing and can ignite surrounding drywall paper or insulation.
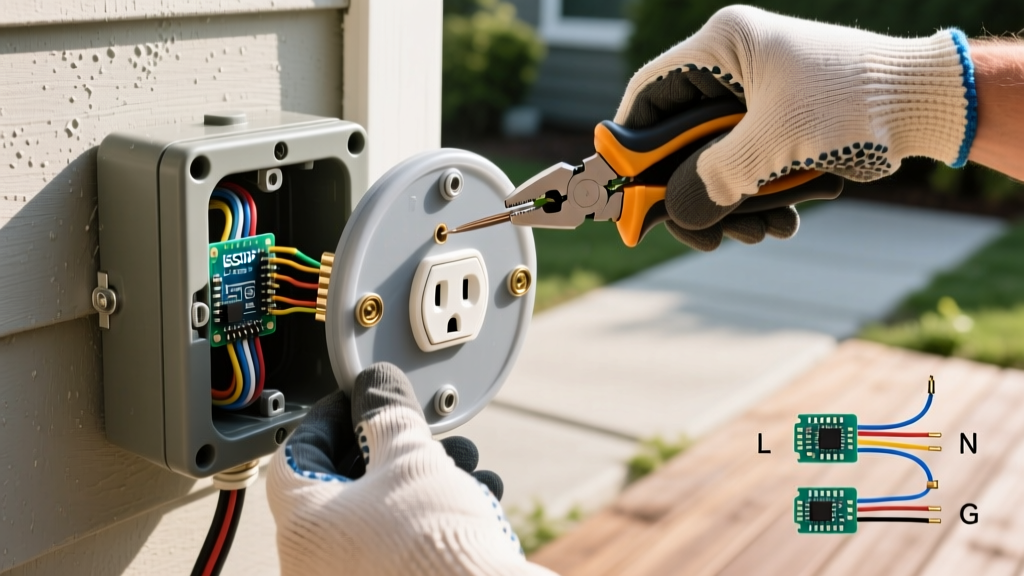
When replacing a sparking outlet, always use the side-wire (screw terminal) method. Wrap the stripped wire clockwise around the screw so that tightening the screw pulls the wire tighter into the connection. For an even more robust connection, professional electricians use the 'back-wiring' feature found on commercial-grade receptacles, where the wire is inserted into a hole and a heavy-duty internal clamp is tightened via the side screw.
2026 Replacement Costs & Recommended Models
If your inspection reveals melted plastic, scorched wires, or fatigued internal contacts, replacement is mandatory. Do not attempt to salvage a heat-damaged receptacle. As of 2026, the cost of high-quality, code-compliant receptacles remains highly affordable, making DIY replacement a cost-effective safety upgrade.
- Standard 15A Tamper-Resistant (TR) Duplex: The Leviton T5262 or Eaton TR15W are industry standards. They feature built-in shutters that prevent foreign object insertion (required by NEC Article 406.12). Cost: $3.50 - $5.00 per unit.
- 20A Commercial Grade: If the outlet is in a kitchen, garage, or powers heavy tools, upgrade to a 20A commercial receptacle (e.g., Leviton 5352). These feature heavier brass internal wipers that resist fatigue and arcing far better than residential models. Cost: $6.00 - $9.00 per unit.
- GFCI Protection: If the sparking outlet is within 6 feet of a water source (sinks, laundry tubs), it must be a Ground Fault Circuit Interrupter. The Eaton TRGF15W provides both tamper resistance and ground fault protection. Cost: $18.00 - $24.00 per unit.
Hiring a licensed electrician to diagnose and replace a single receptacle typically costs between $125 and $225 in 2026, factoring in the minimum service call fee. If you are comfortable with basic lockout procedures and wire stripping, the DIY material cost is under $10.
Code Compliance & Safety Standards
Electrical safety is not just about preventing sparks; it is about adhering to rigorous, life-saving standards. The Ready.gov Electrical Fire Safety Guidelines emphasize that any outlet exhibiting discoloration, heat, or arcing must be taken out of service immediately. Furthermore, the U.S. Department of Energy's Home Electrical Safety protocols mandate that all 15A and 20A, 125V receptacles in residential dwellings must be Tamper-Resistant (TR) to prevent childhood electrocution, a standard that has been strictly enforced in the NEC since 2008 and expanded in subsequent 2023 and 2026 code cycles.
By understanding the difference between harmless inrush current and dangerous thermal arcing, utilizing a multimeter for objective diagnostics, and upgrading to commercial-grade screw-terminal receptacles, you can permanently eliminate the hazard of sparking outlets and ensure your home's electrical infrastructure remains safe for decades.