
The Reality of Exterior Wiring: Beyond the Drywall
Performing a successful outdoor electrical outlet installation requires navigating a hostile environment. Unlike interior wiring, exterior circuits face UV radiation, thermal expansion, driving rain, and freezing cycles. As of 2026, local jurisdictions enforcing the latest National Electrical Code (NEC) cycles have zero tolerance for improper weatherproofing or missing ground-fault protection. This guide breaks down the exact materials, code mandates, and professional wiring techniques required to install a durable, code-compliant exterior receptacle.
Critical NEC Code Mandates for Exterior Receptacles
Before pulling any wire, you must understand the baseline safety requirements governing outdoor circuits. According to the National Fire Protection Association (NFPA), the NEC strictly regulates wet and damp locations to prevent electrocution and arc faults.
- NEC Article 210.8(F): Mandates Ground-Fault Circuit Interrupter (GFCI) protection for all 125-volt, single-phase, 15- and 20-ampere receptacles installed outdoors. Recent code cycles have expanded this to include 250-volt outdoor receptacles (such as those for RVs or heavy-duty power tools).
- NEC Article 406.9(A) & (B): Requires all 15A and 20A outdoor receptacles to be listed as Weather-Resistant (WR) and Tamper-Resistant (TR). Furthermore, they must be protected by an Extra-Duty in-use weatherproof cover that remains closed while a cord is plugged in.
- NEC Article 300.5: Dictates burial depths for underground feeder cables. For a 120V/20A GFCI-protected residential circuit using UF-B cable, the minimum burial depth is 12 inches. If utilizing PVC conduit with THWN-2 wire, the trench must be 18 inches deep.
Professional Material Breakdown & Cost Estimates
Cheap materials fail quickly outdoors. The UV radiation and moisture will degrade standard indoor components within a single season. Below is the bill of materials (BOM) for a premium, professional-grade installation.
| Component | Recommended Model / Spec | Purpose | Avg Cost (2026) |
|---|---|---|---|
| WR GFCI Receptacle | Hubbell WR20TR | Weather/Tamper resistant core | $32.00 |
| In-Use Cover | TayMac ML5400 | Extra-duty wet location shield | $18.50 |
| Underground Cable | Southwire 12/2 UF-B (50ft) | Direct burial feeder | $55.00 |
| Above-Grade Conduit | Schedule 40 PVC 3/4" | Physical protection above ground | $12.00 |
| Weatherproof Box | Red Dot R9351 (Fiberglass) | Non-corrosive mounting enclosure | $14.00 |
| Sealant | GE Advanced Silicone 2 | UV/Waterproof siding seal | $8.50 |
Total DIY Material Cost: ~$140.00 | Professional Installation Labor Rate: $250 - $450 depending on trenching complexity.
Step-by-Step Wiring Scenario: Extending a Circuit Outdoors
This scenario assumes you are tapping into an existing indoor 20A circuit (like a garage or basement panel) and routing it through the rim joist to the exterior.
Step 1: Trenching and Conduit Transition
Dig a trench from the house to the desired outlet location. For 12/2 UF-B cable protected by a GFCI, NEC Table 300.5 requires a 12-inch burial depth. However, where the cable emerges from the ground and travels up the exterior wall, it is vulnerable to weed whackers and physical damage. You must transition the UF-B into a 3/4-inch Schedule 40 PVC conduit using a PVC female adapter and a waterproof LB conduit body. Secure the PVC to the siding using PVC straps every 3 feet.
Step 2: Mounting the Weatherproof Box
Do not mount the box directly to wood siding without sealing it. Water will wick behind the box and rot the sheathing. Apply a thick, continuous bead of GE Advanced Silicone 2 to the back flange of the fiberglass weatherproof box. Press it firmly against the siding and secure it with 2-inch exterior-grade stainless steel screws. Ensure the cable enters the bottom hub of the box, not the top or sides, to prevent gravity-fed water intrusion.
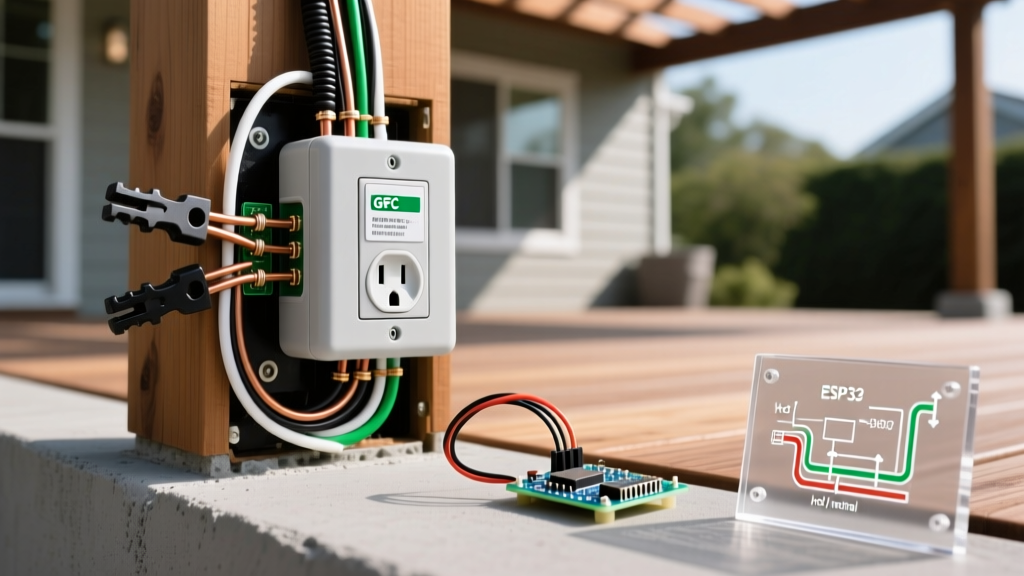
Step 3: Terminating the WR GFCI
Strip 3/4 inch of insulation from the black, white, and bare copper wires. Never use the push-in backstab terminals on outdoor receptacles; the thermal expansion and contraction of exterior environments will cause backstab connections to loosen and arc over time.
- Hook the bare copper ground wire clockwise around the green grounding screw and torque to 14 in-lbs.
- Connect the white neutral wire to the silver 'LINE' terminal.
- Connect the black hot wire to the brass 'LINE' terminal.
- If this is the end of the run, place the yellow warning sticker over the 'LOAD' terminals to indicate they are not in use.
Step 4: Installing the In-Use Cover
The TayMac ML5400 features an adjustable hinge. For a bottom-hinge configuration (which allows water to shed off the top lip), attach the hinge bracket to the bottom of the box. Feed the gasket seal tightly around your plugged-in cord. The Electrical Safety Foundation International (ESFI) strongly emphasizes that in-use covers must remain fully closed during operation to maintain the wet-location rating.
Pro-Troubleshooting Insight: If your newly installed outdoor GFCI trips immediately after a heavy rainstorm, the issue is rarely the receptacle itself. 90% of the time, the failure mode is a compromised seal at the conduit entry hub. Use a tube of silicone duct seal (not liquid caulk) to pack the conduit hub where the UF-B cable enters the PVC. Liquid caulk shrinks and cracks under UV exposure, creating a micro-channel for water to travel up the wire jacket and into the box.
Common Failure Modes in Exterior Wiring
Even seasoned electricians encounter callbacks on exterior circuits. Understanding these edge cases will save you hours of diagnostic frustration.
- Condensation Tripping: In high-humidity climates, temperature swings cause condensation to form inside the bubble cover. If the GFCI is not rated for wet locations (marked 'WR'), this micro-moisture will cause nuisance tripping. Always verify the 'WR' stamp on the yoke.
- Neutral-to-Ground Faults: If the bare ground wire accidentally touches the silver neutral terminal or the metal box, the GFCI will sense a leakage current and trip. Keep the ground wire dressed neatly at the back of the fiberglass box, away from the terminal screws.
- UV Degradation of Cable Jackets: Standard NM-B (Romex) cable cannot be used outdoors, even inside conduit. Conduit is not considered a dry location if it is exposed to the elements, as condensation will form inside the pipe. UV light will also destroy NM-B jackets if exposed at the conduit ends. Only use UF-B or THWN-2 rated wire.
Frequently Asked Questions
Can I install an outdoor outlet on a 15-amp circuit?
Yes, provided the circuit is not already heavily loaded. However, a dedicated 20-amp circuit using 12-AWG wire is the professional standard for outdoor receptacles, as exterior tools (pressure washers, shop vacs, electric mowers) frequently draw 12 to 15 amps, which will continuously trip a 15-amp breaker during motor startup surges.
Do I need a GFCI breaker in the panel if the outdoor outlet is a GFCI receptacle?
No. NEC code requires GFCI protection, not redundant GFCI devices. Installing both a GFCI breaker and a GFCI receptacle on the same circuit is a waste of money and can lead to nuisance tripping due to cumulative capacitive leakage currents. Use a standard thermal-magnetic breaker in the panel and rely on the WR GFCI receptacle at the point of use for easier resetting.