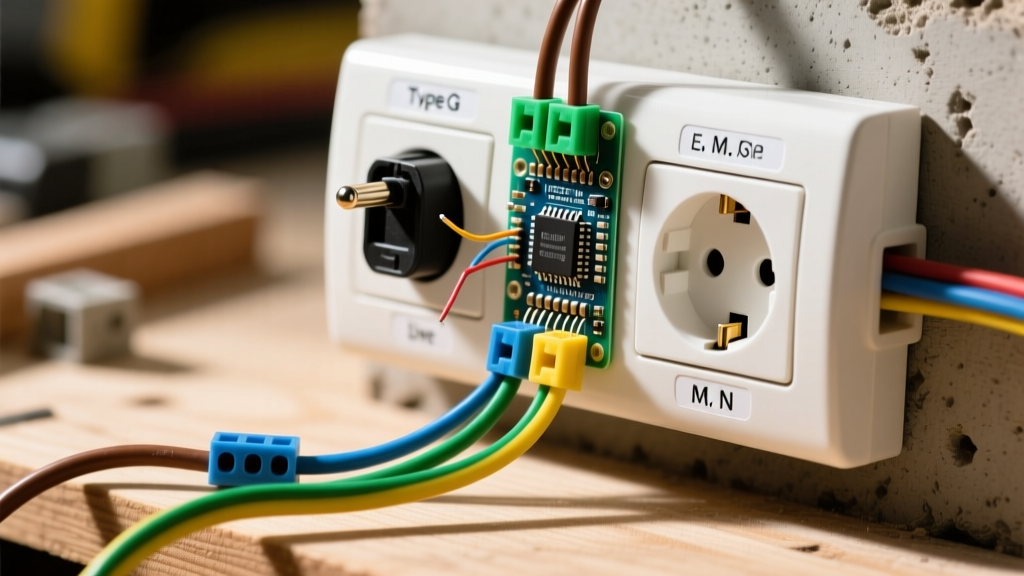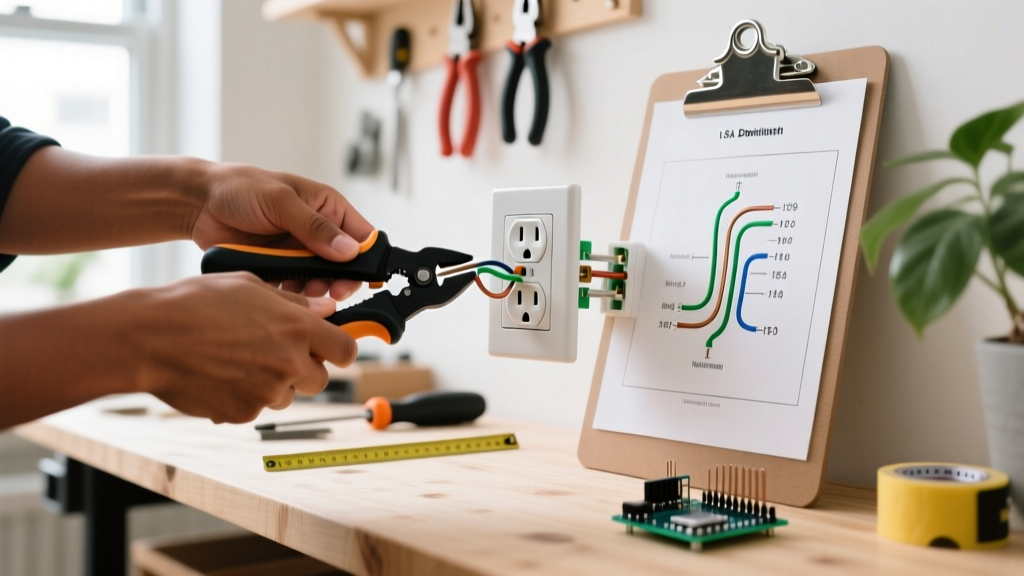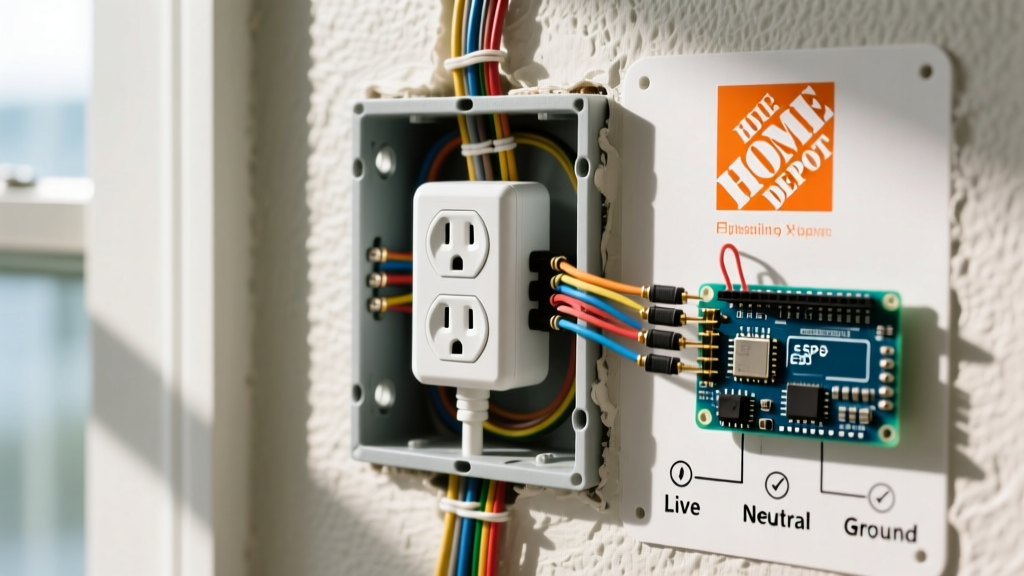

The Recessed Box Problem and NEC 314.20
When renovating older homes, replacing backsplash tile, or installing new wainscoting, DIYers and electricians frequently encounter a frustrating issue: the electrical receptacle box is buried deep behind the new wall surface. Naturally, your first instinct might be to search for a home depot electrical outlet extender to bridge the gap. But before you head to the store and install the first plastic shim you find, you must understand the strict National Electrical Code (NEC) requirements governing these devices.
The primary code section dictating this installation is NEC 314.20 (In Wall or Ceiling). According to the National Fire Protection Association (NFPA 70), electrical boxes must be installed so that the front edge is set back no more than 1/4 inch (6 mm) from the finished surface in walls constructed of combustible materials like drywall or wood paneling. If the box is recessed deeper than 1/4 inch, you are legally required to use a listed box extender to bring the enclosure flush with the wall. This is not merely a bureaucratic suggestion; it is a critical fire-safety measure designed to contain electrical arcing and prevent heat from igniting the paper facing of your drywall or the wood framing inside the wall cavity.
What Qualifies as a Code-Compliant Outlet Extender?
Not all products sold in the electrical aisle are created equal, and many are frequently misunderstood by homeowners. A true box extender must physically extend the enclosure of the electrical box to the finished wall surface, capturing any sparks or heat generated by a loose wire connection.
Inspector's Note: As of the 2026 NEC adoption cycle, local inspectors are heavily scrutinizing recessed box violations in kitchen and bathroom remodels. Using unlisted makeshift spacers or stacking multiple washers to bridge a gap is an immediate fail and a severe fire hazard.
Comparison Matrix: Extenders, Tile Rings, and Shims
| Product Type | Max Gap Allowed | NEC Compliant for Recessed Box? | Avg. 2026 Price |
|---|---|---|---|
| Non-Metallic Box Extenders (e.g., Arlington BE1) | Up to 1.5 inches | Yes (Listed for combustible walls) | $2.50 - $3.50 |
| Metal / Plastic Tile Rings (Plaster Rings) | Up to 1.5 inches | Yes (Best for masonry/tile) | $1.50 - $4.00 |
| U-Shaped Outlet Shims (Spacers) | N/A (Do not close wall gap) | No (Only for leveling loose devices) | $3.00 (pack of 10) |
Evaluating Home Depot Electrical Outlet Extender Options
When walking the aisles of your local hardware store or browsing online, you will typically find three distinct categories of products marketed to fix recessed outlets. Here is the technical breakdown of what you are actually buying.
1. Arlington Industries BE1 / BE2 Box Extenders
The Arlington BE1 (for single-gang boxes) and BE2 (for double-gang boxes) are the gold standard for residential retrofit work. Manufactured by Arlington Industries, these are rigid, non-combustible PVC sleeves that slip directly into your existing recessed box. They feature built-in mounting tabs that align perfectly with standard device screws. Because they physically extend the containment zone of the box to the drywall edge, they fully satisfy NEC 314.20. They typically cost around $2.98 each and are widely considered the most reliable fix for drywall gaps ranging from 1/4 inch to 1.5 inches.
2. Ideal Industries Tile Rings
If you are dealing with a masonry wall, a concrete block, or a thick tile backsplash, metal or hard plastic tile rings (often called plaster rings) are the correct choice. These screw directly onto the ears of the existing metal or plastic box. While highly effective, they can be more difficult to install in a retrofit scenario without damaging surrounding tile, as they require precise alignment and longer 6-32 device screws.
3. Generic Outlet Shims and Spacers (The Code Gray Area)
Products like the Gardner Bender or Ideal U-shaped plastic spacers are frequently misused. Shims do not extend the electrical box. They are designed solely to take up space between the yoke (metal strap) of the receptacle and a flush electrical box to prevent the outlet from rocking when you plug in a cord. If your drywall is 1/2 inch away from the electrical box, stacking five plastic shims on the device screws is a massive NEC violation. The gap between the box and the wall remains open, leaving combustible materials exposed to internal arcing.
Step-by-Step: Installing a Box Extender to Code
Proper installation requires more than just sliding the plastic sleeve into the wall. Follow this procedure to ensure a safe, inspector-approved result.
- Cut the Power and Verify: Turn off the circuit breaker. Do not rely solely on the switch. Use a non-contact voltage tester, such as the Klein Tools NCVT-3, to confirm the wires are completely de-energized.
- Remove the Device: Unscrew the receptacle from the box and gently pull it out. Note the wiring configuration (line vs. load, especially if dealing with a GFCI).
- Measure the Gap: Use a tape measure to determine the exact distance from the front edge of the existing electrical box to the finished surface of the wall.
- Prepare the Extender: If using an Arlington BE1, you may need to trim the length of the extender sleeve with a utility knife to match your exact gap measurement, ensuring it sits perfectly flush without bowing the drywall.
- Insert and Align: Slide the extender into the existing box. Ensure the wire entry holes on the extender do not pinch or scrape the insulation on your Romex or THHN wires.
- Reattach the Receptacle: Pass the device screws through the receptacle yoke, through the extender tabs, and into the original box ears. Critical 2026 Code Update: Use a calibrated torque screwdriver to tighten the terminal screws on the receptacle to the manufacturer's specified torque (typically 14 in-lbs for standard 15A/20A devices) to prevent loose neutral connections.
Common Code Violations and Inspector Red Flags
Electrical inspectors see the same shortcut mistakes repeatedly. Avoid these critical failure modes:
- The "Caulk Fill" Method: Some DIYers attempt to fill the gap between a recessed box and the drywall with fire-rated intumescent caulk. While fire caulk is required for fireblocking in certain draft-stopping scenarios, the NEC does not recognize caulk as a substitute for a listed mechanical box extender for standard receptacle containment.
- Using Longer Screws Without an Extender: Simply buying 2-inch 6-32 machine screws to reach a deeply buried box leaves the sides of the wall cavity completely exposed to the electrical connections. This violates the core containment purpose of NEC 314.20.
- Grounding Continuity Loss: When adding metal tile rings to metal boxes, ensure metal-to-metal contact is maintained. If the existing box is painted or rusted, you must use a grounding pigtail to bond the device ground to the box, as outlined in OSHA electrical grounding standards and NEC 250.148.
FAQ: Outlet Extender Code Questions
Can I use a box extender on a GFCI outlet?
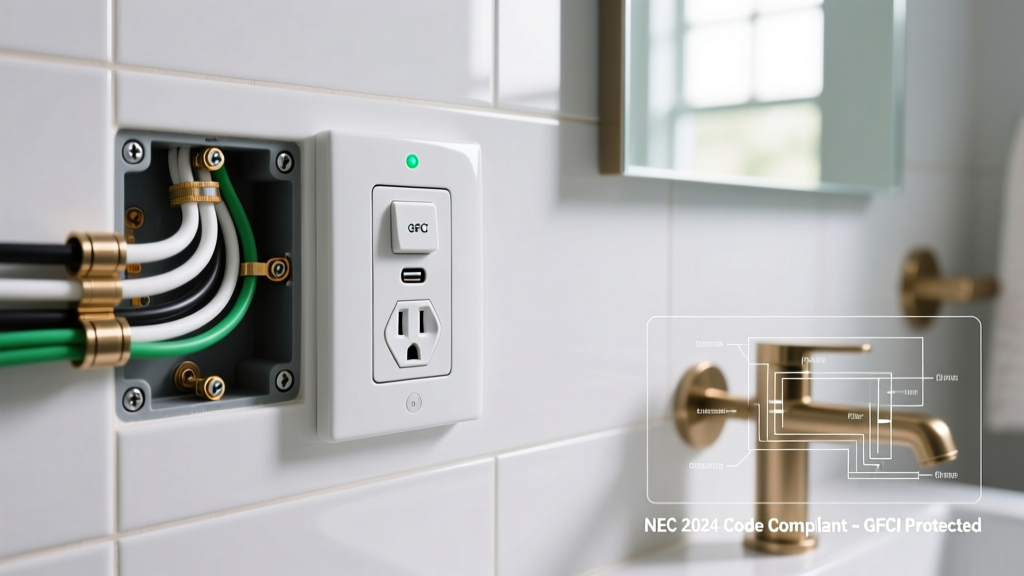
Yes. GFCI receptacles are often bulkier and deeper than standard receptacles, which sometimes forces the installer to recess the box slightly to accommodate the wires. An Arlington BE1 or BE2 works perfectly with GFCIs, provided you do not crush the wires behind the bulky GFCI body. Always ensure the GFCI's "Test" and "Reset" buttons are fully accessible and not obstructed by a poorly trimmed extender face.
What if the gap is deeper than 1.5 inches?
Standard non-metallic box extenders max out around 1.5 inches. If your box is buried deeper than this (common when adding thick stone veneer or acoustic paneling), you cannot use a simple slip-on extender. You must either install a listed deep-extension masonry ring, or, more safely, hire an electrician to physically pull the existing box forward and re-secure it to the stud framing.
Are outlet shims ever code compliant?
Yes, but only for their intended purpose: stabilizing a loose receptacle against a flush electrical box. If the box is already within the 1/4 inch NEC tolerance, but the device rocks when you plug in a vacuum cleaner, stacking one or two U-shaped shims behind the yoke is perfectly legal and highly recommended for mechanical stability.