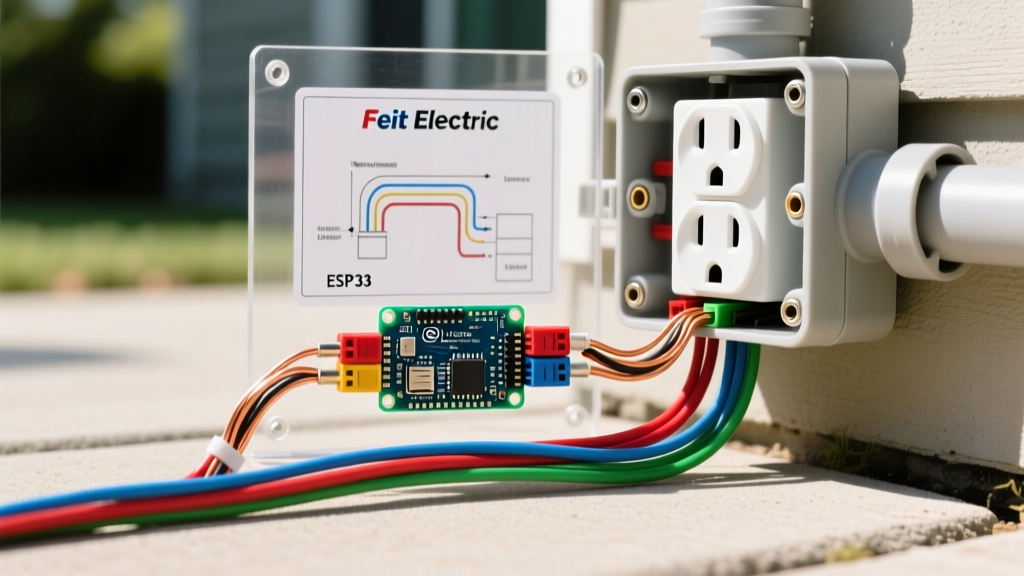

The Immediate Physics: What Happens If Water Gets In An Electrical Outlet?
When moisture breaches a receptacle, the immediate concern is a short circuit or an arc fault. To understand what happens if water gets in an electrical outlet, you must first understand that tap water, rainwater, and condensation are not pure H2O. They are laden with dissolved ions (calcium, magnesium, chlorine, and environmental pollutants) that make them highly conductive. According to the Occupational Safety and Health Administration (OSHA), water significantly lowers the resistance of human skin and environmental barriers, creating unintended paths for electrical current to ground.
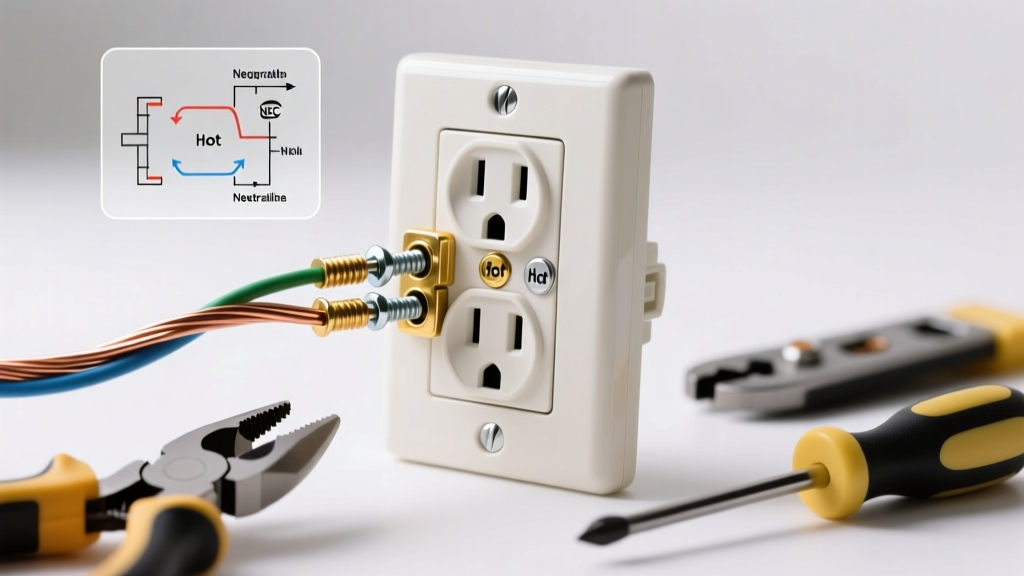
When conductive water bridges the gap between the hot (brass) terminal and the neutral (silver) terminal, or the hot terminal and the ground (green) screw, it creates a low-resistance path. This results in a massive, instantaneous spike in current. If the outlet is on a standard circuit, the thermal-magnetic breaker in your main panel should trip within milliseconds to prevent the wires from melting. If the outlet is protected by a Ground Fault Circuit Interrupter (GFCI), the internal toroidal transformer will detect a current imbalance as low as 4 to 6 milliamps (mA) and trip the circuit before a lethal shock or fire can occur.
Safety Warning: Never attempt to dry out a wet outlet with a hair dryer or compressed air while the circuit is live. Water can be forced deeper into the wall cavity, and the conductive moisture can bridge the gap to your tools or hands. Always kill the power at the breaker panel first.
The Hidden Danger: Long-Term Corrosion and Galvanic Degradation
Many homeowners assume that once an outlet dries out, it is safe to use again. This is a dangerous misconception. When water sits on the brass and nickel-plated contacts of a receptacle, it initiates galvanic corrosion and electrolysis. Even if the breaker tripped immediately, the brief exposure to moisture causes microscopic oxidation on the metal contact points.
As corrosion builds up on the internal terminal grips and the hot/neutral slots, it increases the electrical resistance at the connection point. According to Ohm's Law and Joule's First Law ($P = I^2R$), increased resistance at a constant current draw generates excessive heat. Over months or years, a water-damaged outlet that was simply "dried out" can develop a high-resistance fault, leading to melted faceplates, scorched drywall, and ultimately, an electrical fire. The National Fire Protection Association (NFPA) consistently cites degraded and corroded connections as a leading cause of residential electrical fires.
Diagnostic Checklist: Assessing Water Damage
Before deciding to simply wipe down the faceplate, perform this diagnostic evaluation to determine the extent of the damage:
| Inspection Point | Signs of Water Damage | Action Required |
|---|---|---|
| Faceplate Screws | Rust, orange/brown flaking, or white powdery residue. | Replace screws and inspect underlying yoke. |
| Receptacle Slots | Darkening, green/white crust (copper oxide/brass dezincification). | Immediate replacement of the entire receptacle. |
| Wire Insulation | Brittle, cracked, or discolored THHN/copper sheathing. | Cut back damaged wire and strip fresh copper. |
| Electrical Box | Standing water, rust on metal boxes, or mold on drywall. | Dry box, apply rust inhibitor, or replace metal box. |
Upgrade vs. Replace: Choosing the Right Receptacle for Damp Locations
If your outlet is in a basement, bathroom, garage, or exterior wall, it is classified by the National Electrical Code (NEC) as a damp or wet location. Replacing a water-damaged standard outlet with another standard outlet is a code violation and a temporary fix. You must upgrade to a Weather-Resistant (WR) Tamper-Resistant (TR) GFCI.
Standard TR GFCI vs. Weather-Resistant (WR) GFCI
Why spend $25 on a WR GFCI instead of $15 on a standard one? The internal engineering is vastly different.
- UV and Impact Stability: WR receptacles (like the Leviton GFWT2-W) use specialized thermoplastic faceplates that resist UV degradation and extreme temperature fluctuations, preventing the micro-cracks that let moisture into standard GFCIs.
- Corrosion-Resistant Terminals: Standard GFCIs use nickel-plated brass. WR GFCIs utilize heavily corrosion-resistant metals and specialized dielectric greases on the internal circuit board to prevent humidity-induced micro-shorts.
- Code Compliance: As of the 2023 and 2026 NEC code cycles (Article 406.9), all 15A and 20A receptacles installed in damp or wet locations must be listed as Weather-Resistant.
Step-by-Step Replacement Guide for Water-Damaged Outlets
Upgrading a damaged outlet requires precision. The modern NEC (Section 110.14(D)) mandates the use of a calibrated torque screwdriver for terminal connections to prevent loose, high-resistance connections that cause arcing.
- Kill and Verify Power: Turn off the breaker. Use a dual-range non-contact voltage tester (such as the Klein Tools NCVT-2) to verify the absence of voltage on both the top and bottom slots of the receptacle.
- Extract and Inspect: Remove the faceplate and unscrew the yoke. Pull the receptacle out gently. Inspect the black (hot), white (neutral), and bare/green (ground) wires. If the copper is blackened or brittle, use wire cutters to snip back to clean, shiny copper.
- Strip and Prep: Use a precision wire stripper to remove exactly 5/8 inch of insulation from the 14 AWG or 12 AWG solid copper wire. Do not nick the copper conductor, as this creates a weak point prone to snapping under the terminal screw.
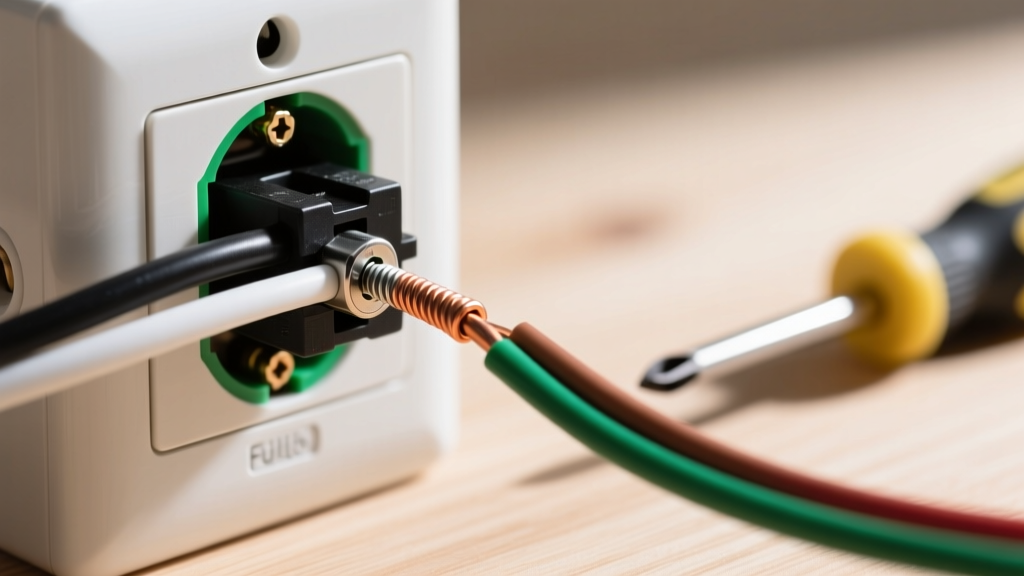
- Make the Connections: Connect the bare ground to the green screw. Connect the white wire to the silver LINE terminal. Connect the black wire to the brass LINE terminal. (Note: Only use the LOAD terminals if you are protecting downstream outlets).
- Torque to Specification: This is the most skipped step by amateurs. Check the manufacturer's torque spec on the back of the WR GFCI (typically 14 in-lbs for Leviton and Hubbell). Use a torque screwdriver (e.g., Milwaukee 48-22-9003) to tighten the terminal screws until the tool clicks. This ensures a gas-tight connection that water vapor cannot easily penetrate.
- Seal the Box: Before pushing the wires back, apply a bead of 100% silicone sealant around the perimeter of the electrical box where it meets the drywall or siding to prevent future moisture intrusion.
Preventative Upgrades: Weatherproof Covers and Sealants
Replacing the receptacle is only half the battle. If water got in once, it will get in again unless the physical barrier is upgraded.
For exterior outlets, you must install an Extra-Duty While-In-Use Cover. Unlike the old, shallow "bubble" covers that only protect the outlet when nothing is plugged in, extra-duty covers (like the Taymac MM540C) are deep enough to accommodate a plugged-in cord while maintaining a watertight seal. These covers feature integrated foam gaskets that compress against the WR receptacle faceplate, creating a secondary barrier against driving rain and sprinkler spray.
For interior damp locations (like basements or bathrooms), ensure the faceplate is seated flush against the tile or drywall. If the wall surface is uneven, use a weatherproof foam gasket (often included with WR receptacles) between the receptacle yoke and the faceplate to block ambient humidity from entering the electrical box.
Final Testing Protocol
Once the WR GFCI and weatherproof cover are installed, restore power at the breaker. Press the "TEST" button on the GFCI; it should click and cut power. Press "RESET" to restore. Finally, plug in a GFCI tester with an open-ground indicator to verify that the wiring is correct and the trip mechanism is fully functional. By understanding the severe chemical and physical damage water causes, and by upgrading to modern, code-compliant WR components, you eliminate the fire and shock hazards associated with moisture intrusion.