
The True Electrical Outlet Repair Cost: Diagnostic Breakdown
When a wall receptacle suddenly stops working, the immediate concern is often the electrical outlet repair cost. However, before you spend money on a professional service call or head to the hardware store, accurate diagnosis is critical. A dead outlet is rarely just a 'bad outlet'—it is usually a symptom of an upstream wiring fault, a tripped GFCI, or a failed push-in connection. According to the Consumer Product Safety Commission (CPSC), faulty electrical receptacles and cords are linked to thousands of residential fires annually, making proper troubleshooting a vital safety measure, not just a convenience.
In this guide, we break down the exact material and labor costs for 2026, provide an expert-level diagnostic matrix for dead receptacles, and explain the specific failure modes that dictate whether you need a $2 DIY fix or a $300 professional rewiring job.
2026 Material and Labor Pricing Matrix
The cost to repair an electrical outlet varies wildly depending on whether you are replacing a standard 15A duplex receptacle or upgrading to code-compliant AFCI/GFCI protection. Below is a realistic pricing matrix based on current 2026 market rates for both DIY materials (sourced from major suppliers like Leviton and Hubbell) and licensed electrician labor.
| Repair Scenario | DIY Material Cost | Pro Labor + Parts (Total) | Common Cause / Failure Mode |
|---|---|---|---|
| Standard 15A Duplex Replacement | $1.50 - $3.00 | $125 - $175 | Worn internal contacts, backstab failure |
| 20A GFCI Receptacle (Kitchens/Baths) | $18.00 - $28.00 | $180 - $250 | Moisture ingress, internal sensor fault |
| AFCI/GFCI Breaker Upgrade (Panel) | $45.00 - $75.00 | $250 - $400 | NEC code compliance, nuisance tripping |
| Upstream Loose Neutral / Hot Repair | $0.00 (Wire nuts only) | $150 - $350 | Voltage drop, burnt wire insulation |
| Aluminum Wiring Pigtail Repair (CO/ALR) | $5.00 - $12.00 | $200 - $450 per outlet | Thermal creep, oxidation at terminals |
Note: Professional electricians typically charge a trip fee of $75 to $125, which covers the first hour of labor. If the issue is a simple receptacle swap, you are primarily paying for the service call and liability insurance.
Essential Diagnostic Tools
Do not attempt to diagnose an outlet with a basic $10 plug-in tester. To accurately determine the root cause and avoid unnecessary repair costs, you need professional-grade diagnostic tools:
- Non-Contact Voltage Tester (NCVT): The Klein Tools NCVT-3 ($35) is essential for verifying the presence of AC voltage without exposing bare wire.
- Digital Multimeter (DMM): A Fluke 117 True-RMS Multimeter ($200) or a reliable budget alternative like the Klein Tools MM400 ($50) is required to measure exact voltage drops and verify ground continuity.
- Receptacle Tension Tester: The Palmer LT-101 ($25) measures the physical grip of the outlet's internal brass contacts on a plug blade, identifying worn-out receptacles that cause arcing.
Expert Diagnostic Matrix: Why is the Outlet Dead?
If your breaker panel shows no tripped breakers, but the outlet is completely dead, use this step-by-step multimeter matrix to isolate the fault. This process separates a $2 DIY receptacle swap from a complex wiring fault.
Step 1: The Three-Point Voltage Test
Set your multimeter to AC Voltage (V~). Insert the probes into the outlet slots and record the following measurements:
- Hot to Neutral (Short slot to Long slot): Should read ~120V.
- Hot to Ground (Short slot to U-shaped hole): Should read ~120V.
- Neutral to Ground (Long slot to U-shaped hole): Should read 0V to 2V.
Step 2: Interpreting the Results
- Scenario A: Hot-Neutral = 0V, Hot-Ground = 120V.
Diagnosis: Open Neutral. The hot wire is energized, but the return path is broken. The fault is likely a disconnected white wire at this outlet or an upstream junction box. Repair Cost: DIY ($0) or Pro ($150+ to trace the wire). - Scenario B: Hot-Neutral = 120V, but appliances won't run.
Diagnosis: High-Resistance Connection (often a 'backstabbed' wire). The multimeter draws almost zero current, so it reads 120V, but under a real load, the voltage collapses. Repair Cost: DIY ($2 for a new outlet and wire nuts). - Scenario C: Neutral-Ground reads >5V.
Diagnosis: Shared neutral overload, loose neutral at the main panel, or a severe voltage drop on a long circuit run. This is a hazardous condition that can damage electronics. Repair Cost: Pro ($250+) to tighten panel lugs or re-route circuits.
The Most Common Culprit: 'Backstab' Push-In Failures
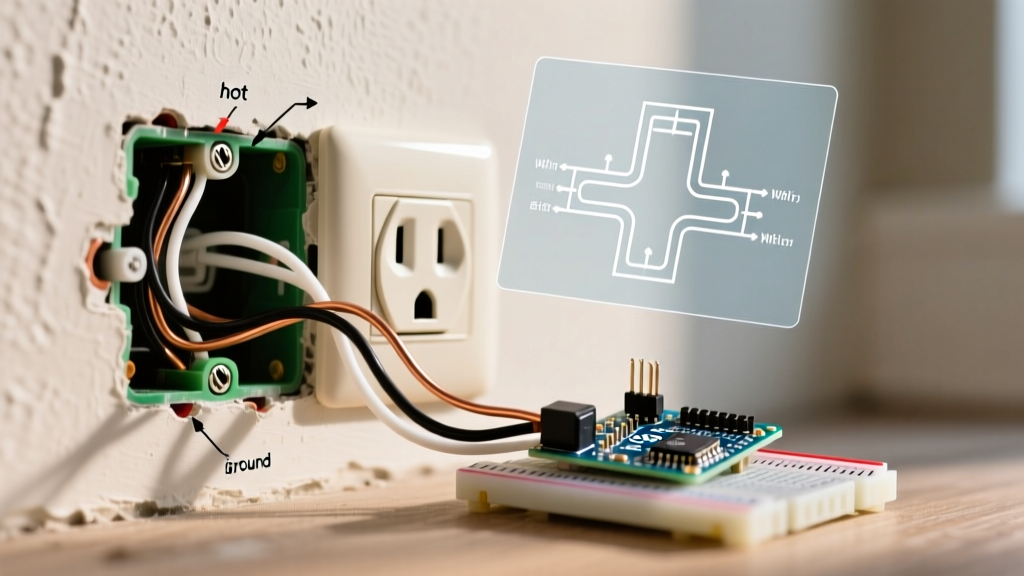
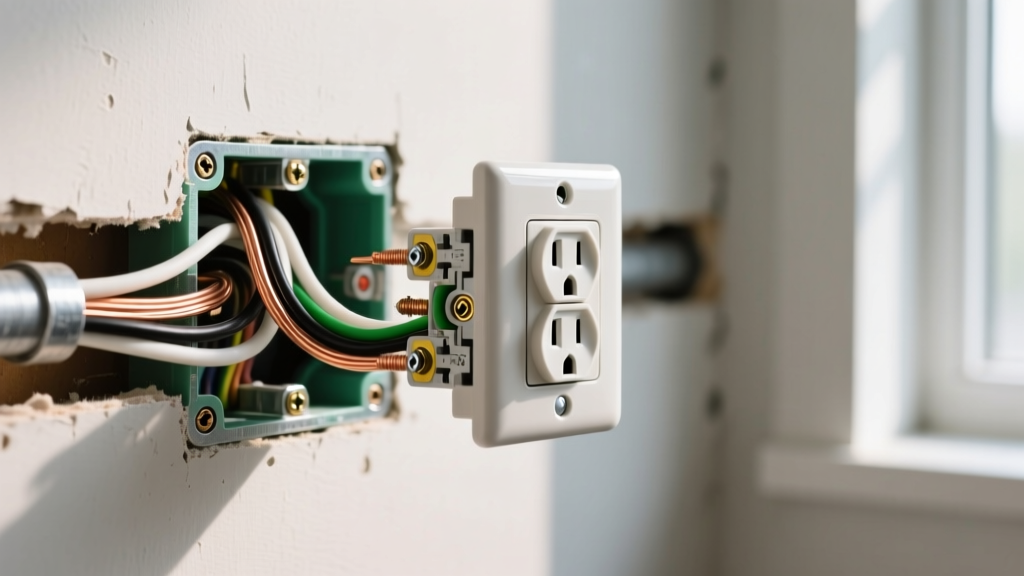
If you remove a dead outlet and find the wires are inserted into the small holes on the back of the device rather than wrapped around the side terminal screws, you have found the likely culprit. These push-in connections (commonly called 'backstabs') rely on a tiny internal brass spring to grip the 14 AWG or 12 AWG solid copper wire.
Expert Insight: Backstab connections are notorious for failing under cyclic thermal loads. When you plug in a high-draw appliance like a space heater or vacuum cleaner, the brass spring heats up and expands. Over years of use, the spring loses its tensile memory. The connection becomes loose, leading to micro-arcing, which melts the polycarbonate housing of the receptacle and causes intermittent power loss.
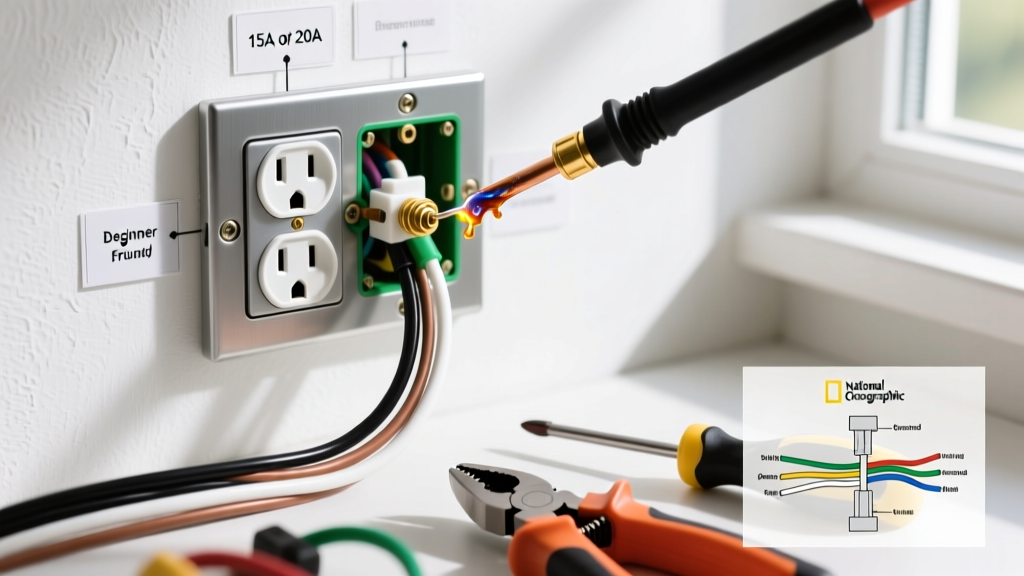
The Fix: Cut the damaged wire ends back to fresh, shiny copper. Strip 3/4 inch of insulation and wrap the wire clockwise around the brass (hot) and silver (neutral) terminal screws on a new commercial-grade receptacle (such as the Leviton 5362-W, which features superior side-clamp screw terminals). Torque the screws to 14 in-lbs.
Edge Cases: Aluminum Wiring and Burnt Terminals
If your home was built between 1965 and 1973, it may contain solid aluminum branch circuit wiring. Aluminum expands and contracts at a significantly higher rate than copper (thermal creep) and oxidizes rapidly when exposed to air, creating a highly resistive layer that generates intense heat.
If you pull an outlet out of the wall and see grey, dull wire with brown or black scorch marks around the terminal screws, do not simply replace the outlet. Standard brass terminals are not rated for aluminum wire and will violate the National Electrical Code (NEC). You must use a COPALUM crimp or an AlumiConn lug connector to pigtail the aluminum wire to a short copper jumper, which then connects to a CO/ALR rated receptacle. Because this requires specialized tools and specific torque settings, the electrical outlet repair cost for aluminum remediation almost always requires a licensed professional, averaging $200 to $450 per drop.
Code Compliance: When Repair Requires an Upgrade
Under the latest NEC guidelines enforced in most jurisdictions by 2026, you cannot simply replace a broken outlet with an identical legacy model if the location now requires advanced protection. The National Fire Protection Association (NFPA) heavily emphasizes arc-fault and ground-fault protection to mitigate residential fire risks.
- Kitchens, Bathrooms, Garages, and Outdoors: If an outlet in these areas fails, it must be replaced with a 20A Tamper-Resistant (TR) GFCI receptacle.
- Bedrooms and Living Rooms: If an outlet fails and you are replacing it, local inspectors may require the circuit to be protected by an AFCI (Arc-Fault Circuit Interrupter) breaker at the panel if the home is undergoing significant renovation or if the original breaker is defective.
Summary: When to DIY and When to Call a Pro
If your diagnostic matrix reveals a simple open hot/neutral caused by a failed backstab connection on a standard copper-wired 15A circuit, the electrical outlet repair cost is under $5 and requires only 15 minutes of DIY labor. However, if your multimeter reveals neutral-to-ground voltage anomalies, melted insulation, or aluminum wiring, shut off the breaker immediately. These conditions indicate systemic circuit degradation where the repair cost is secondary to the severe fire hazard posed by the failing infrastructure.