
Why Code Compliance is Non-Negotiable for Outdoor Wiring
Learning how to add an electrical outlet outside is a highly practical upgrade for powering landscaping lights, electric pressure washers, or holiday displays. However, outdoor environments subject electrical components to UV degradation, extreme temperature fluctuations, and relentless moisture. According to the National Fire Protection Association (NFPA), improper outdoor wiring is a leading cause of residential electrical fires and severe shock hazards.
As of 2026, most local municipalities have fully adopted the 2023 National Electrical Code (NEC), which introduced stricter enforcement on weatherproof enclosures and ground-fault protection. This guide bypasses generic DIY advice and provides a deep-dive, code-compliant framework for installing a safe, durable, and inspector-approved outdoor receptacle.
Crucial 2026 NEC Code Requirements
Before purchasing materials, you must understand the specific NEC articles that govern outdoor receptacles. Ignoring these will result in a failed inspection and a potentially lethal installation.
1. GFCI Protection (NEC 210.8)
Under NEC 210.8(A)(3), all 15-amp and 20-amp, 125-volt receptacles installed outdoors must have Ground-Fault Circuit-Interrupter (GFCI) protection. The U.S. Consumer Product Safety Commission (CPSC) notes that GFCIs detect current imbalances as small as 4 to 6 milliamps, cutting power in milliseconds to prevent fatal electrocution. You can achieve this via a GFCI receptacle at the point of use or a GFCI circuit breaker in your main panel.
2. Weatherproof Enclosures (NEC 406.9)
NEC 406.9(B)(1) mandates that outdoor receptacles in wet locations must be housed in an enclosure that is weatherproof whether or not the attachment plug is inserted. This effectively bans flat, flip-lid metal covers. You are legally required to install an "extra-duty" or "while-in-use" bubble cover that allows a cord to be plugged in while the door remains fully closed.
3. Tamper-Resistant (TR) Receptacles (NEC 406.12)
All outdoor 15A and 20A receptacles must be Tamper-Resistant (TR). These feature internal shutters that prevent children from inserting foreign objects into the slots.
Approved Materials & Cost Breakdown
Do not use standard indoor components for outdoor installations. Below is a bill of materials for a code-compliant, 20-amp outdoor outlet installation.
| Component | Recommended Model | Code Purpose | Avg. Cost (2026) |
|---|---|---|---|
| GFCI Receptacle | Leviton 2091-W (20A TR) | Meets NEC 210.8 & 406.12 | $24.00 - $28.00 |
| In-Use Cover | TayMac MX5500 Extra-Duty | Meets NEC 406.9(B)(1) | $19.00 - $25.00 |
| Junction Box | Carlon B614R PVC | Non-corrosive, wet-location rated | $8.00 - $12.00 |
| Feeder Cable | Southwire 12/2 UF-B | Direct burial, UV/Moisture resistant | $1.15 / ft |
| Sealant | GE Silicone II Waterproof | Prevents water ingress behind box | $9.00 |
Underground Burial Depths: UF-B vs. Conduit
If you are running a new circuit from your panel to the exterior wall or a yard post, you must adhere to NEC Table 300.5 for minimum cover requirements. Choosing the wrong cable or burying it too shallow is an immediate code violation.
- Direct Burial UF-B Cable (12/2 or 10/2): Requires a minimum burial depth of 24 inches. UF-B (Underground Feeder) has a solid PVC jacket that resists moisture and soil acidity. Never use indoor NM-B (Romex) underground, even inside conduit, as it wicks moisture and degrades.
- PVC Schedule 40 Conduit with THWN Wire: Requires a minimum burial depth of 18 inches. This is the preferred method for long runs, as individual THWN wires dissipate heat better and can be pulled/replaced if damaged.
- Rigid Metal Conduit (RMC): Requires a minimum burial depth of 6 inches. Typically reserved for commercial applications or areas subject to extreme physical damage.
Pro-Tip for Trenching: Always lay a strip of bright red or yellow "Caution: Buried Electric Line" warning tape in the trench exactly 12 inches above the cable or conduit. This alerts anyone digging in the future before their shovel strikes the live wire.
Step-by-Step Installation Guide
Step 1: Power Verification and Panel Work
Turn off the main breaker or the specific circuit breaker you are tapping into. Verify the power is dead using a non-contact voltage tester (e.g., Klein Tools NCVT-41) and a multimeter. If running a new dedicated 20-amp circuit, install a 20A single-pole breaker (Square D HOM120 or Siemens Q120, depending on your panel brand).
Step 2: Drilling and Sealing the Penetration
When drilling through exterior siding or brick to feed the wire, angle the drill bit slightly downward (about 5 degrees) from the inside out. This creates a natural drip slope, preventing rain from tracking back into your wall cavity. After pulling the UF-B cable through, seal the interior and exterior holes with expanding polyurethane foam (Great Stuff Gaps & Cracks) to maintain your home's thermal envelope and block pests.
Step 3: Mounting the Weatherproof Box
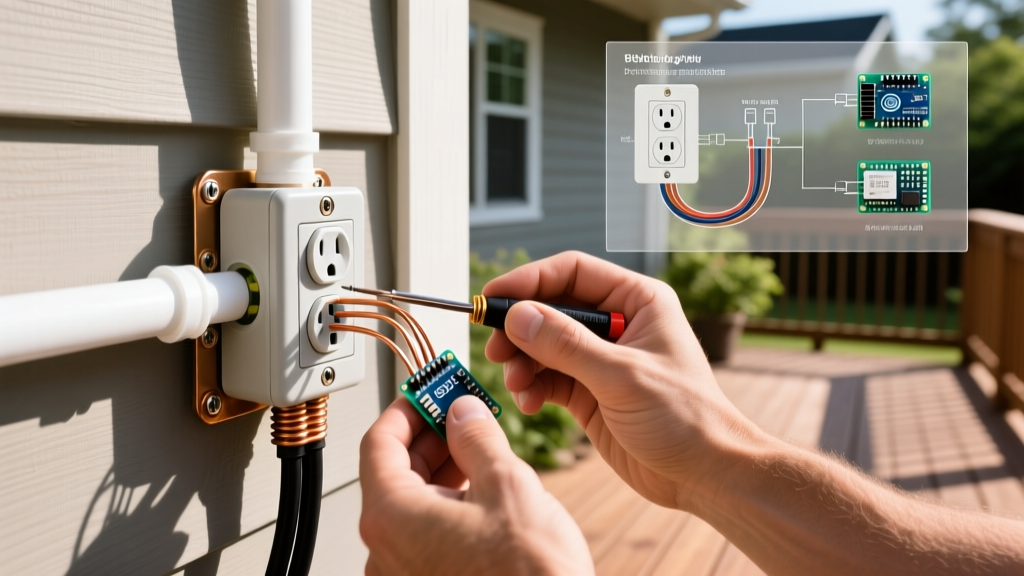
Mount the Carlon PVC box to the exterior wall using stainless steel or coated exterior screws. Critical Step: Apply a thick bead of GE Silicone II around the top and sides of the box's backing plate where it meets the siding. Leave the bottom edge unsealed. This allows any condensation that forms inside the box to drain out the bottom weep holes, rather than being trapped and rotting your siding.
Step 4: Terminating the GFCI Receptacle
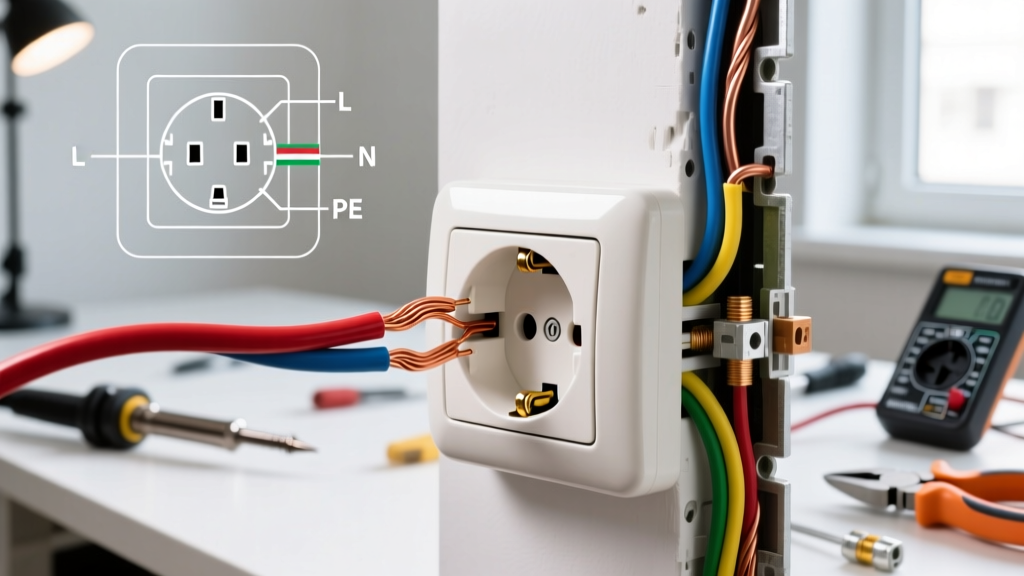
Strip the UF-B jacket, leaving 6 to 8 inches of working length inside the box. Connect the bare copper ground to the green grounding screw. Connect the white neutral to the silver "LINE" terminal and the black hot to the brass "LINE" terminal.
Warning: Do not use the "LOAD" terminals unless you are actively protecting a downstream receptacle. For a single outdoor outlet, all connections must be made on the "LINE" side. Furthermore, NEC 110.14(D) requires that terminal screws be tightened to the manufacturer's specified torque. Use an insulated torque screwdriver (e.g., Klein Tools 32500TOR) set to roughly 14 in-lbs to prevent loose connections that cause arcing and fires.
Step 5: Attaching the In-Use Cover
Remove the standard faceplate and attach the TayMac MX5500 extra-duty bubble cover. Ensure the provided foam gasket sits flush against the weatherproof box. Route your extension cord through the hinged bottom flap, and snap the cover shut.
Top 3 Code Violations to Avoid
When inspecting DIY outdoor wiring, licensed electricians and local AHJs (Authorities Having Jurisdiction) frequently flag the following errors:
- Using NM-B (Romex) in Exterior Conduit: Many DIYers run standard indoor Romex through PVC conduit to a yard post. The paper wrapping inside NM-B acts like a sponge, drawing condensation from the conduit directly into your electrical panel. Always use THWN individual wires or UF-B cable.
- Missing Drip Loops: If your cable enters the box from above, you must create a "drip loop"—a U-shaped dip in the cable just before it enters the box. This forces rainwater to drip off the bottom of the loop rather than running down the cable directly into the conduit or junction box.
- Daisy-Chaining Non-GFCI Outlets: If you have multiple outdoor receptacles, you do not need a GFCI at every single location. You can wire the downstream outlets to the "LOAD" terminals of the first GFCI. However, the downstream outlets must be labeled with the included "GFCI Protected" stickers. Failing to apply these stickers is a guaranteed inspection failure.
Frequently Asked Questions
Do outdoor outlets require AFCI protection as well?
Generally, no. While the NEC has expanded Arc-Fault Circuit-Interrupter (AFCI) requirements to most indoor living spaces, dedicated outdoor receptacle circuits typically only require GFCI protection. However, if the outdoor receptacle is an extension of an indoor living room or bedroom circuit (which requires AFCI), the entire circuit must be protected by an AFCI/GFCI dual-function breaker. Always consult your local inspector.
Can I tap into an existing indoor circuit to power an outdoor outlet?
Yes, provided the existing circuit is not a dedicated appliance circuit (like a refrigerator or microwave) and has the ampacity headroom to support the outdoor load. You must transition from indoor NM-B cable to outdoor-rated UF-B cable inside an accessible indoor junction box before the wire passes through the exterior wall.
Final Inspection and Safety Sign-Off
Adding an outdoor outlet is not a project to hide from your local building department. Pulling an electrical permit (typically costing between $50 and $100) ensures that a certified inspector will verify your burial depths, GFCI wiring, and weatherproofing. This not only guarantees the safety of your family but also protects your homeowner's insurance policy in the event of an electrical fire. By adhering strictly to NEC articles 210.8, 406.9, and 300.5, your outdoor power setup will remain safe and functional for decades.