
The Complete Guide to New Electrical Outlet Installation
Adding a receptacle to an existing room is one of the most practical DIY upgrades you can undertake, but a new electrical outlet installation requires far more than simply swapping a faceplate. Unlike a direct replacement, installing a brand-new outlet means extending a branch circuit, routing NM-B (Romex) cable through finished walls, and ensuring your existing breaker can handle the additional load. In 2026, with copper prices fluctuating and the National Electrical Code (NEC) enforcing stricter torque and AFCI/GFCI mandates, precision is non-negotiable.
This guide walks you through the exact methodology used by licensed electricians to add a standard 15-amp, 120-volt duplex receptacle to an existing living space circuit, ensuring total compliance with the National Fire Protection Association (NFPA 70) standards.
Materials and Tool Checklist (2026 Pricing & Specs)
Using the correct materials prevents voltage drop, overheating, and failed inspections. Below is the exact bill of materials for a standard 15A living room or bedroom extension.
| Item | Specific Model / Spec | Est. Cost (2026) |
|---|---|---|
| Non-Metallic Cable | Southwire SIMpull 14/2 NM-B (Solid Copper) | $0.55 / linear ft |
| Receptacle | Leviton Decora 15A TR (Model R52-05320-WMP) | $2.85 |
| Old-Work Box | Carlon B114R 1-Gang 14 cu. in. Non-Metallic | $1.40 |
| Wire Connectors | WAGO 221 Lever Nuts (3-Port, Model 221-413) | $0.65 each |
| Wall Plate | Leviton 1-Gang Nylon Mid-Size (White) | $1.10 |
| Safety Tester | Klein Tools RT210 GFCI/Receptacle Tester | $24.99 |
Phase 1: Circuit Mapping and Load Calculation
Before cutting into your drywall, you must verify that the donor circuit has the capacity to support the new receptacle. According to the Occupational Safety and Health Administration (OSHA), overloading a branch circuit is a primary cause of residential electrical fires.
Calculate the Existing Load
- Identify the Breaker Size: A standard bedroom or living room circuit is typically 15 amps (14 AWG wire) or 20 amps (12 AWG wire). Never extend a 15A circuit with 12 AWG wire, and never put a 20A receptacle on a 15A breaker.
- Apply the 80% Rule: For continuous loads, NEC Article 210.20(A) dictates that a 15-amp circuit should not exceed 1,440 watts (12 amps). Tally the wattage of existing devices on the circuit. If you are already near 1,200 watts, you must run a new dedicated circuit from the panel rather than daisy-chaining off an existing outlet.
- Verify AFCI Protection: Modern NEC codes require Arc-Fault Circuit Interrupter (AFCI) protection for all 15A and 20A, 120V branch circuits supplying outlets in dwelling unit bedrooms, living rooms, and hallways. Ensure your donor breaker is an AFCI type; if it is an older standard breaker, upgrading the breaker is mandatory before adding new outlets in these zones.
Phase 2: Rough-In and Drywall Routing
The physical installation of the box and cable is often the most labor-intensive part of a new electrical outlet installation.
Step 1: Locate Studs and Cut the Opening
Use a high-quality stud finder (like the Franklin Sensors ProSensor 710) to locate the wall cavity. You want to mount the old-work box directly next to a stud for stability, but not directly on top of one. Trace the outline of the Carlon B114R box on the drywall and cut it out using a drywall saw. Pro Tip: Always cut slightly inside your traced line; it is easier to shave away extra drywall than to patch a gap that is too large.
Step 2: Fish the NM-B Cable
Turn off the breaker at the main panel and verify it is dead using a non-contact voltage (NCV) tester. Remove the donor receptacle's wall plate to access the existing wiring. Feed a fiberglass fish tape from the new wall hole down to the donor outlet hole. Hook the 14/2 NM-B cable to the fish tape and pull it through the wall cavity. Leave at least 8 inches of cable protruding from both the new hole and the donor box.
Phase 3: Terminating the Receptacle
Proper termination is where most DIY failures occur. The U.S. Consumer Product Safety Commission (CPSC) frequently cites loose neutral connections as a leading cause of arc faults and receptacle melting.
Step 1: Strip and Prep the Wires
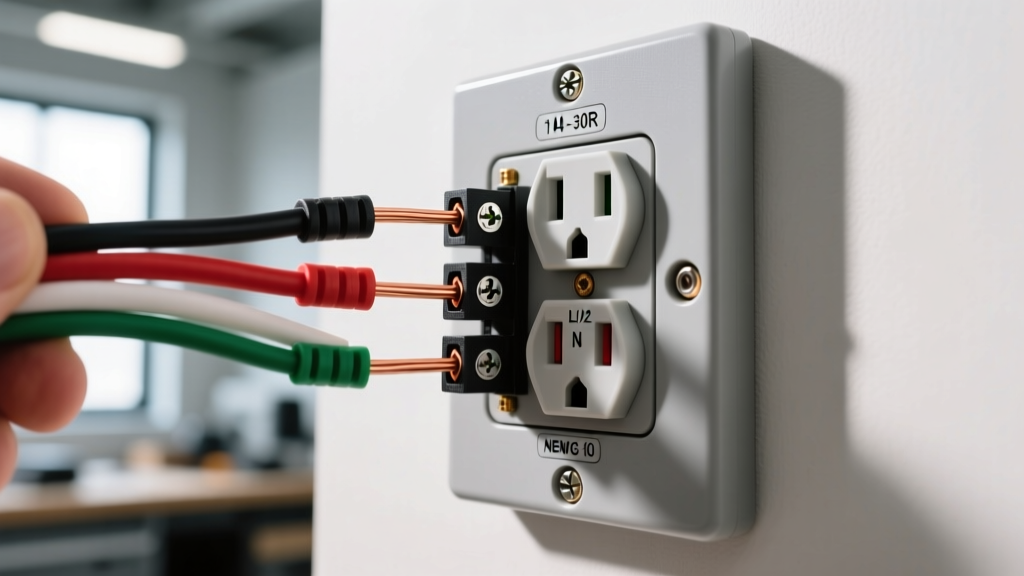
Use the built-in strip gauge on the back of the Leviton R52-05320-WMP receptacle. For 14 AWG solid copper, this is typically 3/4 of an inch. Do not strip more than necessary; exposed copper outside the terminal housing is a shock and short-circuit hazard.
Step 2: Pigtail vs. Daisy Chain
While you can wire the new outlet in a "daisy chain" (line in, load out on the same device), best practice for a reliable new electrical outlet installation is to pigtail the connections at the donor box. This ensures that if the donor receptacle fails, downstream outlets do not lose power.
- Use WAGO 221 3-port lever nuts to connect the existing hot, the new cable's hot, and a 6-inch black pigtail wire.
- Repeat for the neutral (white) wires and the ground (bare copper) wires.
Step 3: Screw Termination and Torque Specs
NEC 110.14(D) Compliance Alert: As of recent code cycles, terminals marked with torque values must be tightened to the manufacturer's specified torque using a calibrated torque tool.
Leviton specifies a torque value of 14 in-lbs for their standard 15A duplex receptacles. Form a J-hook with the stripped wire, loop it clockwise around the brass (hot) and silver (neutral) screws, and tighten with a torque screwdriver. Never use the push-in backstab holes; they rely on spring tension that degrades over time under thermal cycling, leading to high-resistance connections.
Phase 4: Finalization and Testing
Once the wires are neatly folded into the back of the electrical box (push the grounds in first, followed by the neutrals, then the hots), secure the receptacle to the box using the provided #6-32 mounting screws. Attach the mid-size nylon wall plate; mid-size plates are 3/16" larger than standard plates, perfectly covering minor drywall cutting errors without requiring a mud ring adjustment.
The Testing Protocol
Restore power at the breaker panel. Plug the Klein Tools RT210 tester into the newly installed receptacle.
- Correct Wiring: Two yellow lights illuminate.
- Open Ground: Center yellow light only. (Check your ground pigtail connections).
- Hot/Neutral Reverse: One yellow, one red light. (Swap the brass and silver screw connections immediately).
Troubleshooting Edge Cases
Even with meticulous planning, a new electrical outlet installation can present unique challenges:
The Breaker Trips Immediately Upon Energizing
If the AFCI breaker trips the moment you turn it on, you likely have a neutral-to-ground fault. This happens if the bare ground wire is accidentally touching the silver neutral screw or if a stray strand of copper is bridging the two inside the box. Turn off the power, pull the receptacle out, and inspect the wire dress. Wrap the sides of the receptacle with high-quality 3M Super 33+ vinyl electrical tape to insulate the terminal screws from the metal box or ground wires.
The Donor Box is Overcrowded
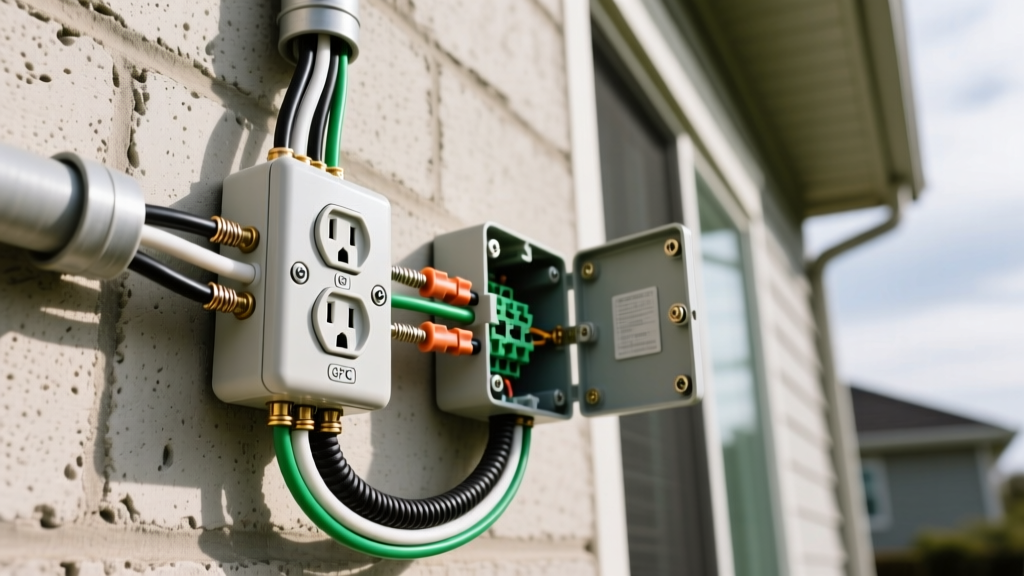
NEC Article 314.16 dictates strict box fill calculations. A standard single-gang plastic box allows for a specific number of conductors based on wire gauge. If adding the new 14/2 cable pushes the box fill beyond its cubic inch rating (usually 14 to 18 cu. in. for old-work boxes), you must replace the donor box with a deeper "old-work deep box" (like the Carlon B120R, 20 cu. in.) to prevent wire crushing and insulation damage.
Final Thoughts
A successful new electrical outlet installation bridges the gap between basic DIY enthusiasm and professional-grade execution. By respecting box fill limits, utilizing WAGO lever nuts for secure splices, and adhering to strict torque specifications, you ensure your home's electrical infrastructure remains safe, efficient, and fully compliant with modern codes for decades to come.