
Why Did My Electric Outlet Stop Working?
When an electric outlet stopped working in your home, it is rarely a random event. Outlets are passive devices; they do not have moving parts or internal microchips that simply 'fail' without a physical or electrical cause. In 95% of cases, a dead receptacle points to a specific wiring scenario, a degraded connection, or an upstream safety trip. According to the National Fire Protection Association (NFPA), loose or degraded electrical connections are a leading cause of residential electrical fires, making it critical to diagnose a dead outlet promptly rather than ignoring it.
As of the 2026 NEC cycle, residential wiring standards have become stricter regarding torque specifications and arc-fault protection. Before grabbing a replacement receptacle, you must identify the root cause. Below, we break down the five most common wiring scenarios that cause an outlet to die, complete with exact diagnostic steps, specific product recommendations, and code-compliant repair methods.
Safety First: Never open an outlet cover or test bare wires without first turning off the circuit breaker and verifying the absence of voltage with a non-contact voltage tester (NCVT) or a digital multimeter (DMM).
Scenario 1: The Upstream GFCI Cascade Failure
The Symptom: A standard duplex outlet in a bathroom, kitchen, garage, or exterior wall has zero power. Your standard receptacle tester shows no lights.
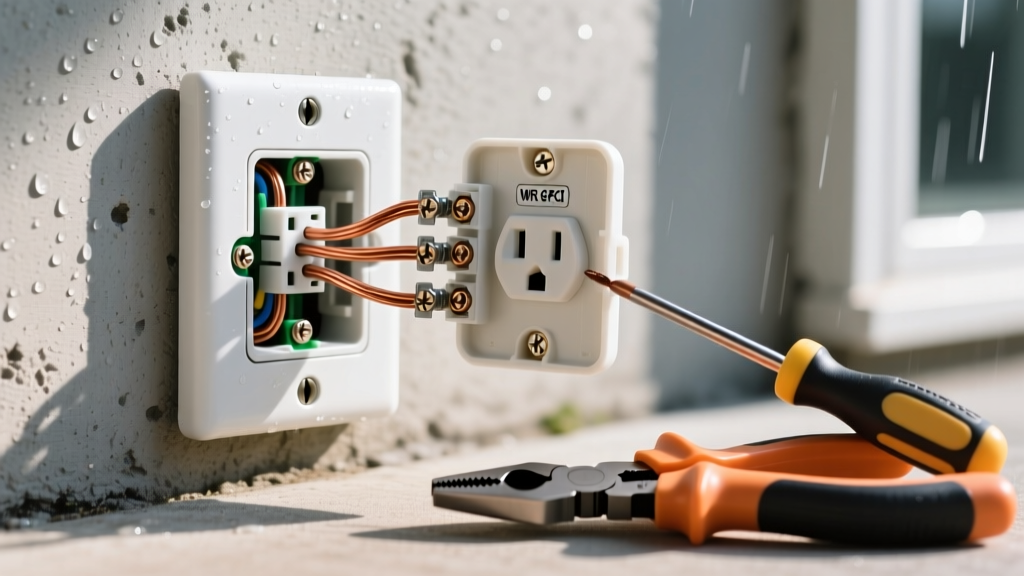
The Wiring Reality: Modern electrical codes (NEC Article 210.8) require Ground Fault Circuit Interrupter (GFCI) protection in all wet or potentially damp locations. To save money and space, electricians rarely install a $25 GFCI at every single location. Instead, they wire multiple standard outlets to the 'LOAD' terminals of a single upstream GFCI. If the upstream GFCI trips due to a ground fault (or simply a sensitive internal relay failure), every standard outlet downstream of it will instantly stop working.
The Fix:
- Locate the primary GFCI receptacle in the room (often near the sink or main entry point).
- Press the 'RESET' button. If it clicks and stays in, check the dead outlet.
- If the upstream GFCI will not hold a reset, or trips immediately, the device is likely defective. Replace it with a high-quality, tamper-resistant model like the Leviton SmartlockPro GFNT2-W (approx. $18 at major hardware stores in 2026).
Scenario 2: Backstabbed Push-In Connector Burnout
The Symptom: The outlet works intermittently, or it stopped working entirely after plugging in a high-draw appliance (like a vacuum or space heater). You might also notice a faint burning plastic smell or discoloration on the receptacle face.
The Wiring Reality: This is the most common physical failure in homes built between 1990 and 2015. Builder-grade receptacles (like older models of the Leviton T-R5320) feature 'backstab' push-in holes on the rear. These rely on a tiny internal spring-tension brass clip to grip the stripped 14 AWG or 12 AWG copper wire. Over years of thermal cycling—heating up under load and cooling down when turned off—the spring loses its tension. The wire eventually pulls back just a fraction of a millimeter, creating an arc, melting the plastic housing, and breaking the circuit.
The Fix:
- Remove the outlet and cut off the damaged backstabbed wire ends.
- Strip 3/4 inch of fresh insulation.
- Form a 'J-hook' with needle-nose pliers and connect the wire to the side-screw terminals on a new commercial-grade receptacle (e.g., Leviton Pro Grade T5362-W).
- Pro-Tip: Use a calibrated torque screwdriver, such as the Klein Tools 69050, set to 14 in-lbs to ensure the terminal screws are tightened to the manufacturer's exact specification, preventing future arcing.
Scenario 3: The Broken Brass Tab Mistake (Split-Wired Outlets)
The Symptom: Only the top half of the outlet works, or the outlet stopped working immediately after a DIY replacement.
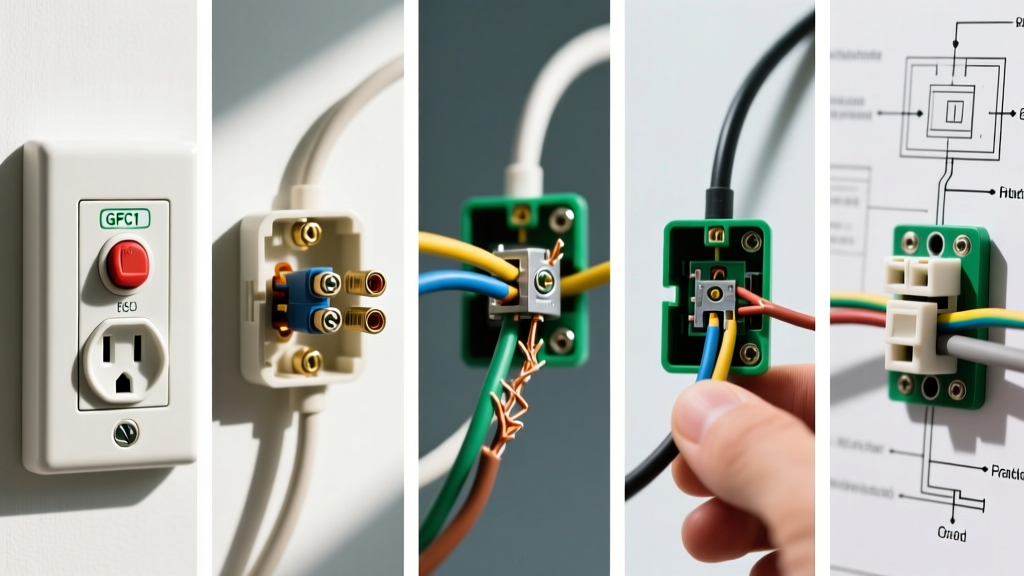
The Wiring Reality: In kitchens and living rooms, outlets are often 'split-wired.' This means the top receptacle is always hot (for appliances like a coffee maker), while the bottom receptacle is controlled by a wall switch (for a lamp). To achieve this on a single duplex outlet, the electrician breaks off the small brass connecting tab on the hot (black wire) side. If an amateur DIYer replaces this outlet and forgets to break the tab, the switched leg and the constant hot leg are tied together, causing a dead short that trips the breaker instantly. Conversely, if they accidentally break the silver (neutral) tab instead of the brass one, the circuit opens, and the outlet stops working entirely.
The Fix:
Remove the outlet. Inspect the side fins. Ensure the brass fin is broken (if two separate hot wires are present) and the silver fin is intact (unless you are running two separate neutrals, which is rare in standard residential splits).
Scenario 4: Open Neutral in a Multi-Wire Branch Circuit (MWBC)
The Symptom: The outlet stopped working, and simultaneously, lights flickered or appliances on a completely different circuit were damaged.
The Wiring Reality: An MWBC uses two hot wires (on opposite 120V phases) that share a single neutral wire. This is common in kitchen small-appliance circuits. NEC Article 300.13(B) strictly requires that the neutral wire be continuous, or pigtailed, meaning it cannot be daisy-chained through the receptacle's neutral screws. If an electrician or homeowner removes an outlet and disconnects the shared neutral without pigtailing it first, the circuit transforms from two 120V parallel circuits into a single 240V series circuit. The voltage fluctuates wildly based on the resistance of the plugged-in loads, often frying electronics and killing the outlet.
The Fix:
Never disconnect the neutral wires on an MWBC without first connecting them together with a wire nut or a push-in connector (like a Wago 221-413). Always use a pigtail wire to connect the joined neutrals to the receptacle's silver terminal.
Scenario 5: Aluminum Wiring Oxidation (Pre-1972 Homes)
The Symptom: Outlets in older homes randomly lose power, or the outlet feels unusually warm to the touch even with low loads.
The Wiring Reality: Homes built between 1965 and 1972 often used solid aluminum branch circuit wiring due to copper shortages. Aluminum expands and contracts at a different rate than brass or copper screws, leading to a phenomenon called 'creep.' Furthermore, exposed aluminum rapidly forms an invisible, highly resistive oxide layer. This resistance generates immense heat, eventually melting the connection and breaking the circuit. The Consumer Product Safety Commission (CPSC) strongly warns against simply connecting modern copper-only (CU) rated outlets to aluminum wire.
The Fix:
You have two code-compliant options in 2026:
- Pigtail with AlumiConn Connectors: Use the King Innovation AlumiConn 3-Port connector (approx. $4.50 each) to safely transition the aluminum wire to a short copper pigtail, which then connects to a standard receptacle.
- Use CO/ALR Rated Receptacles: Install specialized receptacles marked 'CO/ALR' (such as the Leviton 1620-W), which feature brass alloy screws specifically designed to resist aluminum creep and oxidation.
Diagnostic Matrix: Troubleshooting Your Dead Outlet
| Observed Symptom | Probable Wiring Scenario | Diagnostic Tool Required | Estimated 2026 Repair Cost |
|---|---|---|---|
| Multiple outlets dead in wet area | Upstream GFCI Trip | Klein Tools RT250 GFCI Tester | $0 (Reset) / $18 (Replace) |
| Dead outlet after high-draw use | Backstab Thermal Failure | Visual Inspection / DMM | $4 (Side-wired receptacle) |
| Top half dead, bottom works | Incorrect Split-Tab Break | Visual Inspection | $4 (New receptacle) |
| Dead outlet + damaged appliances | MWBC Open Neutral | Digital Multimeter (DMM) | $2 (Wago Pigtails) |
| Warm cover plate, random power loss | Aluminum Wire Creep/Oxidation | Infrared Thermometer | $15 (AlumiConn pigtails) |
2026 Essential Tool & Material Checklist
To properly diagnose and repair a dead outlet, relying on a $2 neon screwdriver is no longer sufficient or safe. Equip your toolkit with these professional-grade items:
- Klein Tools RT250 GFCI Receptacle Tester ($35): Unlike older models, the RT250 does not require you to press the GFCI test button manually, preventing physical damage to aging GFCI mechanisms while verifying upstream protection.
- Fluke 117 True-RMS Digital Multimeter ($210): Essential for checking exact voltage drops across the hot-to-neutral and hot-to-ground paths. A reading of 115V-120V indicates a healthy circuit; anything below 110V under load suggests a high-resistance connection.
- Leviton Pro Grade Outlets ($4 - $6 each): Always opt for 'Commercial' or 'Pro' grade receptacles over the $0.99 builder-grade ones. Pro grades feature thicker brass internal contacts, deeper wire gauges for side-wiring, and higher thermal tolerances.
Final Thoughts on Outlet Troubleshooting
When an electric outlet stopped working, it is communicating a failure in the electrical chain. By systematically checking for upstream GFCI trips, eliminating dangerous backstabbed connections, verifying split-tab configurations, respecting MWBC neutral continuity, and properly addressing legacy aluminum wiring, you can restore power safely. Always prioritize side-wiring with proper torque specifications over quick-push methods to ensure your repairs last for decades, not just months.