
The Precision of JIS C 8303: Why Standard Tools Fail
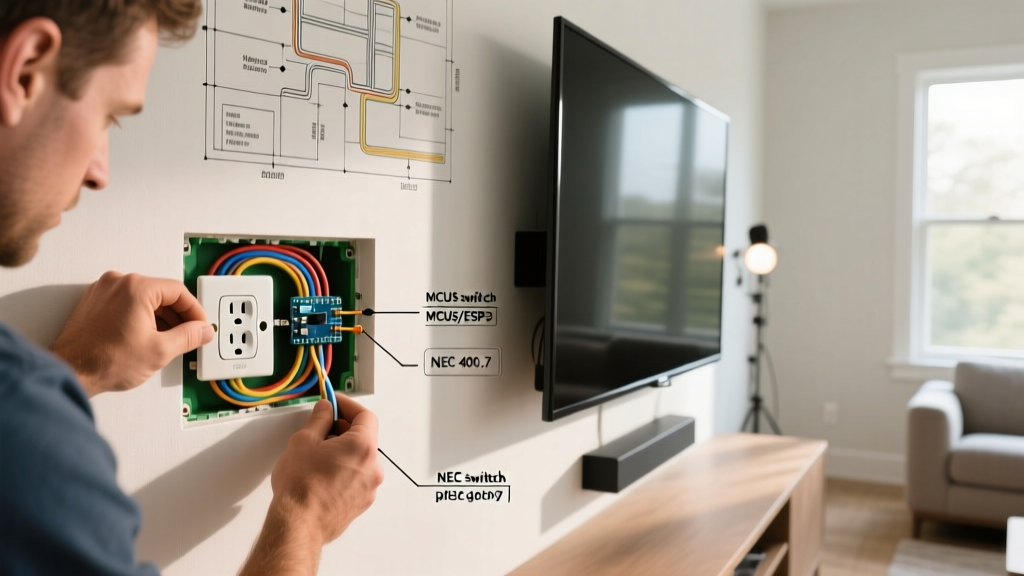
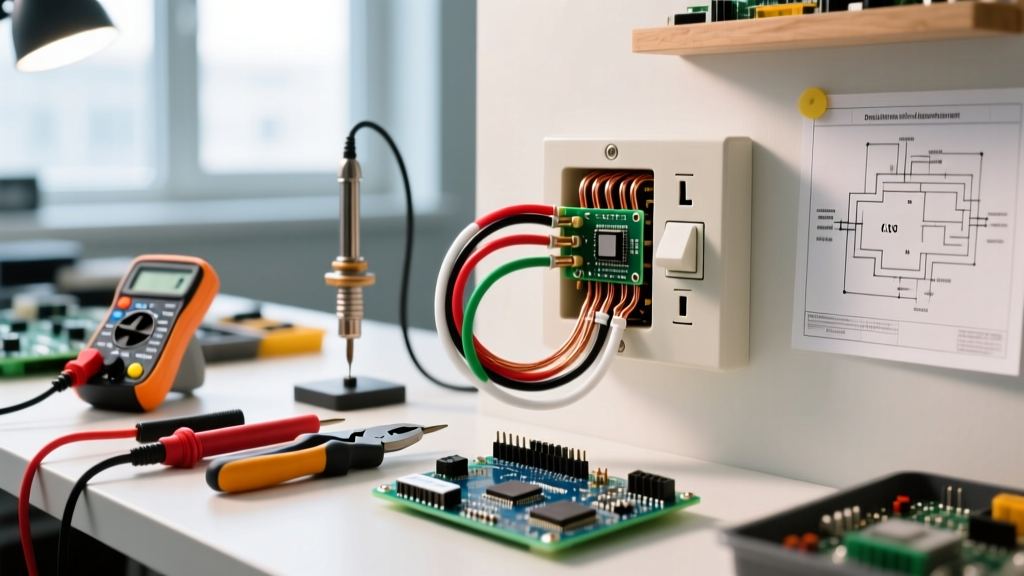
While the Japanese electric outlet shares the same physical Type A blade configuration as North American NEMA 1-15 receptacles, treating them as identical is a critical DIY mistake. Japanese receptacles are governed by the JIS C 8303 (Japanese Industrial Standard) which dictates far stricter dimensional tolerances, distinct terminal screw geometries, and specific insulation piercing mechanisms. In 2026, as more DIYers build dedicated Japanese-style workshops, import high-fidelity audio equipment, or wire specialized laboratory spaces, understanding the exact tools and materials required for Japanese electrical systems is paramount.
Using standard American hardware store tools on Japanese-spec components often results in stripped terminal screws, damaged speed-wire terminals, and compromised connections. This guide breaks down the exact tools, materials, and techniques required to properly wire, adapt, and test a Japanese electric outlet.
Core Differences: JIS C 8303 vs. NEMA 1-15R
Before selecting your tools, it is vital to understand the engineering differences between the two standards. The International Electrotechnical Commission (IEC) classifies both as Type A, but the internal execution varies wildly.
| Feature | US Standard (NEMA 1-15R / 5-15R) | Japanese Standard (JIS C 8303) |
|---|---|---|
| Nominal Voltage | 125V (Grid delivers ~120V) | 125V Rating (Grid delivers exactly 100V) |
| Frequency | 60Hz (Uniform) | 50Hz (East) / 60Hz (West) |
| Terminal Screws | Phillips / ANSI/ASME B18.6.1 | JIS B 1012 Cross-head (Strict tolerance) |
| Wire Insertion | Side wire / Back wire / Push-in | Speed-wire push-in / Side wire loop |
| Grounding | Standard 3-prong (NEMA 5-15) | Often 2-prong; 3-prong requires specific JIS grounding plates |
Essential Hand Tools for Japanese Outlets
To achieve a professional-grade installation that complies with Japan's Ministry of Economy, Trade and Industry (METI) safety guidelines, you must abandon standard US hardware tools and source Japanese-spec precision instruments.
1. The JIS Cross-Head Screwdriver (Non-Negotiable)
The most common failure point when wiring Japanese receptacles is stripping the terminal screws. Japanese electrical screws use the JIS B 1012 cross-head standard, not the American Phillips standard. A Phillips driver will cam-out and destroy a JIS screw head under moderate torque.
- Recommended Tool: VESSEL MEGADORA 980 Series (No. 2 JIS).
- Cost: $12 - $18 USD.
- Why it matters: VESSEL drivers feature a 1000V insulated shaft and a precision-machined tip that perfectly seats into Panasonic and COSMO terminal screws, allowing you to apply the required 1.2 Nm of torque without slipping.
2. Precision Wire Strippers for VVF Cable
Japanese wiring frequently utilizes VVF (Vinyl Vinyl Flat) cable, typically in 1.6mm or 2.0mm solid copper diameters. Standard US Romex strippers often nick the conductor or fail to strip the inner vinyl cleanly, leading to poor push-in terminal connections.
- Recommended Tool: Hozan P-85 Electrician's Pliers or Fujiya 150mm VVF Stripper.
- Cost: $35 - $50 USD.
- Why it matters: These tools have dedicated notches for exactly 1.6mm and 2.0mm wires, ensuring the copper core remains perfectly cylindrical for insertion into speed-wire terminals.
3. Receptacle Polarity & Grounding Tester
- Recommended Tool: Panasonic WN1411K or Kyoritsu KEW 6305.
- Cost: $25 - $40 USD.
- Why it matters: Japanese grids do not universally enforce neutral-ground bonding at the receptacle level in older builds. A dedicated Japanese tester will accurately diagnose missing ground plates or reversed hot/neutral configurations specific to 100V systems.
Materials: Selecting the Right Receptacles and Cable
Sourcing authentic Japanese materials is easier in 2026 thanks to global electronics distributors, but you must specify the correct model numbers to avoid receiving export-variant parts.
Panasonic Full Color Series Receptacles
Panasonic dominates the Japanese residential and commercial market. Their "Full Color" series features a standardized mounting yoke and highly reliable internal brass contacts.
- Panasonic WN1318WK (15A Standard): The workhorse of Japanese wiring. Features dual "Speed Wire" push-in terminals and side-screw terminals. Priced around $4.50 USD.
- Panasonic WN1312WK (20A Heavy Duty): Required for high-draw appliances like Japanese commercial rice cookers or server racks. Accepts 2.6mm wire. Priced around $7.00 USD.
- Panasonic WN1364 (200V AC): A specialized JIS receptacle for 200V equipment (like heavy-duty shop compressors). Requires a 2-pole breaker and distinct blade configuration. Priced around $15.00 USD.
VVF Cable and Grounding Wires
If you are running new lines in a Japanese-style build, you must use VVF cable. For standard 15A circuits, VVF 1.6mm x 2C (two-core) is standard. If grounding is required, you must pull a separate 1.6mm bare copper grounding wire to a dedicated grounding rod or grounded water pipe, as Japanese 3-wire VVF with an integrated ground is less common in residential retrofits than in the US.
Step-by-Step Wiring Procedure
Follow this exact sequence to wire a Panasonic WN1318WK Japanese electric outlet using the speed-wire method, which is preferred for its consistent contact pressure.
- Strip the VVF Cable: Use the Hozan P-85 to strip the outer vinyl jacket. Then, strip exactly 12mm of insulation from the 1.6mm copper conductors. (Note: Use the 12mm gauge molded directly into the back of the Panasonic receptacle body to verify length).
- Identify Polarity: In Japan, the narrower blade is Hot (L) and the wider blade is Neutral (N). Connect the black (or red) wire to the Hot terminal, and the white wire to the Neutral terminal.
- Insert into Speed-Wire Terminals: Push the stripped 1.6mm copper wire straight into the rectangular push-in holes on the back of the receptacle until it bottoms out. Do not twist or bend the wire before insertion.
- Verify Connection: Gently tug the wire. The internal brass spring-clamp will hold it securely. If removal is necessary, insert a 1.5mm flathead screwdriver into the release slot adjacent to the wire hole.
- Secure the Ground (If Applicable): If installing a 3-prong Japanese receptacle, wrap the bare 1.6mm grounding wire clockwise around the green grounding screw. Use your VESSEL JIS No. 2 driver to torque the screw down firmly.
- Test the Circuit: Before mounting the faceplate, plug in the Panasonic WN1411K tester to verify correct polarity and grounding continuity.
Safety Warning: Japan's electrical grid is split by frequency: 50Hz in Eastern Japan (including Tokyo) and 60Hz in Western Japan (including Osaka). If you are wiring a dedicated Japanese electric outlet for imported machinery or sensitive medical equipment, verifying the local grid frequency is mandatory. Plugging 50Hz-rated inductive loads into a 60Hz supply will cause motors to run 20% faster, overheat, and fail prematurely. Consult the Japanese Industrial Standards Committee (JISC) documentation for equipment frequency tolerances before finalizing your circuit design.
Edge Cases: Upgrading to 200V AC
Many DIYers assume Japanese outlets are strictly 100V. However, modern Japanese homes and workshops frequently utilize 200V AC for high-efficiency air conditioners, induction cooktops, and welding equipment. Wiring a 200V Japanese electric outlet (such as the Panasonic WN1364) requires a completely different material set:
- Breaker: A 2-pole 20A or 30A breaker (no neutral required for standard 200V Japanese single-phase).
- Cable: VVF 2.0mm x 2C or 2.6mm x 2C, depending on the amperage.
- Insulation: Ensure all VESSEL screwdrivers used are rated for 1000V, as 200V systems carry significantly higher arc-flash potential during a short circuit.
Frequently Asked Questions
Can I use a US NEMA 5-15R receptacle in a Japanese 100V system?
Physically, yes, and electrically it will function. However, US receptacles are optimized for 120V/60Hz. The internal contact tension on US receptacles may not grip Japanese-molded plugs as securely, leading to arcing. Furthermore, US receptacles lack the JIS C 8303 dimensional tolerances, which can cause faceplate alignment issues in Japanese-standard mounting boxes.
Why are most Japanese outlets ungrounded?
Historically, Japanese residential construction relied on whole-house grounding at the main breaker panel and grounding via metal water pipes. While modern 2026 building codes increasingly mandate grounded 3-prong receptacles in kitchens and wet areas, standard living room and bedroom outlets remain 2-prong. If you require a ground for a PC or audio setup, you must run a dedicated grounding wire to an approved earth rod.
What happens if I use a Phillips screwdriver on a JIS screw?
The Phillips design is intentionally engineered to cam-out (slip) under high torque to prevent over-tightening on assembly lines. JIS screws are designed to never cam-out. Using a Phillips driver on a JIS terminal screw will almost certainly strip the cross-head, rendering the receptacle useless and forcing you to drill out the terminal screw.