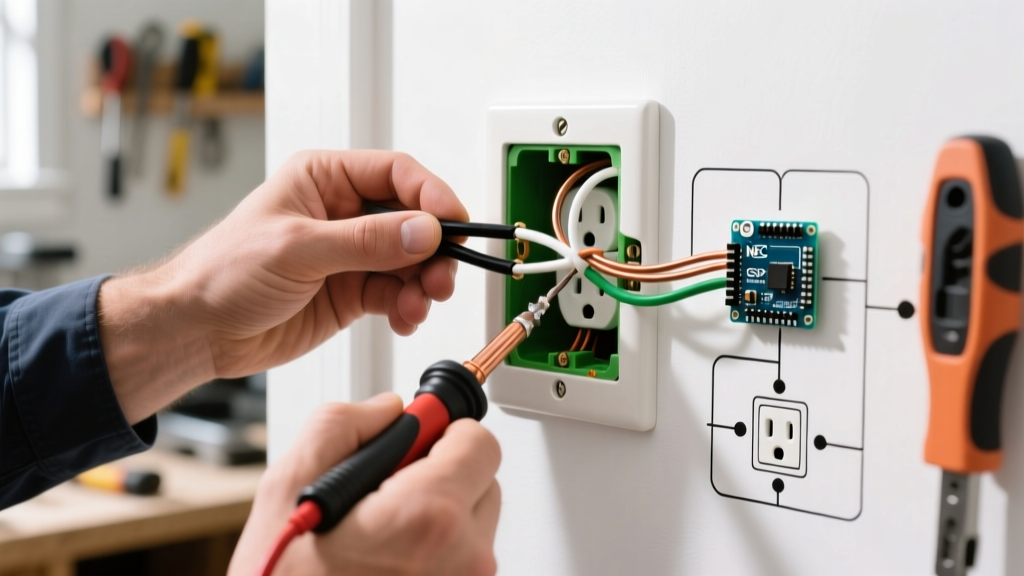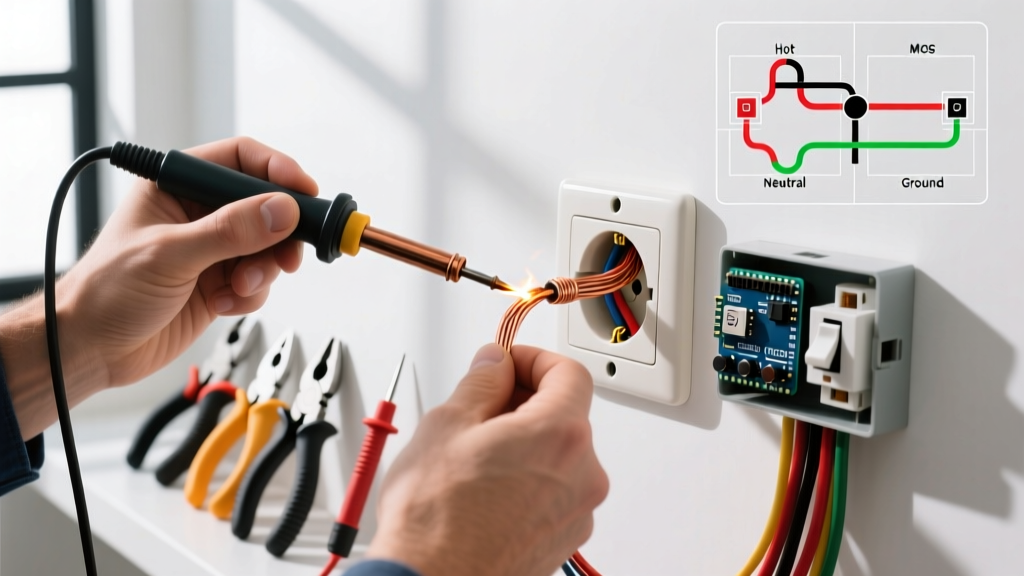

The 2026 Standard for Receptacle Relocation
Whether you are clearing wall space for a new media console, adjusting kitchen backsplash heights, or remodeling a home office, relocating a receptacle is a common but high-stakes DIY task. While many amateur forums discuss how to move a electrical outlet using makeshift tools and guesswork, the modern approach demands precision, code compliance, and the right materials. According to the National Fire Protection Association (NFPA), improper box mounting and loose terminal connections remain leading causes of residential electrical fires.
This guide bypasses the fluff and provides a comprehensive tool and material matrix for moving an electrical outlet in 2026, focusing on exact model numbers, NEC (National Electrical Code) compliance, and real-world edge cases.
CRITICAL SAFETY WARNING: Never rely solely on a wall switch or a basic non-contact tester to confirm a circuit is dead. The Consumer Product Safety Commission (CPSC) mandates verifying zero voltage at the point of work using a calibrated multimeter before touching any conductors.
Phase 1: Diagnostic and Safety Arsenal
Before cutting into drywall, you must map the existing circuit, locate structural framing, and verify the absence of voltage. Skipping this phase leads to severed cables and damaged plumbing.
Essential Diagnostic Tools
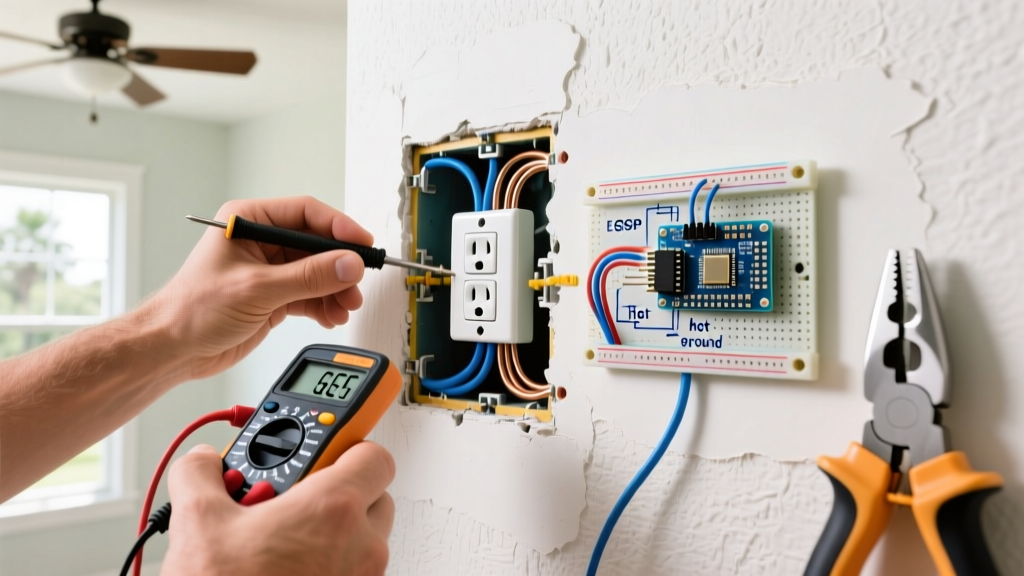
- Voltage Verification: Fluke 117 True-RMS Digital Multimeter ($210). While a Klein NCVT-4IR ($35) is excellent for initial scanning, a multimeter is legally and practically required to test line-to-neutral and line-to-ground to ensure the breaker is correctly isolated.
- Stud and Fireblock Mapping: Zircon StudSensor e50 ($25). Locating horizontal fireblocks is crucial. If you hit a 2x4 fireblock between studs, your routing strategy must change entirely.
- Circuit Tracing: Klein Tools ET450 ($130). If the existing outlet shares a breaker with unknown loads, a circuit tracer prevents you from accidentally overloading the circuit when adding the new box.
Phase 2: Demolition, Routing, and Wall Penetration
Moving an outlet typically requires 'fishing' new Non-Metallic (NM) cable from the existing box to the new location. This requires specialized bits and saws to minimize drywall repair.
The Cutting and Drilling Kit
- Drywall Saw: Stanley FatMax 12-Inch Jab Saw ($15). The sharp, aggressive tip allows you to plunge-cut the new box opening without pre-drilling, keeping the drywall paper face intact for a cleaner finish.
- Flexible Shaft Bit Holder: Klein Tools 53711 ($45). When routing wire horizontally through studs, you cannot use a standard spade bit. A flexible shaft paired with a 3/4-inch wood-boring bit (like the Milwaukee 49-66-6012) allows you to drill through the center of studs from a single access hole.
- Fish Tape: Klein Tools 56415 50-Foot Fiberglass Fish Tape ($65). Pro Tip: Never use steel fish tapes in existing walls with live circuits. If a steel tape nicks a live wire's insulation, it becomes a lethal conductor. Fiberglass is non-conductive and rigid enough to push through insulated cavities.
Phase 3: Material Matrix: Selecting the Right Box and Wire
The materials you choose dictate the longevity and safety of the installation. In 2026, tamper-resistant (TR) receptacles are mandatory in all dwelling units, and box fill calculations must be strictly observed.
| Component | Recommended 2026 Product | Use Case / Code Requirement | Est. Cost |
|---|---|---|---|
| Old Work Box (1-Gang) | Carlon B114B-UPC Non-Metallic | Standard drywall relocation. Features 'flip-clamp' wings that grip the back of 1/2-inch drywall securely. | $4.50 |
| Heavy Duty Box (1-Gang) | Raco 1000 Series Steel Old Work | Required for heavy loads (e.g., wall-mounted TVs or microwaves) where plastic tabs may snap over time. | $8.00 |
| Wiring (20A Circuit) | Southwire 12/2 NM-B (Solid) | Mandatory for kitchen, bathroom, and garage receptacles. Always match or exceed the breaker amperage. | $0.90/ft |
| Wiring (15A Circuit) | Southwire 14/2 NM-B (Solid) | Standard bedroom and living room lighting/outlet circuits. | $0.75/ft |
| Receptacle (20A) | Leviton T5262-W Tamper-Resistant | Features internal shutters to prevent foreign object insertion. Required by NEC Article 406.12. | $4.25 |
Understanding NEC Box Fill (Article 314.16)
When splicing the old wire to the new run inside the original box, you increase the 'box fill' volume. A standard 1-gang old work box (approx. 14 cubic inches) can typically hold three 14/2 cables (one in, two out) and the device itself. If you are daisy-chaining multiple outlets, you must upgrade to a 2-gang old work box (like the Carlon B225R) to prevent overheating and code violations.
Phase 4: Termination and Torque Compliance
The most critical update in recent NEC cycles (carrying strongly into 2026 enforcement) is the requirement for calibrated torque on terminal screws. Hand-tightening is no longer acceptable for passing inspection or ensuring long-term safety.
The Termination Toolkit
- Wire Stripper: Klein Tools 11063W Katapult ($30). Strips 12 and 14 AWG solid wire without nicking the copper conductor, which creates a weak point prone to snapping under the terminal screw.
- Torque Screwdriver: Wiha 61100 TorqueVario-S ($120). Most standard 15A and 20A receptacles (including the Leviton T5262) require exactly 14 in-lbs of torque on the brass and silver terminal screws. Under-torquing causes arcing; over-torquing strips the brass threads or crushes the wire.
- Pigtail Connectors: Ideal 34 Yellow In-Sure Push-In Connectors ($6 for 50). When splicing in the original box to feed the new location, push-in connectors save immense time and provide a UL-listed, vibration-resistant bond compared to traditional wire nuts.
Phase 5: Edge Cases and Real-World Troubleshooting
Theory rarely matches the inside of a finished wall. Here is how to handle the most common failure modes when moving an outlet.
Edge Case 1: The Horizontal Fireblock
If your stud finder detects a horizontal 2x4 fireblock between your old and new outlet locations, you cannot simply drop the wire down the wall cavity.
Solution: Cut a small 4x4 inch access hole directly over the fireblock. Use a right-angle drill attachment (DEWALT DWA4216, $45) to bore a 3/4-inch hole through the center of the block. Feed the wire through, then patch the access hole with a California patch or a dedicated drywall repair clip.
Edge Case 2: Maintaining NEC 300.14 Conductor Length
A frequent DIY mistake is cutting the new wire too short. NEC Article 300.14 requires at least 6 inches of free conductor to be left extending past the face of the box. If your box is deep-set behind thick tile or wood paneling, you must leave 8 to 10 inches to ensure the receptacle can be pulled out for future servicing without stressing the terminal connections.
Edge Case 3: Abandoned Junction Boxes
Never bury the original junction box inside the drywall if it contains live splices. According to OSHA and NEC Article 314.29, all junction boxes must remain permanently accessible. If you cannot keep the old box accessible, you must trace the circuit back to the previous accessible box (or the panel) and pull a completely new, continuous, unspliced run to the new outlet location.
Summary: Is the Investment Worth It?
Equipping yourself with the proper diagnostic tools, fiberglass fish tapes, and torque-calibrated drivers transforms a frustrating, dangerous chore into a professional-grade installation. While the upfront cost for specialized tools like the Wiha torque driver and Fluke multimeter may exceed $300, these are lifetime investments that ensure your home's electrical infrastructure remains safe, code-compliant, and fire-free for decades to come.