
Why Relocate an Electrical Receptacle?
Relocating an electrical outlet is one of the most common home improvement tasks for DIYers. Whether you are trying to prevent a sofa from blocking a living room receptacle, moving a plug above a new kitchen backsplash, or repositioning a wall-mounted TV, understanding how to move electrical outlet hardware safely is an essential skill. While the idea of cutting into drywall and fishing wires through wall cavities can seem intimidating, the process is highly manageable with the right tools, a methodical approach, and strict adherence to safety codes.
Essential Tools and Materials
Before making a single cut, gather professional-grade tools. Cheap tools lead to stripped screws, damaged drywall, and unsafe connections.
- Voltage Tester: Klein Tools NCVT-2 Non-Contact Voltage Tester (Dual-range for 12-1000V).
- Old Work Box: Carlon B114R (14 cubic inch, single-gang) or B120R (20 cubic inch) PVC old work box.
- Cable: Southwire 14/2 NM-B (for 15-amp circuits) or 12/2 NM-B (for 20-amp circuits).
- Wire Strippers: Klein Tools 11055 (10-20 AWG solid wire).
- Fish Sticks: Klein Tools 56415 15-foot fiberglass glow rod set.
- Drywall Saw: Stanley 20-112 6-1/2 inch jab saw.
- Receptacle: Leviton T5320-W Tamper-Resistant (TR) Duplex Receptacle.
Cost and Time Breakdown: DIY vs. Professional
Understanding the financial and time investment helps set realistic expectations for your weekend project.
| Metric | DIY Approach | Hiring a Licensed Electrician |
|---|---|---|
| Estimated Cost | $25 - $45 | $175 - $350 |
| Time Required | 2 - 4 Hours | 1 - 2 Hours |
| Drywall Patching | You must patch and paint | Usually included or sub-contracted |
| Permit Required? | Varies by municipality (often exempt for minor relocations) | Electrician pulls permit if required |
Phase 1: Power Isolation and Verification
Never trust a wall switch or a labeled breaker panel without verifying the absence of voltage. According to the Electrical Safety Foundation International (ESFI), electrical shocks and arc flashes remain a leading cause of DIY home injuries.
Step-by-Step Power Down:
- Plug a lamp or voltage tester into the target outlet to confirm it currently has power.
- Locate the corresponding circuit breaker in your main panel and switch it to the OFF position.
- Test the outlet again with your lamp.
- Remove the outlet cover plate. Use your Klein Tools NCVT-2 non-contact tester to scan both the top and bottom receptacles, as well as the wires entering the back of the box. The tester must remain completely dark and silent.
Phase 2: Drywall Cutting and Box Installation
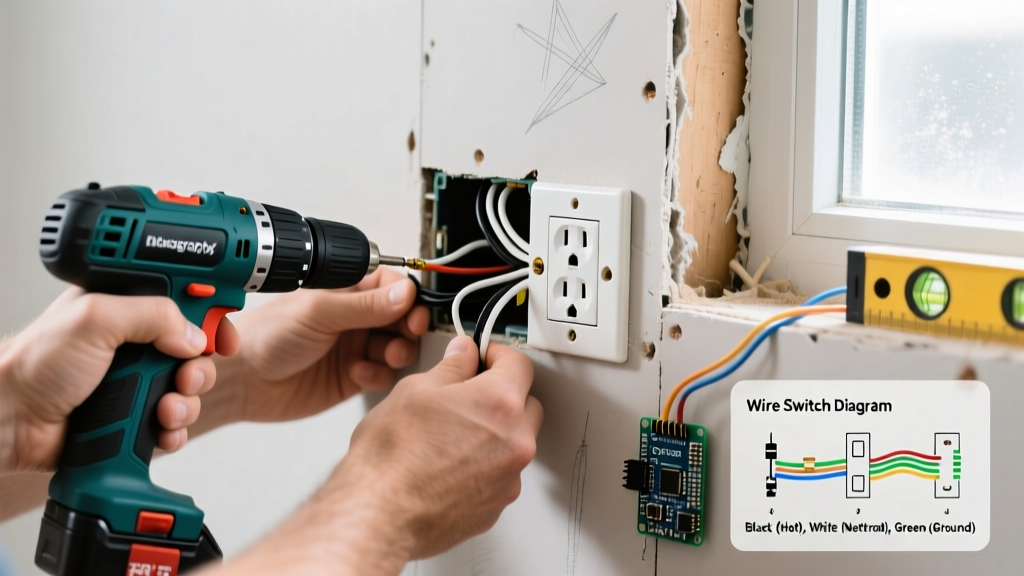
Unlike new construction where boxes are nailed to studs before drywall is laid, moving an existing outlet requires an "old work" (or retrofit) box. The Carlon B114R features rotating metal ears that clamp directly to the back of the drywall.
Cutting the New Opening:
- Hold the front flange of the Carlon B114R against the wall at your desired new height.
- Trace the outside edge of the box with a pencil. Pro Tip: Shave 1/16th of an inch off the inside of your pencil line to ensure a snug fit; drywall mud and paint buildup can make a perfectly traced line too tight.
- Puncture the drywall with your jab saw and cut along the line. Keep the saw blade shallow (no more than 1 inch deep) to avoid slicing into existing plumbing or HVAC ductwork behind the wall.
- Insert the old work box into the hole, tighten the two mounting screws, and watch the metal clamps pull the box flush against the drywall.
Phase 3: Fishing the Cable Through the Wall Cavity
Fishing wire is an art form that relies on patience rather than brute force.
- Measure the distance from the old outlet to the new outlet, then add 3 feet of slack for routing and stripping. Cut your Southwire NM-B cable.
- Feed the cable through the knockout hole in the new old-work box. Push the built-in plastic cable clamp into place to secure the sheathing.
- From the new hole, use your fiberglass fish sticks to reach down (or up) to the old outlet's wall cavity. Hook the cable and pull it through.
- Edge Case - Fire Blocks: If your fish stick hits a horizontal wooden fire block between the studs, you cannot fish through it. You will need to cut an access hole in the drywall directly over the fire block, drill through the wood with a 3/4-inch spade bit, feed the wire, and patch the access hole later.
Phase 4: The Splicing Dilemma (NEC Code Compliance)
This is where most beginners make a catastrophic and illegal error. You cannot simply wire-nut the old wires to the new wires and push them into the wall cavity.
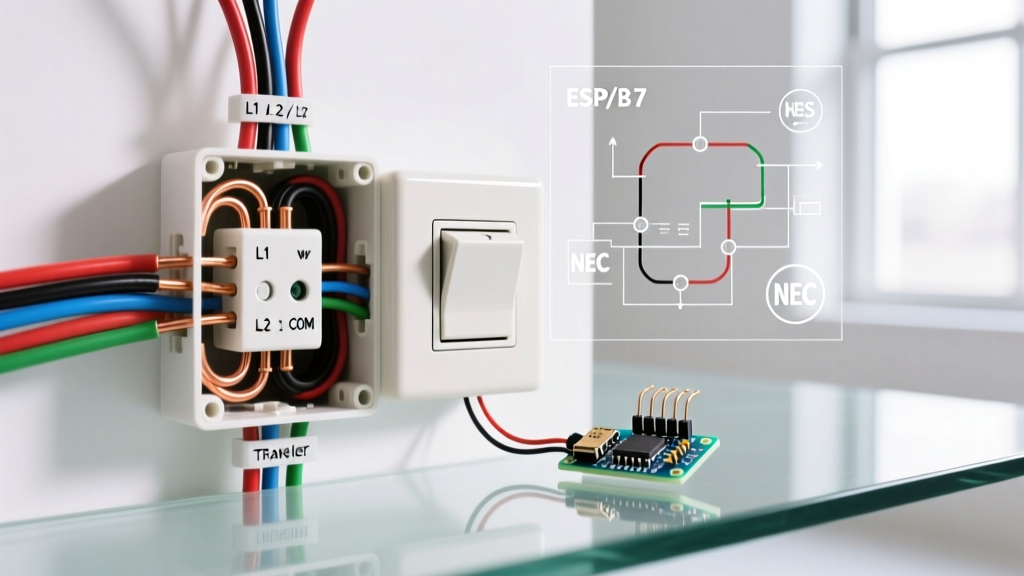
CRITICAL CODE WARNING: The National Electrical Code (NEC) Article 314.29 explicitly states that all spliced wires must remain accessible without removing any part of the building structure. Burying a splice inside a wall cavity is a severe fire hazard and a code violation.
Method A: The Accessible Junction Box (Easiest)
Leave the old metal or plastic box in the wall. Splice the existing wires to your new cable using WAGO 221 lever-nuts or standard wire nuts. Install a blank cover plate over the old box. This keeps the splice accessible, satisfying NEC 314.29, though it leaves a visible blank plate on your wall.
Method B: The Full Cable Pull (Cleanest)
If the old outlet is the "end of the run" (meaning no other wires are leaving that box to feed other outlets), you can disconnect the cable at the previous accessible junction box or panel, pull the old cable out of the wall entirely, and run a brand new, continuous, unspliced cable from the previous box to your new outlet location. This leaves no blank plates behind.
Phase 5: Wiring the New Receptacle
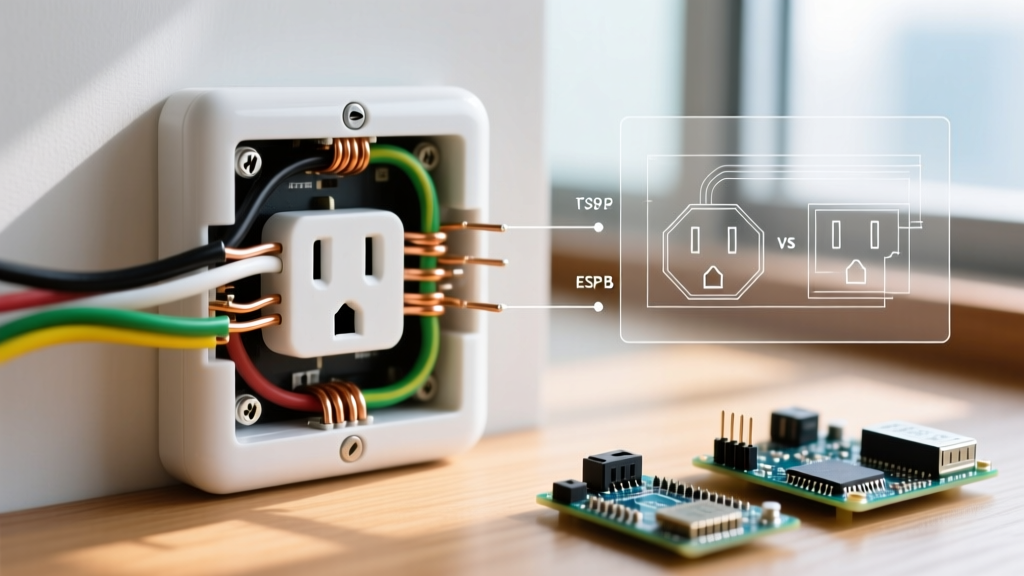
When wiring the new Leviton T5320-W receptacle, pay close attention to the terminal screws.
- Neutral (White): Connect to the silver screw.
- Hot (Black): Connect to the brass screw.
- Ground (Bare/Green): Connect to the green screw at the bottom.
The "Backstab" Warning
Never use the push-in "backstab" connectors on the back of the receptacle. While they save time, they rely on a tiny internal spring that can loosen over time due to thermal expansion and contraction, leading to arcing and melted plastic. Always use the side-wiring screw terminals. Create a "J-hook" in your stripped wire using the hole in your Klein wire strippers, loop it clockwise around the screw, and torque it down firmly so the insulation rests just outside the metal washer.
Furthermore, modern codes enforced by the Consumer Product Safety Commission (CPSC) and the NEC mandate Tamper-Resistant (TR) receptacles in almost all living spaces to prevent children from inserting objects into the slots. Ensure your replacement receptacle has the "TR" stamp on the face.
Frequently Asked Questions
Can I just use a blank cover plate over the old outlet location?
Yes, if you used Method A (splicing in the old box). However, if you pulled the wires entirely out of the old box and it is now empty, you can remove the box, patch the drywall with a California patch or a mesh patch kit, and paint over it for an invisible finish.
What if the circuit is 20-Amps?
If your breaker is 20A, you must use 12/2 NM-B cable (which has a yellow jacket) and a 20A-rated receptacle (which features a T-shaped neutral slot). Never put a 15A receptacle on a 20A circuit unless it is part of a multi-outlet branch circuit, but for a single dedicated relocation, match the ampacity to the breaker.
Do I need a permit to move one outlet?
In most municipalities, moving a single receptacle without extending the overall circuit load falls under minor repair exemptions and does not require a permit. However, if you are adding new outlets to a kitchen or bathroom, an inspection and permit are almost universally required. Always check with your local building department.