
The Hidden Danger of a Melted Electrical Outlet
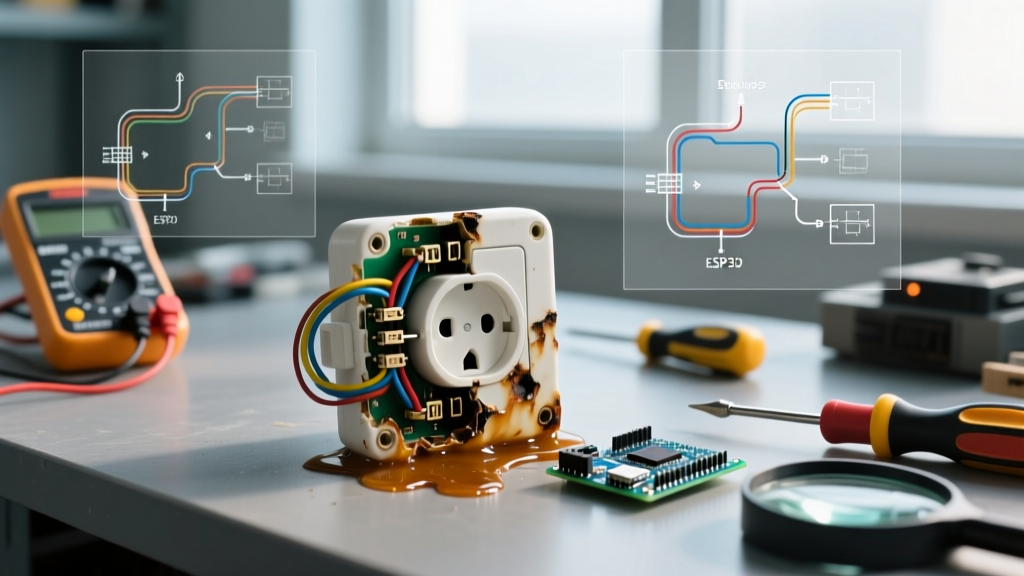
A melted electrical outlet is never just a cosmetic defect; it is a critical symptom of high-resistance connections generating excessive heat through Joule heating. According to the National Fire Protection Association (NFPA), electrical failures or malfunctions are a leading cause of home structure fires, with receptacles and switches frequently implicated. When an outlet's internal temperature exceeds the thermal tolerance of its faceplate materials—typically around 105°C (221°F) for standard ABS plastics or up to 220°C for nylon—the plastic deforms, discolors, and eventually melts, exposing live parts and creating severe arc-flash hazards.
This inspection and testing guide provides a systematic, code-compliant approach to diagnosing the root cause of a melted electrical outlet, verifying circuit integrity, and executing permanent remediation using modern torque-calibrated tools.
⚠️ CRITICAL SAFETY WARNING: Never attempt to open or test a melted electrical outlet while it is energized. Melted insulation can expose bare copper, creating an immediate shock and arc-flash hazard. Always de-energize the circuit at the main breaker panel and verify the absence of voltage using a CAT III or CAT IV rated multimeter before removing the faceplate.Phase 1: Non-Contact Thermal Inspection
Before de-energizing the circuit, the most effective way to assess the severity of the thermal damage is through infrared (IR) thermography. Using a thermal imaging camera, such as the FLIR ONE Gen 3 (approx. $299) or a professional FLIR E8-XT, allows you to measure the Delta T (ΔT)—the temperature difference between the outlet's surface and the ambient room temperature.
When a 1500W space heater (drawing roughly 12.5 Amps) is plugged into the circuit, the load will force current through the high-resistance connection, generating localized heat. The Consumer Product Safety Commission (CPSC) notes that overloaded or degraded receptacles can easily exceed safe operating temperatures under continuous load.
Thermal Signature Severity Matrix
| Delta T (°C Above Ambient) | Severity Level | Required Action |
|---|---|---|
| < 15°C | Normal | No action required. Standard resistive heating. |
| 15°C - 30°C | Elevated | Monitor load. Check for backstabbed connections. |
| 30°C - 50°C | Warning | Schedule immediate inspection. Retorque terminals. |
| > 50°C | Critical / Melting | Immediate shutdown. Replace outlet and damaged wire. |
Phase 2: De-Energized Visual and Mechanical Inspection
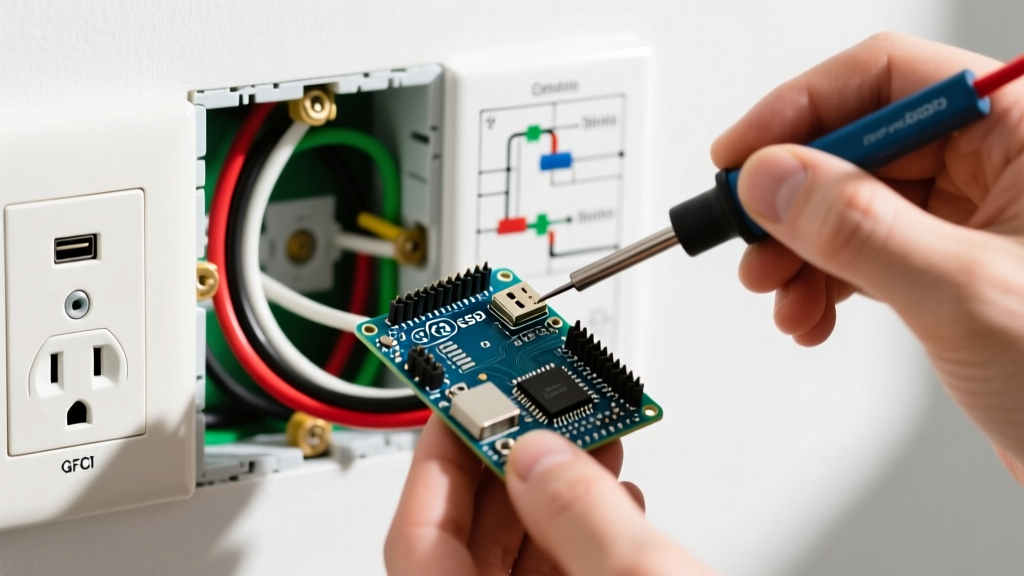
Once the circuit is locked out and verified dead, remove the melted faceplate and extract the receptacle from the junction box. You are looking for three primary failure modes:
1. The Backstab Connection Failure
Builder-grade receptacles often feature push-in (backstab) terminals. These rely on a small internal brass spring clip to grip the 14 AWG or 12 AWG solid copper wire. Over years of thermal cycling—expansion and contraction caused by plugging and unplugging high-draw appliances—the spring tension relaxes. This creates a micro-gap between the wire and the clip, increasing electrical resistance. The resulting heat melts the surrounding polycarbonate housing. Remediation: Never reuse backstab terminals. Cut the wires back to clean copper and terminate using the side-binding screw plates.
2. Aluminum Wiring and Thermal Creep
If your home was built between 1965 and 1973, you may have aluminum branch circuit wiring. Aluminum has a higher coefficient of thermal expansion than copper. Under the pressure of a standard brass terminal screw, aluminum exhibits 'creep,' slowly deforming and loosening over time. This loose connection arcs and melts the outlet. Remediation: Standard copper-rated receptacles cannot be used. You must either install a CO/ALR rated receptacle or, preferably, pigtail the aluminum wire to a short copper jumper using an AlumiConn 3-port lug connector, then terminate the copper to a standard spec-grade outlet.
3. Overloaded Multi-Wire Branch Circuits (MWBC)
If the neutral wire is melted but the hot wires are intact, you likely have a shared neutral (MWBC) where the two hot legs are on the same phase, or the neutral is undersized for the combined load. Verify your panel configuration to ensure the two hot breakers are on opposite phases (240V across them) and equipped with a handle tie.
Phase 3: Electrical Testing & Verification
Before installing the replacement outlet, verify the health of the branch circuit wiring, as the heat from the melted outlet may have compromised the upstream insulation.
- Insulation Resistance Test: Using a megohmmeter (Megger), test the insulation resistance between the hot and neutral conductors. Readings below 1 Megohm indicate degraded wire insulation that must be replaced.
- Voltage Drop Test: Re-energize the circuit temporarily to measure voltage drop. With a 1500W load plugged into a downstream outlet, measure the voltage at the panel and at the outlet. A voltage drop exceeding 3% (roughly 3.6V on a 120V circuit) indicates high resistance somewhere in the branch circuit, necessitating further investigation of upstream junction boxes.
- Wire Gauge Verification: Ensure the circuit breaker matches the wire gauge. A 20-Amp breaker must be paired with 12 AWG wire. If you find 14 AWG wire on a 20-Amp breaker, the wire is being overloaded, which can cause insulation melting inside the walls long before the breaker trips.
Code-Compliant Remediation and Upgrades
Replacing a melted electrical outlet requires more than just swapping the device; it requires adherence to modern National Electrical Code (NEC) standards, specifically regarding termination torque.
The Torque Requirement (NEC 110.14(D))
Since the 2017 NEC cycle, and strictly enforced in 2026, electricians are required to use a calibrated torque tool to tighten terminal screws to the manufacturer's specified values. The International Association of Electrical Inspectors (IAEI) emphasizes that both under-torquing (causing loose, high-resistance connections) and over-torquing (stripping threads or crushing wire strands) lead to premature thermal failure. For most standard 15A and 20A receptacles, the required torque is between 12 and 14 inch-pounds.
Recommended Tool and Material Checklist
- Torque Screwdriver: Klein Tools 695 (10-140 in-lb range) or Wiha 285T. Cost: $120 - $180.
- Replacement Receptacle: Upgrade to Spec-Grade (e.g., Leviton 5262-SW or Hubbell 5262). Spec-grade outlets cost roughly $4.50 compared to $1.25 for residential grade, but they feature thicker brass contacts, deeper wire wells, and robust steel mounting straps that resist thermal deformation.
- Wire Connectors: If the wires inside the box are too short to reach the new terminals after cutting away the heat-damaged copper, do not stretch them. Use Wago 221-413 lever nuts (approx. $0.60 each) to pigtail a 6-inch extension of 12 AWG or 14 AWG THHN copper wire.
- Faceplate: Use a thermoset nylon faceplate (e.g., Leviton 80401-N) which has a melting point exceeding 220°C, providing an extra layer of fire resistance compared to standard PVC plates.
Frequently Asked Questions
Can I just replace the melted outlet and keep using the circuit?
No. A melted outlet indicates that the copper wires terminating into it have likely been annealed (softened) by extreme heat, losing their mechanical strength and conductivity. You must cut the wire back to bright, unoxidized copper before installing a new device. If the damage extends into the wall cavity, the cable must be replaced.
Why did my 15-Amp outlet melt when my breaker never tripped?
Circuit breakers are designed to protect against overcurrent (drawing more than 15 Amps total) and short circuits. They do not protect against high-resistance connections. A loose backstabbed wire drawing only 8 Amps can generate enough localized heat (over 150°C) to melt the outlet housing while remaining well below the 15-Amp trip threshold of the breaker.
Are GFCI outlets more prone to melting?
GFCI outlets contain complex internal solid-state electronics and solenoids. If installed in a damp environment without a weatherproof cover, or if subjected to continuous high-draw loads (like a heated gutter cable), the internal components can overheat. Always use a 20-Amp rated GFCI (like the Leviton GFTNL-W) for heavy continuous loads, and ensure it is torqued to spec.