
Why Relocate Your Receptacle?
Whether you are rearranging living room furniture, remodeling a kitchen backsplash, or eliminating tripping hazards from extension cords, knowing how to move an electrical outlet is a foundational DIY skill. In 2026, with professional electricians averaging $95 to $165 per hour, tackling this project yourself can save you upwards of $350. However, working with mains voltage demands strict adherence to safety protocols and the National Electrical Code (NEC). This beginner-friendly tutorial will walk you through relocating a standard 15-amp or 20-amp duplex receptacle up to 6 feet away from its original location using an 'old work' retrofit method.
⚠️ Critical Safety Warning
Never assume a circuit is dead. The Electrical Safety Foundation International (ESFI) reports that electrical fires cause hundreds of fatalities annually. Always use a non-contact voltage tester at the outlet before and after turning off the breaker to confirm zero energy state.
Tools and Materials Checklist
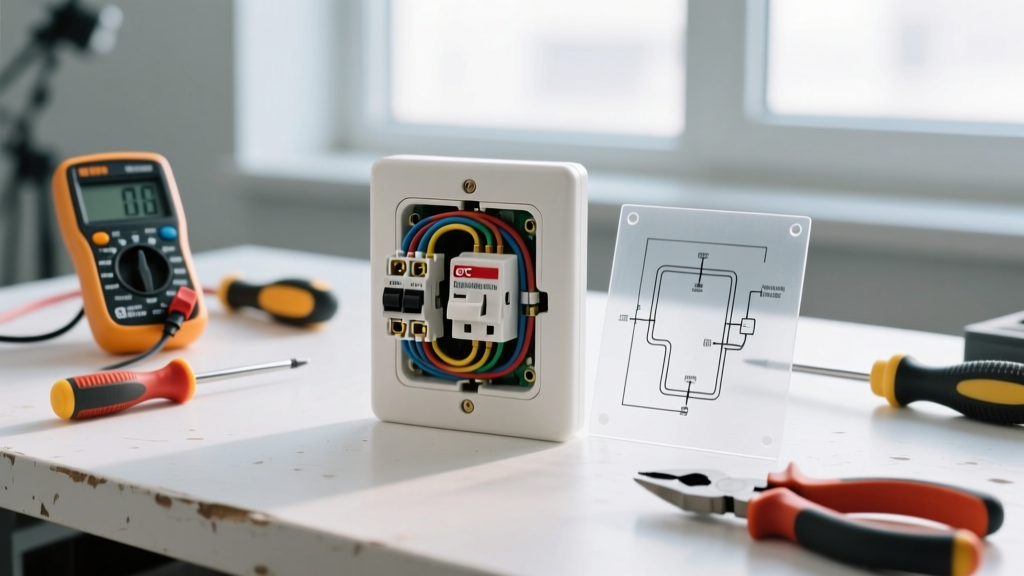
Before cutting into your drywall, gather the correct materials. Using the right gauge wire and rated boxes is non-negotiable for fire prevention.
| Item | Recommended Model / Spec | Estimated Cost | Purpose |
|---|---|---|---|
| Old Work Box | Carlon B114R-UPC (14 cu. in.) | $3.50 | Houses the new receptacle securely in existing drywall. |
| NM-B Cable | Southwire 14/2 or 12/2 NM-B | $0.75/ft | 14 AWG for 15A circuits; 12 AWG for 20A circuits. |
| Receptacle | Leviton T5262-W (TR Duplex) | $4.00 | Tamper-Resistant (TR) code-compliant outlet. |
| Wire Strippers | Klein Tools 11055 | $28.00 | Precise stripping without nicking copper conductors. |
| Drywall Saw | Greenlee 501 (Jab Saw) | $12.00 | Plunge cutting drywall for the new box. |
| Voltage Tester | Fluke 1AC-II VoltAlert | $35.00 | Verifies power is completely disconnected. |
Step 1: Power Isolation and Circuit Assessment
Head to your main electrical panel and switch off the breaker controlling the outlet. Test the receptacle with your Fluke non-contact tester and a multimeter set to AC voltage. Once confirmed dead, remove the faceplate and unscrew the existing outlet.
Identify Your Wire Gauge and Circuit Amperage
Look closely at the existing cable sheathing or the breaker handle. According to the National Fire Protection Association (NFPA), you must match the replacement wire to the breaker size:
- 15-Amp Breaker: Uses 14 AWG copper wire (White sheathing). You can use 14/2 or 12/2 NM-B.
- 20-Amp Breaker: Uses 12 AWG copper wire (Yellow sheathing). You must use 12/2 NM-B. Never use 14 AWG on a 20-amp circuit, as it creates a severe fire hazard.
Step 2: Drywall Surgery and Box Installation
Determine the new location for your outlet. Standard building code places the center of wall receptacles at 12 to 18 inches above the finished floor, though kitchen and bathroom heights vary.
- Trace the Box: Hold the front lip of the Carlon B114R-UPC old work box against the drywall at the new location. Trace the inner rectangle with a pencil.
- Check for Studs: Use a stud finder to ensure you aren't cutting directly into a wooden stud or hitting existing plumbing. If a stud is in the way, shift the box left or right by 1.5 inches.
- Plunge Cut: Puncture the drywall inside the traced line with your Greenlee jab saw. Carefully cut along the lines. Keep the saw blade shallow (about 1 inch deep) to avoid slicing hidden cables.
- Extract the Old Box: At the original location, remove the existing outlet box. If it is nailed to a stud, use a reciprocating saw or a hacksaw blade wrapped in a rag to cut the nails. Leave the original cable attached to the circuit for now.
Step 3: Fishing the NM-B Cable
Routing the cable through a finished wall is often the most frustrating part for beginners. You are essentially creating a bridge between the old hole and the new hole.
The Fish Tape Method
Feed a fiberglass fish tape or a flexible drill bit through the new hole toward the old hole. Have a helper shine a flashlight into the old hole to guide you. Once the tape emerges, attach your new NM-B cable to the fish tape using electrical tape, creating a smooth, tapered head so it doesn't snag on insulation or fire blocks. Pull the cable gently back to the new box location.
Pro Tip for Fire Blocks: If you hit a horizontal fire block between the studs, you will need to cut a small access hole in the drywall directly over the block, drill through the wood using a 3/4-inch auger bit, and patch the drywall later. Forcing the cable can damage the internal conductors.
Step 4: Securing the Box and Wiring
Strip the outer NM-B jacket, leaving exactly 1/4 inch of sheathing entering the box. The U.S. Consumer Product Safety Commission (CPSC) emphasizes that exposed ground wires or damaged insulation inside the box are leading causes of residential electrical faults.
Box Fill Calculations (NEC Article 314.16)
Before closing the box, ensure you aren't overcrowding it. A standard 14 cu. in. box can comfortably hold one incoming 14/2 cable, one outgoing 14/2 cable, and one standard duplex receptacle. If you are adding multiple cables, upgrade to a 20 cu. in. deep old work box.
Terminating the Wires
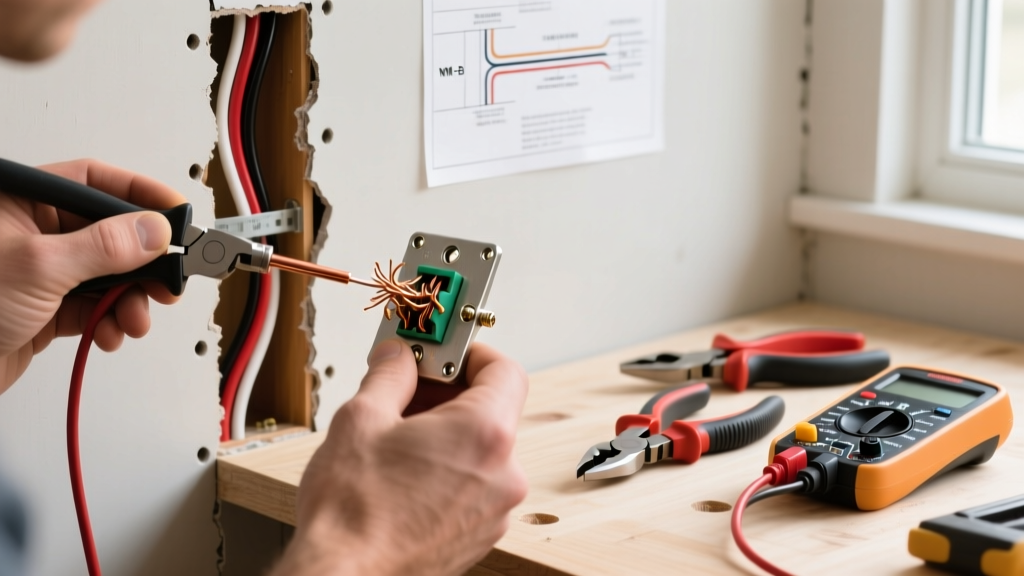
Strip 3/4 inch of insulation from the black (hot), white (neutral), and bare (ground) wires using your Klein Tools strippers. Connect them to the Leviton T5262-W receptacle as follows:
- Ground (Bare): Attach to the green grounding screw. Loop the wire clockwise so tightening the screw pulls the loop closed.
- Neutral (White): Attach to the silver terminal screw.
- Hot (Black): Attach to the brass terminal screw.
Torque Specification: While most DIYers hand-tighten, the 2023/2026 NEC updates place heavy emphasis on proper torque to prevent arcing. Standard 10-32 terminal screws require approximately 14 in-lbs of torque. Use a dedicated torque screwdriver if available, or tighten firmly until the screw is snug and the wire cannot be pulled loose.
Never Use Backstab (Push-In) Connectors
Always use the side terminal screws. Push-in connectors rely on a small internal spring that can loosen over time due to thermal expansion and contraction, leading to high-resistance connections, melting, and fires.
Step 5: Mounting and Final Testing
Push the wires neatly into the back of the Carlon box, folding them in a Z-pattern to avoid pinching. Insert the box into the drywall hole and tighten the two mounting screws. The plastic wings will flip and clamp tightly against the back of the drywall. Mount the receptacle, attach the faceplate, and restore power at the breaker panel.
Test the new outlet using a $15 receptacle tester (like the Gardner Bender GRT-13). The tester will confirm correct wiring, proper grounding, and ensure you haven't accidentally reversed the hot and neutral wires.
Crucial NEC Code Considerations for 2026
When moving an outlet, you are legally required to bring the new installation up to current local codes. Keep these rules in mind:
- AFCI Protection: If you are moving an outlet in a bedroom, living room, or hallway, the circuit must be protected by an Arc-Fault Circuit Interrupter (AFCI). If your panel lacks an AFCI breaker, you must install an AFCI receptacle at the first outlet in the circuit run.
- GFCI Protection: Any outlet moved within 6 feet of a sink, in a garage, unfinished basement, or exterior wall must be Ground-Fault Circuit Interrupter (GFCI) protected.
- Cable Securing: NEC Article 334.30 requires NM-B cable to be secured within 12 inches of the box. In retrofit scenarios where you cannot access the stud to staple, using a listed 'old work' cable clamp integrated into the box is the code-compliant workaround.
Troubleshooting Common Beginner Mistakes
| Symptom | Likely Cause | Solution |
|---|---|---|
| Breaker trips immediately | Hot and ground wires touching, or pinched cable insulation. | Turn off power, inspect the box for bare copper touching the metal strap or ground wire. |
| Outlet tester shows 'Open Ground' | Bare ground wire disconnected or broken. | Verify the ground wire is securely looped under the green screw and making solid contact. |
| Outlet tester shows 'Hot/Neutral Reversed' | Black wire on silver screw, white wire on brass screw. | Swap the black wire to the brass screw and white to the silver screw. |
| Drywall cracking around box | Box wings over-tightened or drywall cut too large. | Loosen screws slightly; use a deeper mud ring or apply setting-type joint compound to reinforce. |
Frequently Asked Questions
Can I daisy-chain a new outlet from an existing one?
Yes, this is called 'daisy-chaining' or wiring in parallel. You will connect the incoming power cables and the new outgoing cables together using wire nuts (or push-in wire connectors like Ideal In-Sure) inside the original box. Ensure the original box has enough cubic inch capacity (box fill) to handle the extra wires.
Do I need a permit to move an outlet?
In most municipalities, moving an existing outlet on an existing circuit does not require an electrical permit, as it is considered minor maintenance. However, adding a new circuit or moving outlets in a fully permitted kitchen remodel usually requires inspection. Always check with your local building department.
What if the original cable is too short to reach the new location?
You cannot splice NM-B cable inside a wall cavity without an accessible junction box. If the existing wire won't reach, you must either run a completely new cable from the breaker panel or install a surface-mounted or accessible junction box at the old location to extend the wires to the new box.