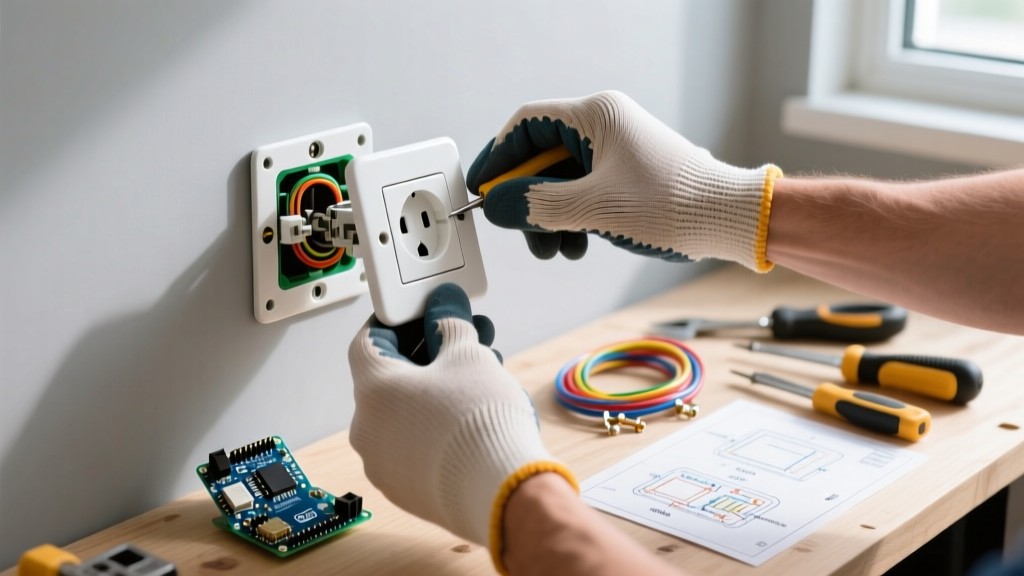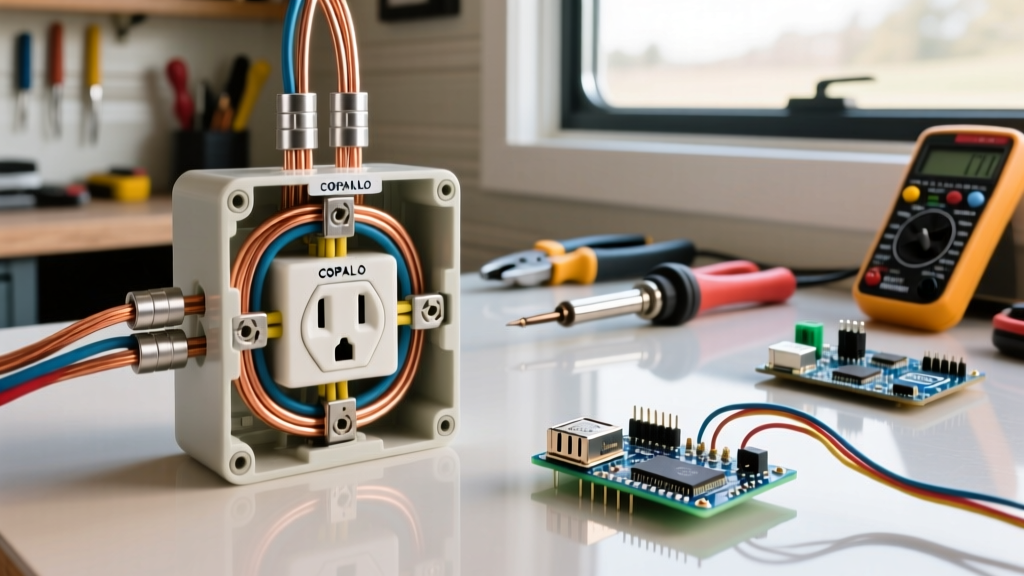

The Unique Electrical Anatomy of Manufactured Homes
Wiring a mobile home electrical outlet is fundamentally different from working in a standard site-built house. Manufactured homes are governed by the Federal Manufactured Home Construction and Safety Standards (the HUD Code) and NEC Article 550. These regulations dictate specific wiring methods, box depths, and grounding requirements that directly impact how receptacles are installed and upgraded.
As of 2026, the push for higher energy efficiency and stricter fire safety codes means many mobile homeowners are upgrading outdated receptacles to meet modern Tamper-Resistant (TR), GFCI, and AFCI standards. However, the physical constraints of manufactured home walls and legacy wiring materials create unique hurdles. Below, we break down the most common wiring scenarios you will encounter and provide exact, code-compliant solutions.
Scenario 1: Upgrading Ungrounded Aluminum Outlets
If your manufactured home was built before the mid-1980s, there is a high probability that the branch circuit wiring is solid aluminum (typically 12 AWG or 10 AWG). Aluminum wiring is not inherently dangerous, but terminating it on standard copper-rated receptacles is. The differing thermal expansion rates and galvanic corrosion between aluminum wire and brass/copper terminal screws lead to loose connections, arcing, and electrical fires.
The Failure Mode
When a standard receptacle heats up under load (e.g., a 1,500W space heater drawing 12.5 amps), the aluminum wire expands faster than the brass terminal screw. When the load is removed and the wire cools, it contracts, leaving a microscopic gap. Over months of use, this 'thermal creep' causes high-resistance arcing at the mobile home electrical outlet terminals.
The Code-Compliant Solutions
- Direct Replacement with CO/ALR Devices: The most cost-effective fix is replacing the standard receptacle with a CO/ALR (Copper-Aluminum Revised) rated device, such as the Leviton 16280-W (approx. $3.50). These feature specialized nickel-plated terminal screws and larger contact surfaces designed specifically for aluminum.
- Pigtailing with AlumiConn Connectors: For a permanent, future-proof repair, pigtail the aluminum branch wire to a short copper jumper using AlumiConn 3-port lug connectors (approx. $4.50 each). Unlike wire nuts, AlumiConn connectors use independent set-screws torqued to exactly 15 in-lbs, separating the aluminum and copper wires into different ports while maintaining a secure, oxidation-free mechanical bond. The copper jumper is then terminated to a standard modern TR receptacle.
Expert Warning: Never use standard purple wire nuts (Ideal 65) for aluminum-to-copper pigtailing in mobile homes. The Electrical Safety Foundation International (ESFI) and the CPSC explicitly warn that twist-on connectors fail to maintain adequate torque on aluminum wire over time, leading to hidden thermal failures inside the wall cavity.
Scenario 2: Fitting GFCI Protection into Shallow Wall Boxes
Modern electrical codes require Ground Fault Circuit Interrupter (GFCI) protection for all mobile home electrical outlets in kitchens, bathrooms, laundry areas, and outdoors. The physical constraint here is box depth.
Standard site-built homes use 1/2-inch or 5/8-inch drywall, allowing for 3.5-inch deep electrical boxes. Mobile homes typically use VOG (Vinyl-Over-Gypsum) wall panels that are only 5/16-inch to 3/8-inch thick. Consequently, manufacturers install shallow 2.5-inch deep boxes (such as the Carlon B618R).
The Box Fill Dilemma
A standard GFCI receptacle (like the Leviton 8280-W) has a body depth of roughly 1.35 inches. In a 2.5-inch shallow box, this leaves just over 1 inch of space for the incoming 12 AWG or 14 AWG wires, the grounding pigtail, and the wire connectors. This violates NEC Section 314.24 box fill calculations, which require adequate volume to prevent wire insulation damage and allow for heat dissipation.
The Solution
To install a GFCI in a mobile home shallow box without violating code:
- Use Shallow-Depth GFCIs: Purchase receptacles specifically engineered for shallow boxes. The Pass & Seymour 2087-W or the Leviton 9864 feature a reduced body depth (approx. 1.0 inch) and side-entry wire terminals that minimize the space required for wire bends.
- Upgrade the Box (If Stud Depth Permits): If your mobile home wall studs are 2x3s (actual depth 2.5 inches), you are maxed out. However, if your home was built with 2x4 studs, you can carefully cut away the VOG panel and install a 3-inch deep 'old work' retrofit box (e.g., Carlon B618R-UPC), giving you the necessary cubic inch volume for a standard GFCI and AFCI dual-function device.
Scenario 3: Mounting Receptacles to Brittle VOG Walls
When adding a new mobile home electrical outlet or replacing a damaged one, you quickly realize that standard plastic 'nail-on' boxes or drywall 'old work' boxes with flip-clamps do not grip VOG paneling securely. VOG is essentially thin gypsum with a vinyl laminate; it is brittle and lacks the structural integrity to hold the pull-force of a tight-fitting plug.
Best Practices for VOG Mounting
- Madison Hangers (F-Clips): For existing walls, use metal Madison hangers. You slide the hanger behind the VOG panel, then fold the front tabs over the surface. The receptacle screws into the hanger, distributing the physical pull-force across a wider area of the wall rather than relying on the brittle gypsum core.
- Surface Raceways: If the wall cavity is inaccessible due to cross-bracing or insulation, use surface-mounted wiring channels like Wiremold V7. This avoids cutting into the fragile VOG panels entirely and is fully compliant with NEC Article 344 for surface metal raceways.
Comparison Matrix: Standard Site-Built vs. Mobile Home Outlet Specs
| Feature | Standard Site-Built Home | Manufactured / Mobile Home |
|---|---|---|
| Governing Code | NEC Articles 210, 404 | NEC Article 550, HUD Code (24 CFR 3280) |
| Wall Material | 1/2" to 5/8" Drywall | 5/16" to 3/8" VOG (Vinyl-Over-Gypsum) |
| Standard Box Depth | 3.5 inches (Standard Gang Box) | 2.5 inches (Shallow Box) |
| Branch Wiring (Legacy) | Copper (Rarely Aluminum) | Aluminum (Pre-1980s), Copper (Modern) |
| Grounding Method | Equipment Grounding Conductor (EGC) | EGC required; Metal chassis ground prohibited as sole path |
| Receptacle Mounting | Drywall Clamps / Nail-on Boxes | Madison Hangers / Specialized Old-Work Boxes |
Step-by-Step: Replacing a Mobile Home Electrical Outlet
Follow this precise workflow to ensure a safe, code-compliant installation in a manufactured home environment.
1. Verify Power and Prepare the Workspace
Turn off the breaker and verify the absence of voltage using a non-contact voltage tester (e.g., Klein Tools NCVT-3). Mobile home panels often have mislabeled circuits; always test the target receptacle before touching any terminals.
2. Extract the Device and Inspect the Box
Remove the faceplate and device mounting screws. Gently pull the receptacle out. Inspect the shallow box for heat damage (melting or browning). If the plastic box is deformed, it must be cut out and replaced with a retrofit box before proceeding.
3. Evaluate the Wiring Material
Scrape a tiny amount of insulation off the wire if necessary to check the metal color. If it is silver/grey, you are dealing with aluminum. Stop. You must now use a CO/ALR receptacle or AlumiConn pigtailing method. If it is copper, proceed with a standard TR receptacle.
4. Terminate and Torque
Strip the wires to exactly 3/4 inch. If using a side-wiring receptacle, loop the wire clockwise around the terminal screw. Critical Step: Use a calibrated torque screwdriver. For 14 AWG wire, torque to 12 in-lbs; for 12 AWG, torque to 16 in-lbs. Over-tightening aluminum wire will cause it to neck down and snap under the screw head.
5. Secure to VOG Paneling
Push the wires neatly into the back of the shallow box, folding them in an accordion pattern rather than cramming them. Mount the receptacle. If the VOG panel is crumbling around the screw holes, use a receptacle spacer (shim) or install a Madison hanger to ensure the outlet sits flush and secure against the wall.
Code Compliance and Safety Standards
When modifying any mobile home electrical outlet, adherence to federal and national standards is not optional. The U.S. Department of Housing and Urban Development (HUD) strictly prohibits using the metal frame or chassis of a mobile home as a grounding path. Every receptacle must have a dedicated Equipment Grounding Conductor (EGC) routed back to the main service panel.
Furthermore, as of the 2026 NEC adoption cycles, all 125V, 15A, and 20A receptacles in mobile homes must be Tamper-Resistant (TR) to prevent childhood shock hazards, and AFCI protection is mandatory for bedroom, living room, and hallway circuits. By understanding the unique physical and material constraints of manufactured homes, you can execute upgrades that are both physically secure and legally compliant.