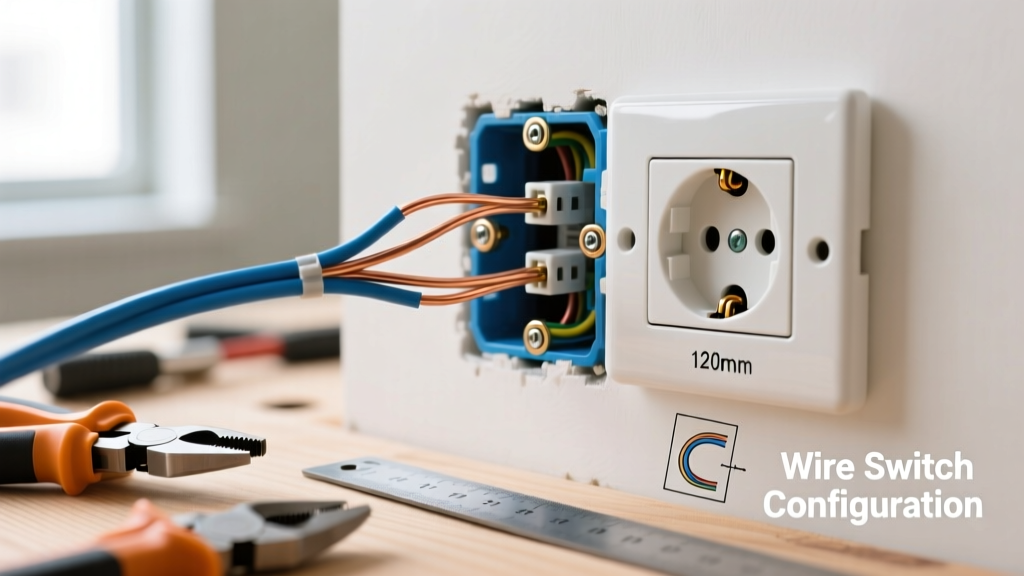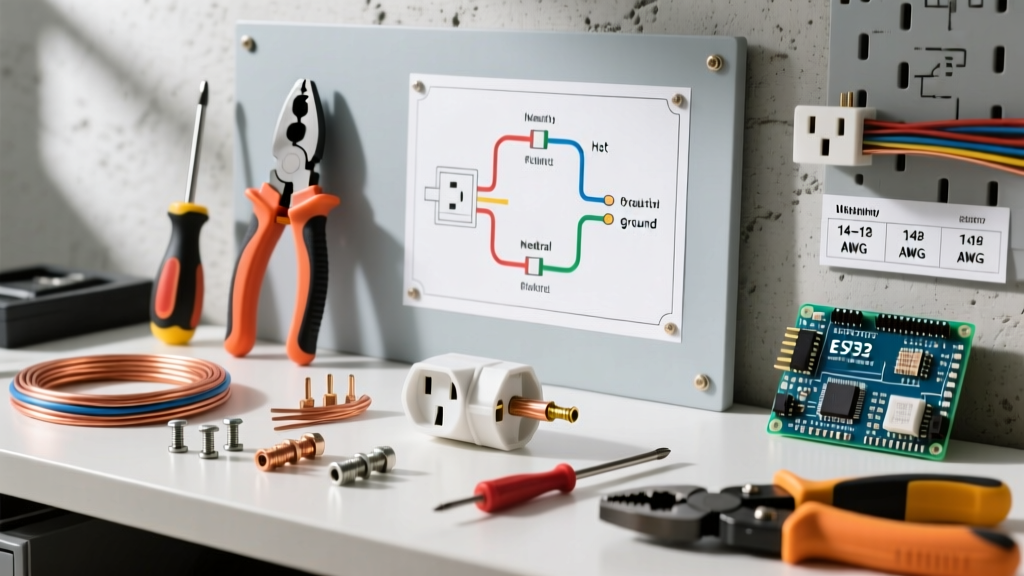

Mastering Male Electrical Plug Wiring: The Professional's Material & Tool Guide
Wiring a male electrical plug—technically known as an attachment plug cap—appears deceptively simple. Strip the wire, wrap the terminals, and tighten the screws. However, as any seasoned electrician or industrial maintenance technician knows, improper material selection and subpar tooling are the root causes of arc faults, overheating, and catastrophic equipment failure. Whether you are building custom extension cords for a construction site, wiring heavy-duty RV power cables, or replacing a damaged plug on a 240V welder, your approach to male electrical plug wiring must be rooted in precision and code compliance.
This comprehensive guide strips away the guesswork. We will detail the exact tools, wire specifications, and termination materials required to build plugs that meet NFPA National Electrical Code (NEC) standards and withstand the rigorous demands of modern job sites in 2026.
Decoding the Male Plug: NEMA Configurations & Material Choices
Before picking up a screwdriver, you must match the plug body to the application's amperage, voltage, and environmental conditions. The National Electrical Manufacturers Association (NEMA) standardizes these configurations. Using an undersized plug for a continuous load is a direct violation of safety protocols and a primary cause of thermal melting at the prongs.
| NEMA Configuration | Rating | Common Application | Recommended Plug Model (2026) | Approx. Cost |
|---|---|---|---|---|
| 5-15P | 15A, 125V | Standard household tools, AV equipment | Leviton 5266-C (Industrial Grade) | $6.50 - $8.00 |
| 5-20P | 20A, 125V | Heavy power tools, commercial vacuums | Hubbell 5362 (Extra Heavy Duty) | $12.00 - $15.00 |
| L5-30P | 30A, 125V (Twist-Lock) | Generators, stage lighting, industrial lifts | Pass & Seymour L530P | $18.00 - $24.00 |
| 14-50P | 50A, 125/250V | RV shore power, EV chargers, large welders | Hubbell 9450A (Angled) | $45.00 - $65.00 |
Pro Tip: Always opt for "Industrial" or "Extra Heavy Duty" grades over "Residential" grades. Industrial plugs feature thicker brass prongs, deeper terminal cups, and superior internal clamping mechanisms that resist vibration and thermal expansion.
The Wire: Selecting the Right Gauge and Jacket for 2026 Demands
The cable you terminate into the male plug is just as critical as the plug itself. For flexible cords, the NEC (Article 400) dictates specific usage parameters. As of early 2026, copper pricing fluctuations have made selecting the exact right wire gauge a matter of both safety and budget efficiency.
Jacket Types: SOOW vs. SJT
- SOOW (Service, Oil-resistant jacket, Oil-resistant inner, Water/Weather resistant): The gold standard for industrial and outdoor male electrical plug wiring. Features a thermoset rubber jacket rated for -40°C to 90°C. It resists UV degradation, ozone, and physical abrasion. Expect to pay around $2.80 per foot for 12/3 SOOW.
- SJT (Service Junior Thermoplastic): A lighter, PVC-jacketed cord suited for indoor, light-duty commercial use (e.g., office equipment, light shop vacs). It stiffens in cold weather and degrades under UV exposure. Costs roughly $1.30 per foot for 12/3.
Gauge Sizing & Voltage Drop
Never size your wire solely on the plug's maximum amperage. You must account for voltage drop over distance. For a 50-foot 15A extension cord, 12 AWG wire is vastly superior to 14 AWG, reducing voltage drop from 3.2% down to 2.0%, ensuring motors in power tools do not overheat due to undervoltage conditions.
The Essential Tool Kit for Professional Plug Termination
Using a dull utility knife or a standard Phillips screwdriver is an invitation for failure. Professional male electrical plug wiring requires specialized tools to ensure clean cuts, precise stripping, and verified torque.
- Precision Wire Strippers: Klein Tools 11055 (8-22 AWG). Unlike auto-strippers that can nick fine stranded copper, this manual stripper cleanly scores the insulation without compromising the conductor's tensile strength.
- Cable Jacket Slitter: Ideal Industries 45-150 Romex ripper or a dedicated longitudinal slitter. This prevents accidental nicking of the inner conductor insulation when removing the outer SOOW jacket.
- Torque Screwdriver: Wera 075605 Kraftform (adjustable 2-16 in-lbs). This is the most overlooked tool in the kit. Under-tightened terminal screws cause arcing; over-tightened screws strip the brass threads or crush stranded wire, leading to "cold flow" loosening over time.
- Bootlace Ferrule Crimper: Phoenix Contact CRIMPFOX 6. For high-vibration environments, crimping pin ferrules onto stranded wire before inserting them into the plug's terminal cups prevents "birdcaging" and ensures 100% copper-to-brass contact.
Step-by-Step Material Prep & Termination Sequence
Follow this exact sequence to achieve a factory-grade termination that complies with OSHA's flexible cord safety guidelines regarding strain relief and grounding integrity.
1. Jacket Removal and Conductor Prep
Measure exactly 1.5 inches from the cable end and score the outer jacket. Peel it back and trim. Do not strip the inner conductors yet. Feed the cable through the plug's strain relief clamp and the outer housing before stripping the wires—a surprisingly common mistake that forces you to start over.
2. Stripping and Ferrule Application
Strip exactly 9/16" of insulation from the individual conductors (Black/Hot, White/Neutral, Green/Ground). If using ferrules, slide the appropriately sized bootlace ferrule over the bare strands and crimp using the CRIMPFOX tool. Trim any protruding wire flush with the ferrule tip.
3. Terminal Routing and Wrapping
Route the wires to their respective terminals: Brass (Black/Hot), Silver (White/Neutral), Green (Green/Ground). If wrapping bare stranded wire without ferrules, twist the strands tightly clockwise. Wrap the wire around the terminal screw clockwise so that tightening the screw pulls the wire loop tighter rather than pushing it out.
4. Torque Application
Set your Wera torque screwdriver to the manufacturer's specification (typically 7 to 9 in-lbs for 12 AWG wire on standard 20A plugs). Tighten until the tool clicks. This guarantees optimal clamping force without damaging the terminal block.
5. The Strain Relief Clamp (The Critical Step)
Position the internal strain relief bar directly over the outer jacket of the cable. It must never clamp down on the inner colored conductors. Tighten the clamp screws evenly. Perform the "tug test"—the assembly must withstand a 35-pound pull without the jacket slipping, as mandated by safety testing laboratories like UL (Underwriters Laboratories).
Expert Warning: Never use the "underwriter's knot" as a substitute for a mechanical strain relief clamp in heavy-duty industrial plugs. While acceptable for cheap, molded household lamp cords, the knot creates a localized stress point that will eventually sever the copper strands inside a SOOW cable subjected to job-site dragging.
Common Failure Modes & How Your Material Choices Prevent Them
Understanding why plugs fail in the field informs the materials you buy today.
- Thermal Melting at Prongs: Caused by using residential-grade plugs with thin, stamped brass prongs that lack the mass to dissipate heat. Solution: Always buy solid brass, industrial-grade plugs (e.g., Hubbell or Pass & Seymour).
- Internal Short Circuits: Occurs when the outer jacket slips out of the strain relief, causing the hot and neutral wires to pull away from terminals and cross. Solution: Proper jacket clamping and using cords with a high-friction outer jacket like SOOW.
- Ground Fault Interruption (Nuisance Tripping): Caused by stray strands of the green ground wire touching the hot terminal. Solution: Use heat shrink tubing over the ground wire up to the terminal screw, or use insulated pin ferrules to contain all strands.
Final Thoughts on Safe Plug Terminations
Male electrical plug wiring is a foundational skill that bridges the gap between a safe, reliable power delivery system and a dangerous fire hazard. By investing in industrial-grade NEMA plugs, selecting the correct SOOW or SJT cabling, and utilizing precision torque and stripping tools, you ensure that your custom cords will survive the harshest environments. Remember, the true cost of a custom extension cord isn't the $15 plug or the $3-per-foot cable—it's the safety of the personnel using it and the equipment it powers. Treat every termination with the respect it demands.