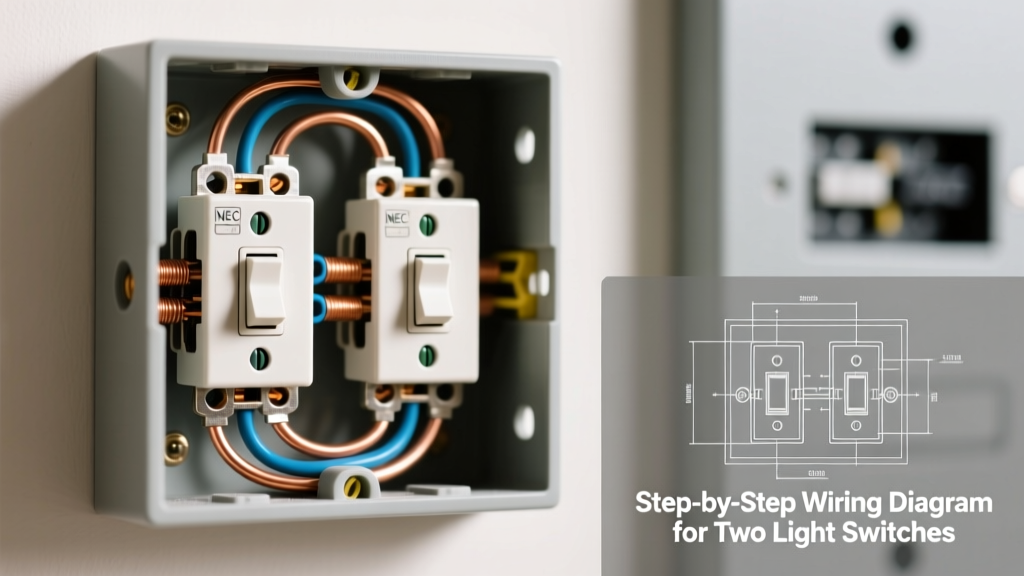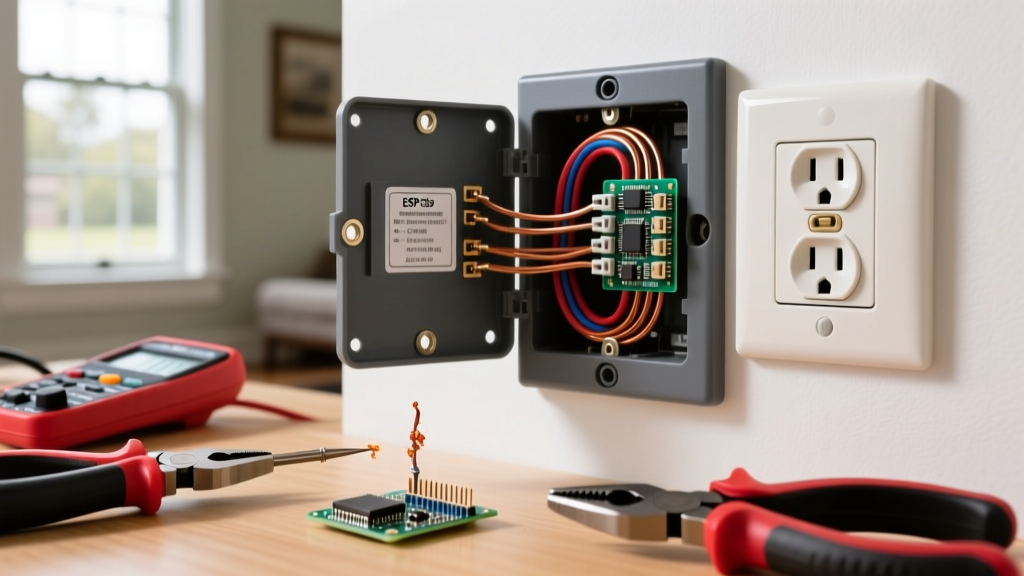

Why Menomonee Falls Homes Need Outlet Upgrades
If you own a home in Menomonee Falls, Wisconsin, chances are your electrical system is hiding a few secrets behind the drywall. Whether you live in a mid-century ranch near Main Street, a 1970s split-level around County Line Road, or a 1990s colonial in the Heritage Ridge subdivision, your electrical outlets have likely endured decades of use, temperature fluctuations, and shifting building codes. Upgrading your receptacles is not just an aesthetic choice; it is a critical safety intervention.
Many older homes in Waukesha County were wired with standard two-prong ungrounded receptacles or early three-prong models lacking modern internal safety shutters. Furthermore, the extreme freeze-thaw cycles characteristic of southeastern Wisconsin can wreak havoc on exterior outlets, leading to cracked faceplates, moisture intrusion, and eventual ground faults. This comprehensive guide covers everything you need to know about electrical outlet installation in Menomonee Falls, WI, from navigating local state codes to winterizing exterior receptacles and handling legacy aluminum wiring.
Navigating Wisconsin Electrical Code (SPS 316)
Before you pull a single screw from a faceplate, you must understand the regulatory landscape. Wisconsin does not use the base National Electrical Code (NEC) verbatim; instead, the state adopts the NEC with specific amendments under the Wisconsin Administrative Code SPS 316. For residential upgrades, this means strict adherence to Tamper-Resistant (TR), Ground-Fault Circuit Interrupter (GFCI), and Arc-Fault Circuit Interrupter (AFCI) requirements.
According to the National Fire Protection Association (NFPA), electrical failures and malfunctions account for tens of thousands of home fires annually. Upgrading to modern TR and AFCI/GFCI devices drastically reduces these risks. Under current Wisconsin code, any replacement receptacle in a dwelling unit must be a Tamper-Resistant (TR) model, which features internal spring-loaded shutters that prevent children from inserting foreign objects into the slots.
Room-by-Room Protection Requirements
| Location | Required Protection | Device Type Needed |
|---|---|---|
| Kitchens (Countertops) | GFCI | 20A TR GFCI Receptacle |
| Bathrooms | GFCI | 20A TR GFCI Receptacle |
| Bedrooms & Living Rooms | AFCI | AFCI Breaker or Receptacle |
| Garages & Outdoors | GFCI | 20A TR GFCI + Weatherproof Cover |
| Laundry Rooms | GFCI & AFCI | Dual-Function (DF) Receptacle/Breaker |
Step-by-Step: Replacing a Standard 15A Duplex Receptacle
Replacing a standard 15-amp, 125-volt duplex receptacle is a foundational DIY skill. For this guide, we recommend the Leviton T5320-WMP (a 15A Tamper-Resistant duplex receptacle, typically priced around $3.50). Avoid the cheapest $0.99 builder-grade receptacles; their internal yokes bend easily, and the side-wire terminal screws strip under moderate torque.
Tools Required
- Non-contact voltage tester (e.g., Klein Tools NCVT-2)
- Wire strippers with 14 AWG and 12 AWG gauges
- Lineman's pliers
- Phillips and flathead screwdrivers
- Torque screwdriver (e.g., Klein Tools 70612) calibrated to 14 in-lbs
The Installation Process
- Kill the Power: Turn off the corresponding breaker at your main panel. Verify the outlet is dead using your non-contact voltage tester. Test a known live outlet first to ensure your tester's battery is functioning.
- Remove and Inspect: Unscrew the faceplate and extract the old receptacle. Inspect the wire insulation. If the insulation is brittle, cracked, or crumbling (common in 1960s Menomonee Falls homes), you must carefully strip back to fresh copper or call an electrician to evaluate the circuit.
- Prepare the Wires: Using the 14 AWG hole on your wire strippers (for 15A circuits) or 12 AWG (for 20A circuits), strip exactly 3/4 inch of insulation. Do not nick the copper conductor, as this creates a weak point that can snap under thermal expansion.
- Form the Hook: Bend the bare copper into a tight 'J' hook using the needle-nose pliers. The hook must be sized perfectly to wrap clockwise around the terminal screw. When you tighten the screw, the clockwise rotation will pull the loop tighter, rather than pushing it out.
- Terminate and Torque: Connect the black (hot) wire to the brass screw, the white (neutral) wire to the silver screw, and the bare/green (ground) wire to the green grounding screw. Modern NEC standards (110.14(D)) require terminations to be torqued to the manufacturer's specifications. For most Leviton 15A devices, this is 14 inch-pounds. Use a torque screwdriver to prevent under-tightening (which causes arcing) or over-tightening (which strips the brass threads).
- Secure and Test: Carefully fold the wires into the back of the junction box using a 'Z' fold pattern to avoid pinching. Screw the device to the box, ensuring it sits flush. Restore power and test with a plug-in circuit analyzer.
The Aluminum Wiring Edge Case
During the copper shortage of the late 1960s and 1970s, many homes in the Greater Milwaukee area, including parts of Menomonee Falls, were wired with solid aluminum branch circuit wiring. According to the U.S. Consumer Product Safety Commission (CPSC), aluminum wiring is 55 times more likely to reach fire hazard conditions at connections than copper wiring due to galvanic corrosion and thermal expansion differences.
Never connect aluminum wire directly to a standard copper-rated receptacle. If you discover dull gray wires instead of bright copper, you have two code-compliant options:
- Option A (Direct Connection): Use only receptacles explicitly marked CO/ALR (Copper-Aluminum Revised), such as the Leviton 5262-CW. These feature specialized alloy terminal screws designed to resist creep and corrosion.
- Option B (Pigtailing): Use an AlumiConn lug connector or an Ideal 65-002 (purple) wire nut to pigtail a short piece of copper wire to the aluminum wire, then connect the copper pigtail to a standard TR receptacle. This is generally considered the safer, more permanent fix by modern inspectors.
Exterior Upgrades: Beating the Wisconsin Winter
Exterior electrical outlet installation in Menomonee Falls, WI, requires special consideration for the climate. Standard plastic 'bubble' covers become brittle and shatter when temperatures drop below zero, and ice dams can force meltwater behind the faceplate. Furthermore, frost heave can shift exterior junction boxes, breaking the seal against the siding.
For exterior upgrades, abandon cheap plastic covers. Invest in a heavy-duty, die-cast aluminum in-use cover like the TayMac MX540S (approx. $22). When installing the cover, apply a continuous bead of GE Advanced Silicone 2 (100% silicone, paintable) along the top and both side edges where the cover meets the siding or brick. Crucial Pro-Tip: Leave the bottom edge uncaulked. This creates a 'weep hole' that allows any internal condensation or trapped moisture to drain out, rather than pooling inside the electrical box and tripping your GFCI.
Expert Insight: If your exterior outlet is mounted on a brick or stone veneer, ensure the junction box is not taking structural load. Use masonry anchors and a deep-weatherproof extension ring to bring the box flush with the masonry surface, preventing water from channeling behind the veneer.
Cost Breakdown: DIY vs. Hiring a Menomonee Falls Electrician
Understanding the financial scope of your project helps determine whether to tackle it yourself or call a professional. Labor rates in Waukesha County have risen steadily, reflecting broader trade shortages. Below is a 2026 estimated cost matrix for upgrading standard receptacles in Menomonee Falls.
| Project Scope | DIY Material Cost | Pro Electrician Cost (Labor + Materials) | Time Investment |
|---|---|---|---|
| Single Standard TR Outlet | $4 - $8 | $125 - $175 (Minimum service call) | 20 Minutes |
| Kitchen GFCI Upgrade | $25 - $40 | $180 - $250 | 45 Minutes |
| Exterior GFCI + Metal Cover | $45 - $65 | $225 - $350 | 1 - 2 Hours |
| Whole-House TR Swap (20 outlets) | $70 - $120 | $600 - $900 | 4 - 6 Hours |
| Aluminum Wiring Pigtailing (Per box) | $12 - $18 | $150 - $200 (Per connection) | 30 Minutes |
When to Put Down the Screwdriver and Call a Pro
While swapping a standard receptacle is well within the capabilities of an informed DIYer, certain scenarios discovered during an upgrade mandate a licensed Menomonee Falls electrician. Stop work immediately and call a professional if you encounter:
- Federal Pacific or Zinsco Panels: If your main breaker panel is a Federal Pacific Stab-Lok or a Zinsco, these are known fire hazards with high failure rates. Do not add load or alter circuits until the panel is replaced.
- Knob and Tube Wiring: Found in homes built before 1940 (rare in Menomonee Falls, but present in some historic farmhouses on the outskirts). This wiring lacks a ground and has degraded insulation. It cannot be legally modified or extended under Wisconsin code.
- Missing Ground Wire: If you open a three-prong outlet and find no bare copper or green ground wire attached, the circuit is ungrounded. You cannot simply install a standard three-prong receptacle. You must either run a new grounded cable or install a GFCI receptacle labeled 'No Equipment Ground' as a safety workaround.
- Warm Faceplates or Burn Marks: Any sign of thermal damage, melted plastic, or soot inside the junction box indicates a severe fault, loose neutral, or overloaded circuit that requires professional diagnostic testing.
Frequently Asked Questions
Do I need a permit to replace outlets in Menomonee Falls?
Under Wisconsin SPS 316, a permit is generally not required for like-for-like replacement of existing receptacles, switches, or fixtures in a single-family dwelling. However, if you are adding new circuits, extending wiring, or upgrading your electrical panel, a local municipal permit and inspection are mandatory.
Can I install a 20A receptacle on a 15A breaker?
No. While a 15A receptacle is allowed on a 20A circuit (provided it is a duplex), a 20A receptacle (identified by the T-shaped neutral slot) is strictly prohibited on a 15A breaker. The breaker must be sized to protect the weakest link in the circuit.
Why does my new GFCI outlet keep tripping in the winter?
In Wisconsin, exterior GFCIs often trip in winter due to moisture ingress freezing and thawing inside the receptacle, or due to a compromised neutral wire connection downstream. Ensure your in-use cover is sealed properly on the top and sides, and verify that the LINE and LOAD terminals are wired correctly.