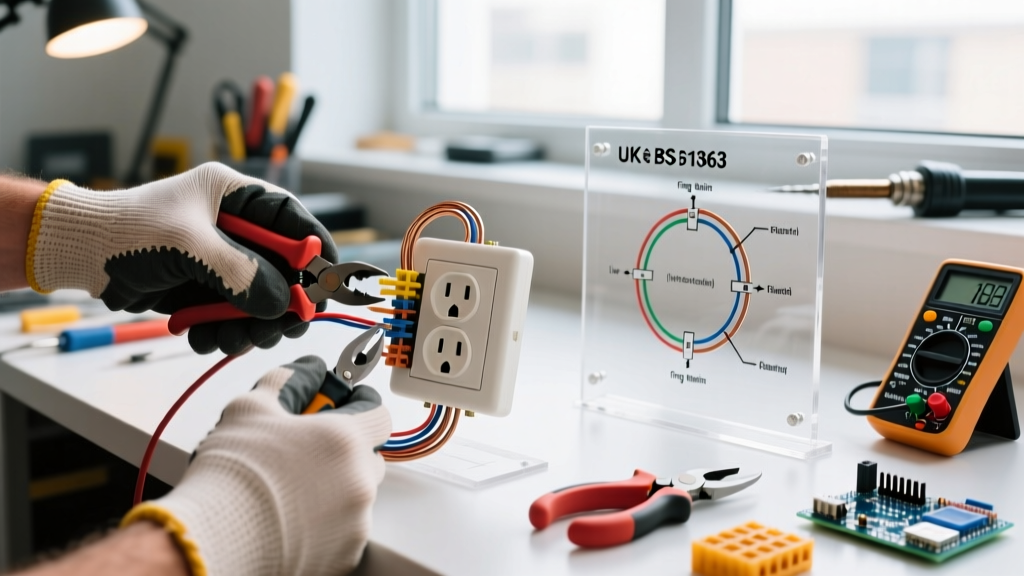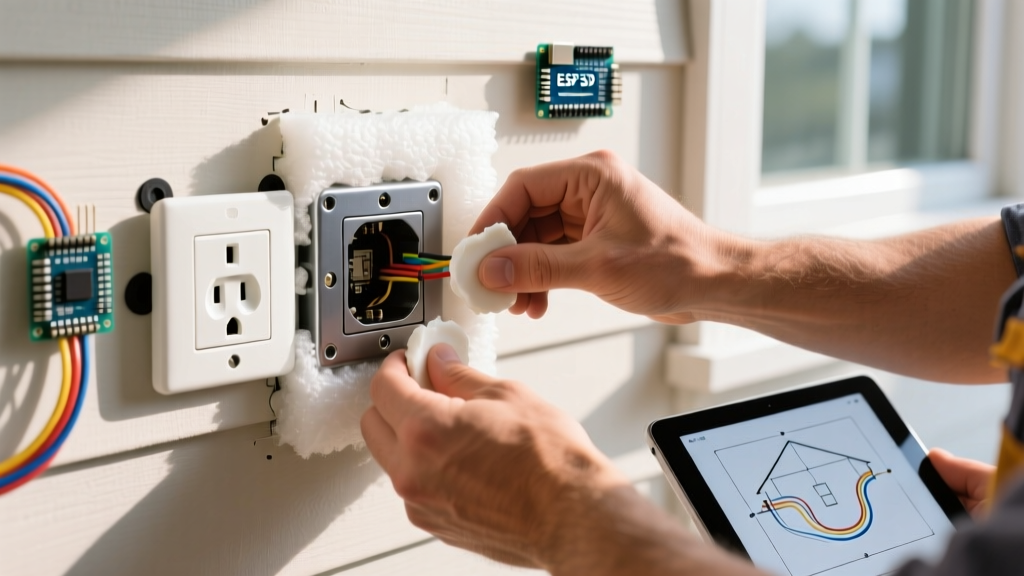

The Hidden Energy Leak: Why Exterior Outlets Matter
When homeowners think about insulation, they picture attics, crawlspaces, and wall cavities. Yet, one of the most pervasive sources of thermal bridging and air infiltration is frequently overlooked: the standard duplex receptacle. According to the U.S. Department of Energy, unsealed penetrations on exterior walls, including electrical boxes, can account for up to 5% of a home’s total air leakage. In winter, the stack effect pulls freezing outdoor air through the microscopic gaps around your outlet yoke and into your living space. In summer, it lets conditioned air escape while inviting humidity and pests.
2026 Energy Audit Insight: Thermal imaging scans consistently show exterior wall outlets as dark blue (cold) spots in winter. Sealing and insulating these boxes yields an average ROI of 140% within the first three heating seasons through reduced HVAC loads.
If you are undertaking a room upgrade, replacing old baseboards, or simply trying to eliminate a noticeable draft, learning how to properly insulate electrical outlet boxes is a high-impact weekend project. This guide details the exact materials, NEC-compliant techniques, and hardware upgrades required to permanently seal exterior receptacles.
Materials Matrix: Gaskets vs. Putty Pads vs. Spray Foam
Choosing the wrong sealing material can lead to code violations, fire hazards, or crushed junction boxes. Below is a comparison of the three primary methods used by professionals to insulate electrical outlets.
| Material | Specific Product Example | Avg. Cost (2026) | Best Application | Fire Rating / Code Note |
|---|---|---|---|---|
| Foam Gaskets | Frost King PR7 / PR10 | $0.25 - $0.40 / ea | Interior exterior-facing walls (dry climates) | No fire rating; blocks surface drafts only |
| Fire-Rated Putty Pads | 3M Fire Barrier Putty Pads (FBPP) | $4.50 - $6.00 / ea | Garage-to-living space walls, multi-family dwellings | 2-Hour Fire Rating; maintains NEC 314.27 compliance |
| Low-Expansion Foam | Great Stuff Pro Window & Door | $7.50 - $9.00 / can | Sealing the exterior perimeter of the PVC/Metal box | Must be low-expansion to prevent box deformation |
Step-by-Step Upgrade: Sealing Exterior Wall Receptacles
Follow this precise sequence to ensure maximum thermal resistance without violating electrical safety standards.
Step 1: Safety Verification and Disassembly
Never assume a wall switch or breaker is correctly labeled. Use a non-contact voltage tester (such as the Klein Tools NCVT-2, approx. $25) to verify the circuit is dead. Test the top and bottom receptacles, as they may be on split circuits. Remove the faceplate and unscrew the outlet from the junction box. Gently pull the receptacle out, leaving the wires connected if there is enough slack, or disconnect them if the wires are too rigid.
Step 2: Box Perimeter Sealing (The Foam Stage)
Shine a flashlight into the gaps between the electrical box and the drywall/wood framing. If you see daylight or feel a draft, this gap must be sealed. Use a low-expansion polyurethane foam like Great Stuff Window & Door. CRITICAL WARNING: Do not use high-expansion "Gaps & Cracks" foam. High-expansion foam exerts up to 30 PSI of outward pressure as it cures, which will crush standard Carlon B618R PVC boxes, causing the outlet mounting yoke to misalign and creating a severe fire hazard from pinched wires.
Step 3: The Putty Pad Application (For Fire-Rated Walls)
If the outlet is on a wall separating an attached garage from a living space, the National Fire Protection Association (NFPA) requires the wall to maintain its fire-resistance rating. Standard foam gaskets will melt in a fire, allowing toxic smoke to pass through the box. Instead, mold a 3M Fire Barrier Putty Pad over the entire back and sides of the electrical box. The putty is non-hardening, intumescent (it expands when heated to choke off oxygen), and completely seals the box from the wall cavity.
Step 4: Installing the Foam Gasket
For standard exterior walls, place a pre-cut foam gasket over the front of the junction box. Ensure the holes align perfectly with the mounting screws. The gasket should sit flush between the drywall and the plastic yoke (strap) of the receptacle. This compresses when you tighten the screws, creating an airtight seal that blocks convective air loops.
Step 5: Reinstall and Caulk
Push the receptacle back into the box, ensuring no ground wires are pinched behind the mounting screws. Tighten the top and bottom screws evenly to compress the gasket. Finally, apply a thin, continuous bead of paintable acrylic latex caulk (like DAP Alex Fast Dry) around the perimeter of the faceplate where it meets the drywall. This eliminates the final micro-gaps that foam gaskets miss.
Upgrading the Hardware: WR and TR Receptacles
If you are insulating an outlet on an exterior wall, you should simultaneously upgrade the hardware itself. Standard indoor receptacles are highly susceptible to the condensation and humidity that naturally occur on the cold interior surface of exterior walls during winter.
Upgrade to a Weather-Resistant (WR) and Tamper-Resistant (TR) receptacle. Models like the Leviton 5262-W (15A) or Eaton TR7745 cost roughly $3.50 to $4.50 each (compared to $1.80 for a standard builder-grade outlet). WR receptacles feature UV-stabilized thermoplastics that won’t become brittle in cold drafts, and their internal contacts are nickel-plated brass to resist the corrosion caused by exterior wall condensation. According to the EPA’s ENERGY STAR program, combining air sealing with proper hardware upgrades ensures long-term durability and prevents premature outlet failure.
Troubleshooting & Edge Cases
- The Outlet is on a Concrete Block Wall (CMU): Foam gaskets won’t work well on uneven masonry. Instead, use a heavy bead of 100% silicone caulk behind the faceplate and consider installing a surface-mounted conduit box if the draft is severe.
- Wires are Too Short to Pull Out: If the Romex is stapled tightly inside the wall cavity and you cannot access the back of the box, rely entirely on the front-facing foam gasket and perimeter caulking. Do not attempt to fish spray foam blindly into a box with live wires.
- Smart Home Upgrades: If you are replacing the outlet with a smart plug or hardwired smart receptacle (like the Leviton D215R), be aware that the deep electronic housing requires a deeper junction box (minimum 22.5 cubic inches). If your current box is shallow, the insulation process will be cramped; consider upgrading to an old-work deep box first.
Frequently Asked Questions
Can I just stuff fiberglass batts behind the outlet box?
No. Fiberglass insulation is a thermal resistor, not an air barrier. Wind washing will push cold air right through the fiberglass and into the electrical box. Furthermore, stuffing fiberglass tightly behind a box can compress the insulation, reducing its R-value and potentially pushing the box out of plumb. You must use an air-impermeable sealant like foam or a putty pad.
Do I need to insulate outlets on interior walls?
Generally, no. Interior walls do not experience the thermal differentials or stack-effect drafts that exterior walls do. The only exception is interior walls that border unconditioned spaces, such as a wall shared with an unheated garage, a vented crawlspace, or an attic knee-wall. In those cases, treat them exactly as you would an exterior wall, including the use of fire-rated putty pads if required by local building codes.
Will sealing the outlet trap heat from the wires?
Standard 14 AWG and 12 AWG copper wires operating at their rated amperage (15A and 20A respectively) generate negligible heat. The National Electrical Code (NEC) ampacity tables already account for wires bundled in insulated wall cavities. Sealing the air gaps around the box will not cause the wires to overheat, provided you are not overloading the circuit or using undersized wiring.