
Understanding the NEC: Why Electrical Outlet Types Matter
Walking down the electrical aisle at a home improvement store can be overwhelming for a beginner. You are immediately confronted with dozens of electrical outlet types, ranging from basic 15-amp duplex receptacles to smart Wi-Fi-enabled outlets and USB-C combo units. Choosing the wrong receptacle is not just a functional error; it is a severe fire hazard and a direct violation of the National Electrical Code (NEC).
As of the 2026 adoption cycles, the NEC mandates strict applications for specific receptacle types based on location, load requirements, and safety zones. For instance, standard 15A outlets are insufficient for kitchen countertop appliance circuits, and installing a standard receptacle in a bathroom without Ground Fault Circuit Interrupter (GFCI) protection is a critical safety failure. According to the National Fire Protection Association (NFPA), electrical receptacles are involved in thousands of residential fires annually, often due to improper installation, loose connections, or using the wrong outlet type for the circuit amperage.
This beginner installation tutorial will demystify the most common electrical outlet types, provide a clear comparison matrix, and walk you through the exact step-by-step process of safely wiring a standard receptacle and upgrading to a GFCI.
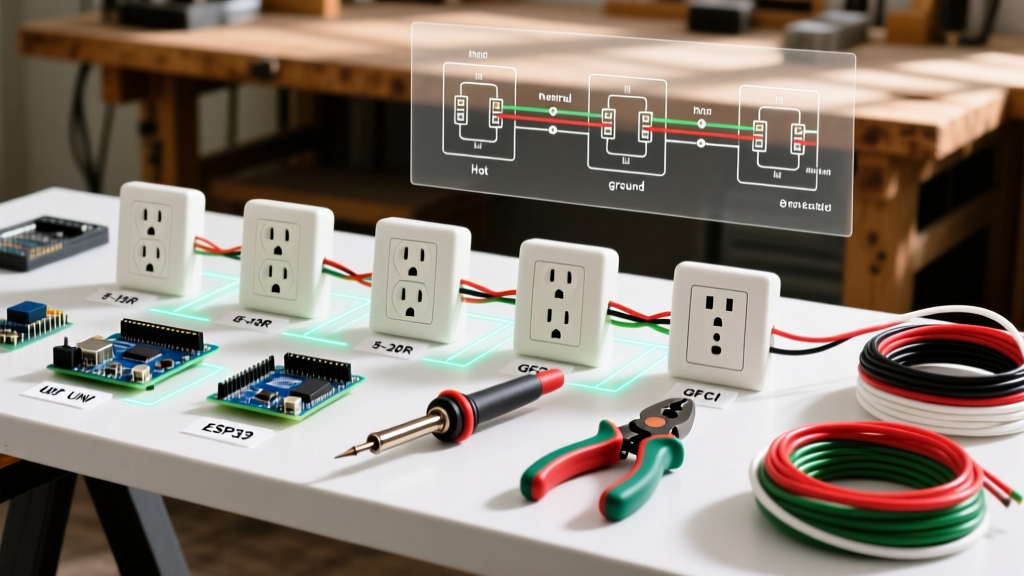
Comparison Matrix: Common Electrical Outlet Types
Before picking up a screwdriver, you must match the receptacle to your circuit breaker and physical location. Here is a breakdown of the most frequently installed residential outlets in 2026.
| Outlet Type | Amperage / Voltage | Typical Cost (2026) | Primary Application & NEC Code | Visual Identifier |
|---|---|---|---|---|
| Standard 15A Duplex | 15A / 125V | $3.00 - $5.00 | Living rooms, bedrooms (NEC 210.52). General lighting and low-draw electronics. | Two vertical slots, one U-shaped ground. No 'T' shape. |
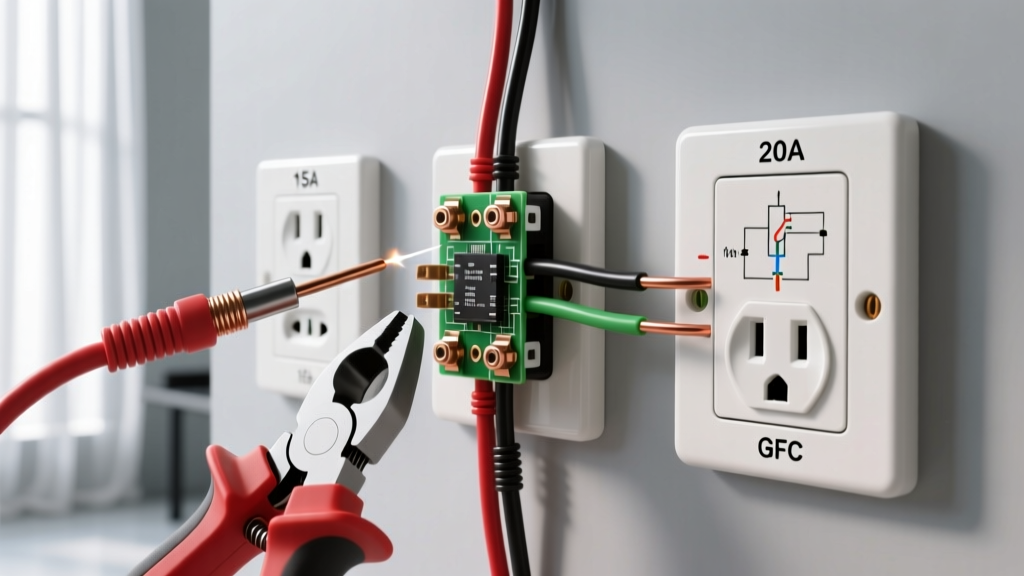
| Standard 20A Duplex | 20A / 125V | $7.00 - $12.00 | Kitchen countertops, bathrooms, garages (NEC 210.52). High-draw appliances. | One vertical slot has a horizontal 'T' shape. |
| GFCI Receptacle | 15A or 20A / 125V | $16.00 - $25.00 | Wet/damp locations: bathrooms, outdoors, within 6ft of sinks (NEC 210.8). | Features 'TEST' and 'RESET' buttons in the center. |
| USB-C Combo Receptacle | 15A + 30W USB-C PD | $32.00 - $45.00 | Bedrooms, home offices. Replaces standard 15A for direct device charging. | Standard duplex slots with two USB ports (Type-A and Type-C). |
| 240V Dryer/Range | 30A to 50A / 250V | $12.00 - $20.00 | Large appliances: electric dryers, ovens, EV chargers (NEC 210.23). | Large, 3 or 4 prongs, horizontal/angled slots. |
Essential Tools for Beginner Installation
Do not attempt electrical work with improvised tools. A proper installation requires precision to prevent arc faults and high-resistance connections. Gather the following before starting:
- Non-Contact Voltage Tester (NCVT): (e.g., Klein Tools NCVT-2) Essential for verifying the circuit is dead.
- Wire Strippers: Must have built-in gauges for 14 AWG and 12 AWG solid copper wire.
- Lineman's Pliers & Needle-Nose Pliers: For cutting, bending, and forming wire hooks.
- Torque Screwdriver: Per NEC 110.14(D), terminations must be tightened to the manufacturer's specified torque (typically 12 to 14 inch-pounds for standard 15A/20A receptacles) to prevent 'cold flow' and loose connections over time.
- Phillips and Flathead Screwdrivers: Ideally insulated to 1000V for added safety.
Step-by-Step Tutorial: Installing a Standard 15A or 20A Receptacle
This procedure applies to replacing an existing, worn-out standard duplex receptacle (like the ubiquitous Leviton 5262-00W) on a 15A or 20A branch circuit.
Step 1: Kill the Power and Verify
Navigate to your main electrical panel and switch off the breaker controlling the room. Do not rely on wall switches. Once the breaker is off, insert your NCVT into the top and bottom slots of the receptacle. The tester must remain completely silent and unlit. Always test the NCVT on a known live circuit first to ensure its battery is functioning.
Step 2: Extract and Inspect the Existing Wiring
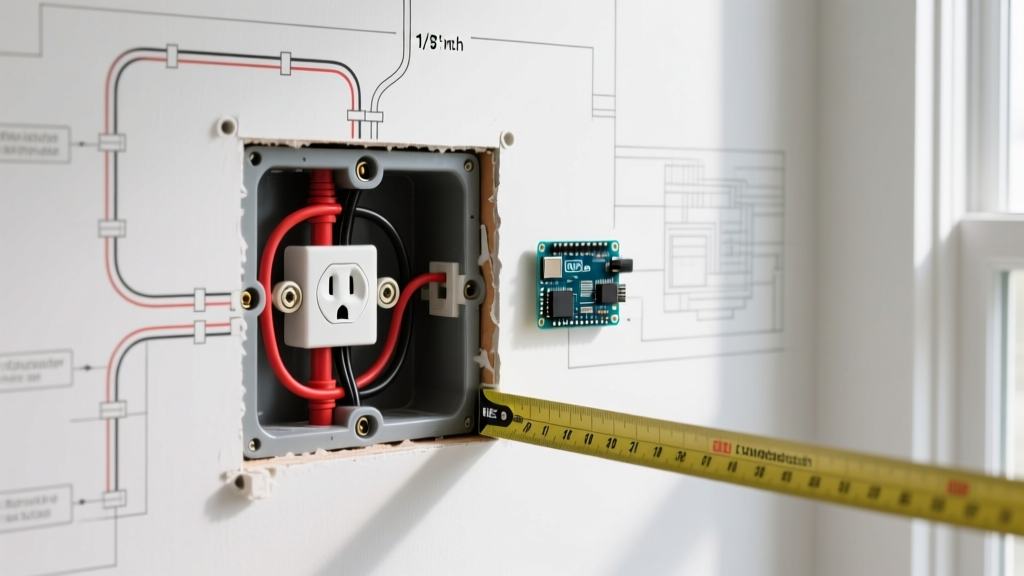
Remove the center mounting screw and pull the receptacle out of the junction box. Take a photo of the existing wiring with your smartphone before disconnecting anything. Inspect the wire insulation. If the insulation is brittle, cracked, or shows signs of heat damage (dark brown scorch marks), stop immediately. This indicates a previous high-resistance fault or overloaded circuit, and you may need to consult a licensed electrician to evaluate the branch circuit.
Step 3: Prepare the Wires (The 3/4 Inch Rule)
Disconnect the old outlet. If the wires are bent, kinked, or stripped too far back, snip the ends off with your lineman's pliers to get fresh, clean copper. Using your wire strippers, strip exactly 3/4 inch of insulation off the black (hot), white (neutral), and bare (ground) wires. Most modern commercial-grade receptacles, such as the Hubbell 5262-SW, feature a 'strip gauge' molded into the back of the device. Use this physical guide to ensure your stripped length is perfect. Exposed copper outside the terminal screw is a severe shock hazard; too little copper inside the terminal creates a loose connection.
Step 4: Terminate Using Screw Terminals (Never Backstab)
Critical Warning: Never use the push-in 'backstab' holes on the back of a cheap receptacle. These spring-loaded connections are notorious for loosening over time due to thermal expansion and contraction, leading to arcing and fires. Always use the side-wiring screw terminals or the screw-clamp plate mechanism found on higher-grade outlets.
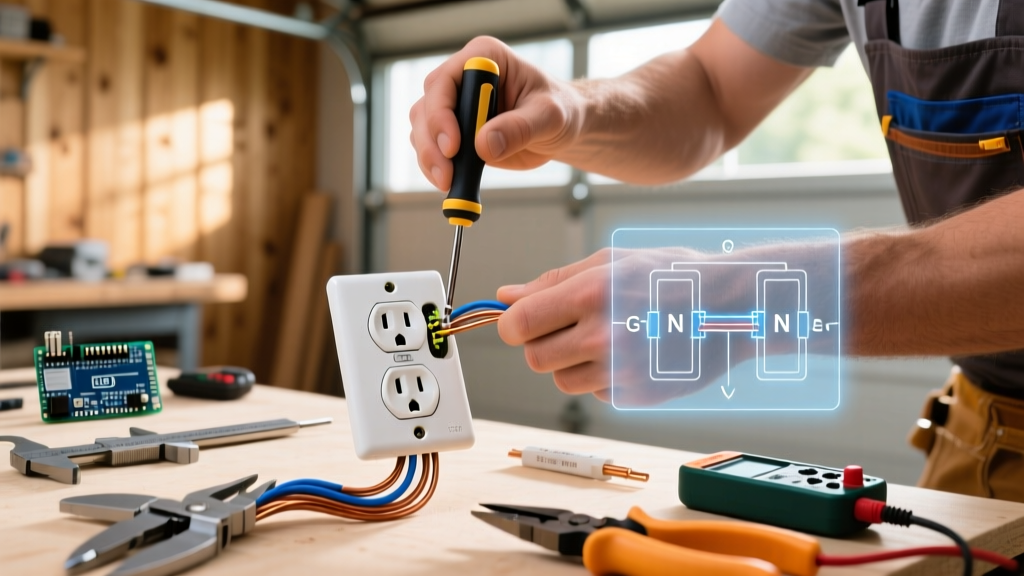
Form a 'J-hook' in the stripped end of the black wire using your needle-nose pliers. Hook the wire around the brass (hot) terminal screw in a clockwise direction. This ensures that as you tighten the screw, the loop pulls tighter rather than pushing out. Repeat for the white wire on the silver (neutral) screw, and the bare copper wire on the green (ground) screw. Tighten each screw with your torque screwdriver set to the manufacturer's specification (usually around 12 in-lbs) until the wire is firmly seated and the insulation just touches the metal terminal plate.
Step 5: Fold and Mount
Gently fold the wires back into the junction box in a 'Z' or accordion pattern. Do not force or jam them, as pinching wires against the sharp edges of a metal box can strip the insulation and cause a short circuit. Align the receptacle, drive the two 6-32 mounting screws into the box ears, and attach the wall plate.
Upgrading to a GFCI Receptacle in Wet Locations
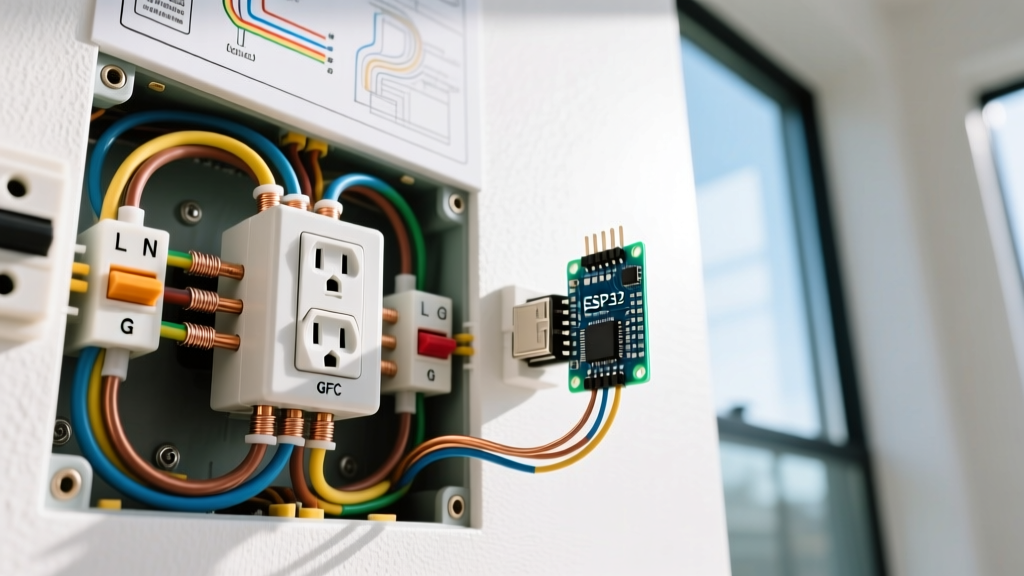
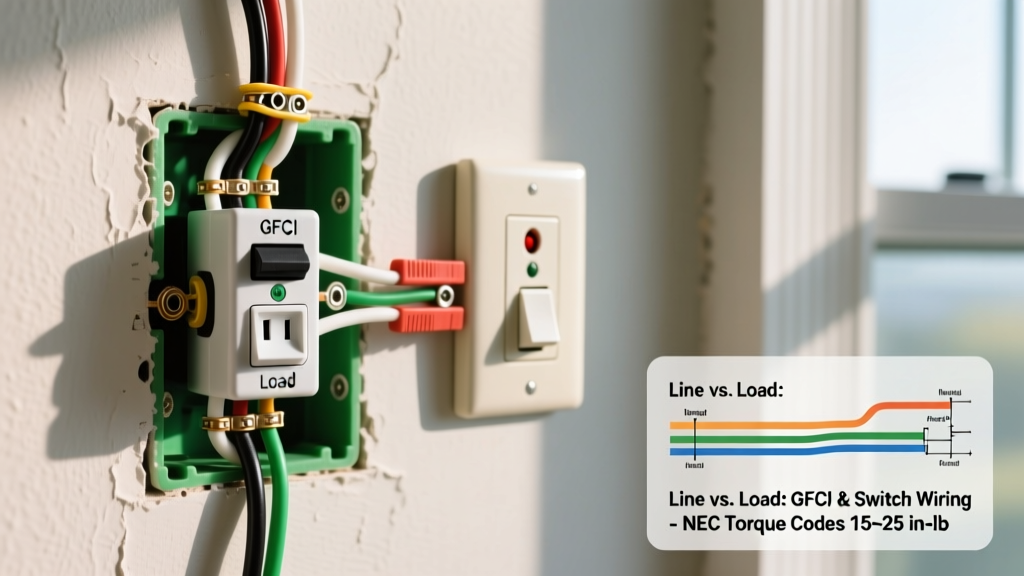
The Electrical Safety Foundation International (ESFI) strongly advocates for GFCI protection in all areas where water and electricity may intersect. Upgrading a standard bathroom or garage outlet to a GFCI (like the Leviton GFNT1-W) is a common beginner project, but it introduces a new wiring concept: the 'LINE' vs. 'LOAD' distinction.
- Identify the LINE Wires: These are the wires bringing power from the breaker panel. If you are replacing the first outlet on a circuit, the black and white wires currently connected are your LINE wires.
- Connect to LINE Terminals: Attach the hot and neutral LINE wires to the brass and silver screws marked 'LINE' on the back of the GFCI.
- Handle the LOAD Terminals (Optional): If you want this single GFCI to protect standard outlets further down the circuit, connect the downstream wires to the 'LOAD' terminals. If you only want to protect this single location, cap the extra wires with wire nuts and do not use the LOAD terminals.
- Apply the Warning Sticker: If you do not use the LOAD terminals, you must apply the 'GFCI Protected - No Equipment Ground' or 'No Downstream Protection' sticker provided in the box to the faceplate, as required by code.
Critical Failure Modes and Beginner Mistakes
Even with the right electrical outlet types, poor execution leads to failure. Avoid these common beginner pitfalls:
- Reversed Polarity: Swapping the black (hot) and white (neutral) wires. This leaves the appliance energized even when switched off, presenting a lethal shock hazard. Always double-check that black goes to brass, and white goes to silver.
- Over-tightening Screws: Using excessive force can strip the threads on cheap receptacles or crush the copper wire, reducing its cross-sectional area and creating a localized hot spot.
- Breaking the Fin on a Multi-Wire Branch Circuit (MWBC): If your old outlet had two different colored wires (e.g., black and red) on the two brass screws, it is on an MWBC. You must use needle-nose pliers to snap the small metal connecting fin between the two brass screws before installing the new outlet. Failing to do so will cause a dead short and trip the breaker immediately.
Frequently Asked Questions
Can I install a 20A outlet on a 15A breaker?
Yes, the NEC allows a 20A-rated receptacle on a 15A branch circuit, provided it is a single receptacle. However, it is generally unnecessary and adds cost. You absolutely cannot install a 15A receptacle on a 20A breaker if it is the only receptacle on the circuit, as the 15A device could be overloaded before the 20A breaker trips.
Why does my GFCI outlet keep tripping?
GFCIs trip when they detect a current imbalance of just 4 to 6 milliamps between the hot and neutral wires, indicating current is leaking to ground (possibly through a person or water). If a new GFCI trips immediately, you likely have the LINE and LOAD wires reversed, or there is a ground fault in a downstream device connected to the LOAD terminals.
Conclusion
Mastering the identification and installation of standard electrical outlet types is a foundational DIY skill. By respecting the NEC guidelines, refusing to use backstab connections, and utilizing proper torque specifications, you ensure your home's electrical system remains safe, code-compliant, and reliable for decades. Always prioritize verification and precision over speed when working with live circuits.