
The Hidden Dangers of Legacy Outdoor Receptacles
If you are upgrading an older home, installing an electrical outlet outside requires more than just swapping the faceplate. Homes built prior to 2014 often feature outdated 'flip-lid' weatherproof covers and standard 15-amp duplex receptacles. These legacy setups are highly susceptible to moisture ingress, UV degradation, and catastrophic ground faults. According to the U.S. Consumer Product Safety Commission (CPSC), outdoor electrical failures remain a leading cause of residential shock hazards and patio fires. This upgrade guide transitions your exterior power from a hazardous liability to a modern, code-compliant, and weather-sealed system.
Navigating NEC Code for Exterior Power
Before purchasing materials, you must understand the National Electrical Code (NEC) distinctions for exterior installations. The National Fire Protection Association (NFPA) outlines strict parameters in NEC Article 406.9 regarding receptacles in damp or wet locations.
Wet vs. Damp Locations
- Wet Locations: Any outlet exposed to direct rainfall or unprotected weather. NEC 406.9(B)(1) mandates an 'in-use' weatherproof cover that remains completely sealed even when a cord is plugged in.
- Damp Locations: Protected areas, such as under a deep covered porch where driving rain cannot reach. Standard weather-resistant (WR) faceplates are permissible, but in-use covers are still the gold standard for longevity.
Furthermore, NEC 210.8(A)(3) requires all 125-volt through 250-volt, single-phase, 15- and 20-ampere receptacles installed outdoors to have Ground-Fault Circuit-Interrupter (GFCI) protection. Upgrading to a 20-amp GFCI receptacle is highly recommended to handle the startup surge of outdoor power tools and holiday lighting transformers.
2026 Professional Material & Tool Matrix
Do not use standard indoor metallic boxes or cheap plastic bubble covers for this upgrade. UV radiation and thermal expansion will destroy them within two seasons. Below is the exact bill of materials used by master electricians for a permanent exterior upgrade.
| Component | Recommended Model | Est. Cost | Purpose & E-E-A-T Insight |
|---|---|---|---|
| GFCI Receptacle | Leviton GFNT2-W (20A, WR) | $28 - $34 | Features Weather-Resistant (WR) thermoplastics and tamper-resistant shutters. Handles 20A continuous loads. |
| Weatherproof Box | Arlington UV102 (Non-Metallic) | $14 - $18 | UV-stabilized polycarbonate prevents sun-fading and cracking. Includes integral cable clamps. |
| In-Use Cover | TayMac MM540C (Bell Weatherproof) | $22 - $28 | Extra-deep die-cast aluminum housing accommodates bulky smart plugs and transformer bricks while closed. |
| Sealant | GE Silicone II (Clear, 10.1oz) | $8 - $10 | 100% silicone remains flexible in sub-zero temperatures, unlike acrylic latex caulks which shatter. |
| Torque Screwdriver | Wiha 2850-25 (TorqueVario) | $110+ | NEC 110.14(D) compliance. Ensures terminal screws are tightened to exact manufacturer specifications. |
Step-by-Step Upgrade & Installation Flow
Follow this precise sequence to ensure a watertight seal and reliable electrical connections. Safety is paramount; never assume a circuit is dead based solely on wall switch positions.
- Isolate and Verify Power: Turn off the corresponding breaker. Use a non-contact voltage tester (like the Fluke 1AC-II) and a multimeter to verify 0V between the hot (black) and neutral (white) wires, and hot to ground.
- Extract the Legacy Box: Remove the old receptacle and unscrew the existing box. If it is a nail-on metallic box, use a reciprocating saw with a bimetallic blade to carefully cut the nails. Pull the existing NM-B (Romex) or UF-B cable into the exterior void. Note: If running new wire from an indoor junction to the exterior, you must transition from NM-B to UF-B (Underground Feeder) cable before penetrating the exterior wall, as NM-B is not rated for damp locations.
- Prep the Arlington UV102 Box: Knock out the rear hub that aligns with your incoming cable. Feed the cable through the integral clamp and tighten the clamp screw until the cable jacket is securely bound without piercing the wire insulation.
- Mount to the Exterior Wall: Position the box against the siding. Pro Tip: If mounting on vinyl siding, do not overtighten the mounting screws, or you will warp the siding and cause water intrusion. Use 2.5-inch exterior-grade decking screws to anchor into the wall sheathing or studs.
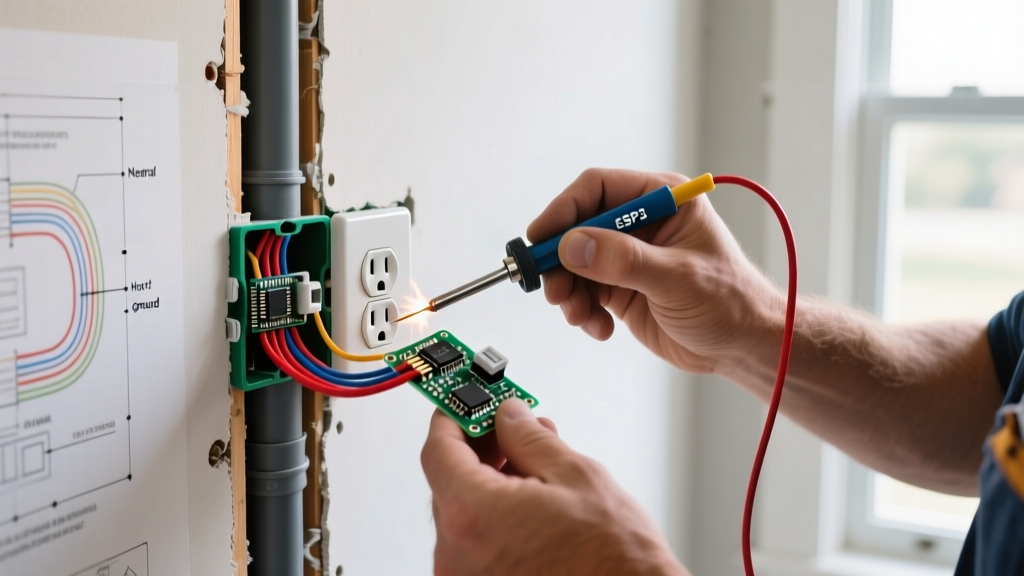
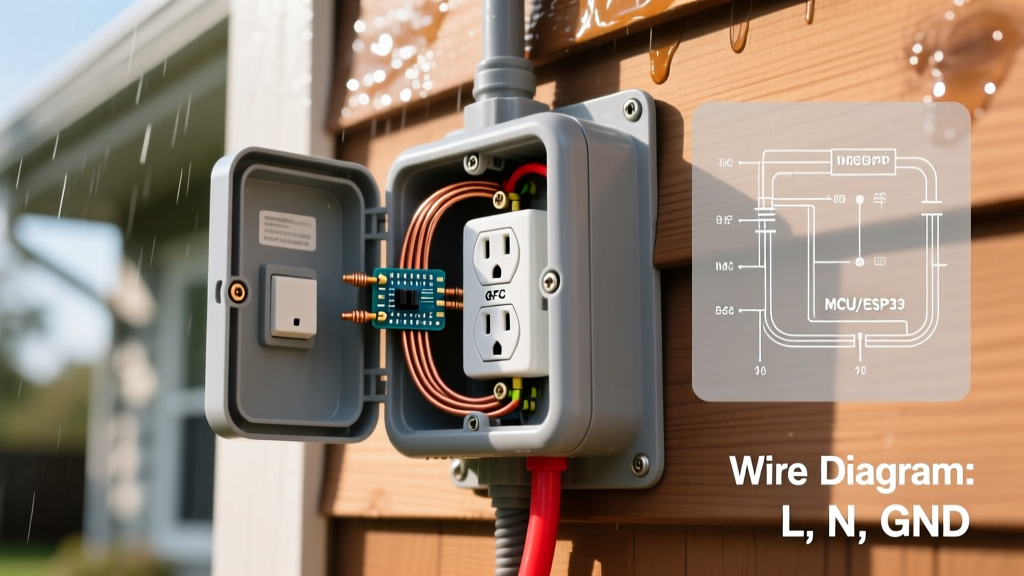
- Wire the Leviton GFCI: Strip 3/4-inch of insulation from your 12 AWG or 14 AWG solid copper wires using a Klein Tools 11057. Connect the bare copper ground to the green terminal. Connect the incoming hot and neutral to the LINE terminals. If you are not daisy-chaining power to another downstream device, use wire nuts to cap the LOAD terminals. This prevents 'nuisance tripping' caused by downstream moisture.
- Apply Calibrated Torque: Set your torque screwdriver to 14 in-lbs (check the Leviton spec sheet). Tighten the terminal screws. This prevents thermal expansion from loosening connections over time, a leading cause of arc faults.
- Seal the Flange (The Weep Hole Method): Apply a generous 1/4-inch bead of GE Silicone II to the top and side edges of the box flange where it meets the siding. CRITICAL: Leave the bottom 1-inch of the flange completely unsealed. This creates a 'weep hole' allowing internal condensation to escape rather than pooling inside the box.
- Attach the TayMac In-Use Cover: Secure the cover over the GFCI using the provided stainless-steel hardware. Ensure the foam gasket is fully seated against the box flange.
Advanced Troubleshooting & Edge Cases
Scenario 1: Nuisance GFCI Tripping During Rainstorms
If your newly upgraded outlet trips every time it rains, the issue is rarely the GFCI itself. It is almost always moisture infiltrating a downstream 'LOAD' connection. If your outdoor GFCI protects a landscape lighting transformer or a secondary patio outlet via the LOAD terminals, a single drop of water in that secondary fixture will trip the main GFCI. The Fix: Rewire the GFCI using pigtails so it only protects itself (LINE connections only), and install a separate GFCI breaker in the main panel for the downstream loads.
Scenario 2: Vinyl Siding Warping and Water Ingress
When installing an electrical outlet outside on vinyl siding, the siding expands and contracts significantly with seasonal temperature swings. If you mount a rigid metallic box directly to the siding and caulk all four sides, the siding will buckle in the summer heat, breaking the caulk seal and inviting water behind your wall. The Fix: Always mount the box to the structural sheathing or studs behind the siding, allowing the vinyl to 'float' freely around the box flange. Use a siding mounting block (like the Arlington DBVR1C) if replacing an existing fixture to maintain the siding's expansion joints.
Expert Insight: Never use standard indoor wire nuts for exterior junctions, even if they are inside a weatherproof box. Condensation will cause standard copper-to-copper connections to oxidize and fail. Use WAGO 221 LEVER-NUTS with antioxidant paste, or 3M Performance Plus wire connectors, which feature a moisture-resistant gel sealant.
Maintenance Schedule for Exterior Outlets
To ensure your installation survives harsh climates, perform this bi-annual maintenance checklist:
- Spring (Post-Winter): Inspect the silicone caulk for micro-tears caused by freezing expansion. Reapply GE Silicone II if the bond has failed.
- Fall (Pre-Holiday): Test the GFCI using the built-in TEST/RESET buttons. If the mechanical lever feels spongy or fails to click, the internal solenoid has degraded and the unit must be replaced immediately.
- Annually: Check the TayMac cover gasket. If the foam has compressed or crumbled, purchase a replacement gasket kit to maintain the NEMA 3R weatherproof rating.
By following this rigorous upgrade protocol, you eliminate the shock hazards associated with legacy flip-covers and ensure your exterior power is ready for high-draw modern appliances, smart home hubs, and seasonal lighting.