
Why Use a Concealed Electrical Outlet?
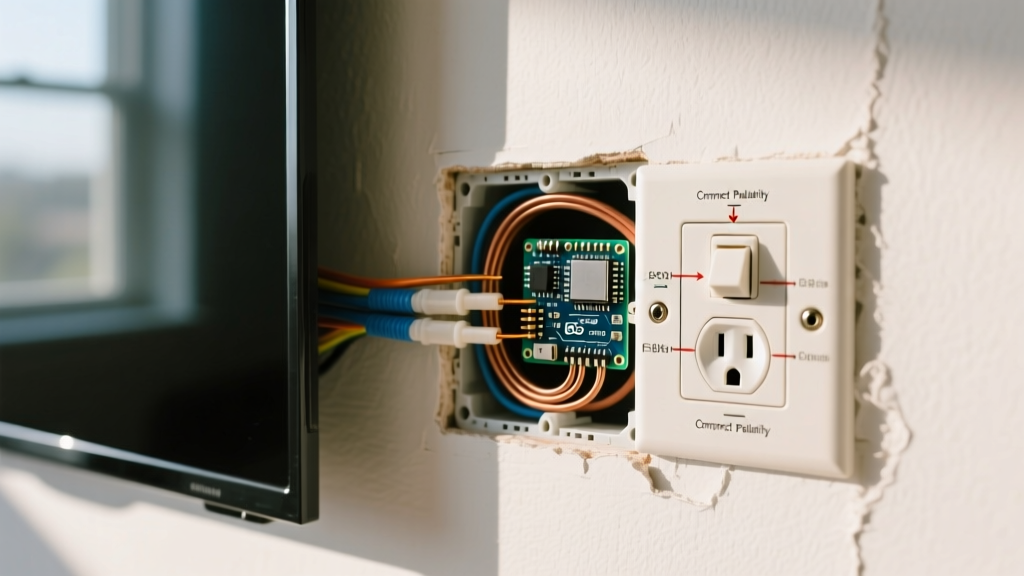
When mounting a flat-screen TV flush against the wall, a standard electrical receptacle creates a 2-inch gap due to the protruding plug head. A concealed electrical outlet (often called a recessed outlet box) solves this by pushing the receptacle and plug deep into the wall cavity. This beginner installation tutorial will walk you through replacing a standard outlet with a recessed box, ensuring a clean, flush mount while strictly adhering to modern electrical codes.
Tools and Materials Required
Before cutting into your drywall, gather the specific components needed for a code-compliant installation. Prices reflect average 2026 retail costs at major hardware suppliers.
| Category | Specific Model / Item | Estimated Cost |
|---|---|---|
| Recessed Box | Carlon B120RSB Non-Metallic Recessed Outlet Box | $8.50 |
| Receptacle | Leviton T5320-WCP 15A Tamper-Resistant Duplex | $3.50 |
| Wire | Southwire 14/2 NM-B (if extending an existing 15A circuit) | $0.80/ft |
| Voltage Tester | Klein Tools NCVT-3 Non-Contact Voltage Tester | $25.00 |
| Torque Tool | Wiha 60625 Insulated Torque Screwdriver | $45.00 |
Pre-Installation Safety and Code Compliance
CRITICAL SAFETY WARNING: Never work on live circuits. Always shut off power at the main breaker panel and verify the absence of voltage using a calibrated tester. According to the Electrical Safety Foundation International (ESFI), electrical shocks cause hundreds of fatalities annually; verification is non-negotiable.
As of the 2026 adoption cycles of the National Electrical Code (NEC NFPA 70), two specific articles govern this installation:
- Article 314.16 (Box Fill Calculations): The Carlon B120RSB provides 22 cubic inches of volume. For 14 AWG wire, each conductor counts as 2.0 cubic inches. This box easily accommodates the incoming hot, neutral, ground, and the receptacle yoke without violating box fill limits.
- Article 110.14(D) (Torque Specifications): You must tighten terminal screws to the manufacturer's specified torque. For the Leviton T5320, this is exactly 14 in-lbs. Hand-tightening is no longer code-compliant and can lead to thermal failure at the termination point.
Step-by-Step Installation Guide
Step 1: Power Verification and Drywall Removal
Turn off the 15-amp or 20-amp breaker supplying the existing outlet. Test the top and bottom receptacles with your Klein NCVT-3. Once confirmed dead, remove the existing faceplate and unscrew the receptacle from the old electrical box.
If you are upgrading from a standard nail-on box to the Carlon B120RSB, you will need to cut a new hole. The B120RSB requires a rough opening of 3.75 inches wide by 2.25 inches high. Measure carefully, use a level to mark the cut lines, and score the drywall with a utility knife before using a jab saw to remove the material. This prevents blowing out the paper facing on the drywall.
Step 2: Routing and Prepping the NM-B Cable
Feed your 14/2 NM-B (Romex) cable through the knockout on the recessed box. The cable jacket must enter the box by at least 1/4 inch to be code-compliant. Secure the cable using the integrated cable clamps on the Carlon box, tightening the internal screws until the jacket is firmly gripped but not pierced.
Using a wire stripping tool like the Klein 11063W, strip exactly 3/4 inch of insulation from the black (hot) and white (neutral) conductors. Do not strip more than 3/4 inch, as exposed copper outside the terminal increases the risk of short circuits and violates NEC inspection standards.
Step 3: Terminating the Receptacle
Insert the bare copper ground wire into the green grounding terminal. Next, insert the white wire into the silver terminal and the black wire into the brass terminal. Ensure the wire is pushed all the way to the back of the terminal block so no bare copper is visible outside the plastic housing.
Set your Wiha torque screwdriver to 14 in-lbs (or the specific value printed on the Leviton receptacle's back housing). Tighten each terminal screw until the tool clicks. This ensures optimal metal-to-metal contact, preventing arc faults and localized heating over the lifespan of the outlet.
Step 4: Mounting the Concealed Box
Push the wired receptacle deep into the rear cavity of the Carlon B120RSB. The unique design of this box allows the receptacle to sit nearly 2 inches behind the wall surface. Insert the box into your drywall cutout.
Tighten the two mounting screws on the front face of the box. As you tighten, the integrated plastic flaps on the back of the box will swing outward and clamp tightly against the back of the drywall. Stop tightening the moment the box is flush with the wall—overtightening can crack the drywall or snap the non-metallic mounting ears.
Step 5: Final Testing
Restore power at the breaker panel. Plug in a simple receptacle tester (like the Gardner Bender GFI-3501) into the newly installed concealed outlet. Verify that the indicator lights show correct wiring (two yellow lights for standard 15A circuits). Finally, plug in your TV's low-profile plug to confirm it sits completely flush behind the display.
Common Beginner Mistakes to Avoid
- Using the Wrong Box Depth: Standard shallow boxes will not accommodate a TV plug. Always ensure the recessed box is rated for at least 2.5 inches of internal depth.
- Backstabbing the Receptacle: Never use the push-in 'backstab' holes on the back of the receptacle. These spring-loaded connections are notorious for loosening over time due to thermal expansion and contraction. Always use the side terminal screws torqued to spec.
- Over-tightening Mounting Screws: Non-metallic old-work boxes rely on drywall friction. Overtightening will crush the drywall core, causing the box to pull out of the wall when you unplug a device.
Frequently Asked Questions
Can I install a concealed outlet on a 20-amp circuit?
Yes, but you must use 12/2 NM-B wire and a 20-amp rated receptacle (such as the Leviton T5220-WCP). The Carlon B120RSB box is rated for both 15A and 20A devices, but your wire gauge and breaker must match perfectly.
Do I need a special faceplate for a recessed outlet?
No. Because the receptacle is mounted deep inside the box, you do not use a standard faceplate. The TV or furniture covers the opening. However, if the outlet is left exposed in a visible area, you must purchase a specific 'recessed outlet cover plate' designed with a deep lip to enclose the cavity safely.