
Why Upgrade and Expand Your Outlet Network?
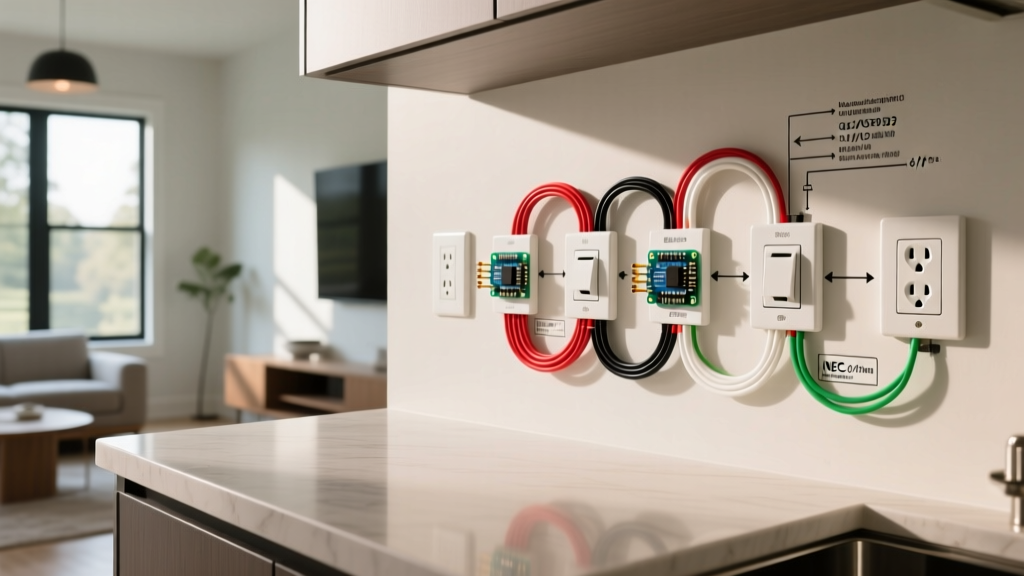
If you live in a home built before the 1990s, you are likely familiar with the frustration of inadequate receptacle placement. Modern living demands more power, and the National Electrical Code (NEC) 210.52 now dictates that no point along a floor line can be more than 6 feet from an outlet. Learning how to add an electrical outlet from an existing outlet is one of the most practical DIY upgrades you can undertake, provided you respect circuit capacity and box fill limitations.
This upgrade guide moves beyond basic tutorials. We will cover the exact mathematical formulas for box fill capacity, why pigtailing with lever-nuts is superior to daisy-chaining, and the specific 2026-compliant materials you need to ensure your installation passes inspection and operates safely.
Pre-Flight Check: Circuit Capacity and the 80% Rule
Before cutting any drywall, you must verify that the existing circuit can handle the additional load. Most bedroom and living room circuits are 15-Amp (1800W maximum), while kitchen and bathroom circuits are typically 20-Amp (2400W maximum).
- Continuous vs. Non-Continuous Loads: The NEC requires that continuous loads (devices running for 3+ hours, like space heaters or window AC units) only use 80% of the circuit's capacity. For a 15A circuit, your continuous load limit is 1440W.
- The Vampire Draw Factor: Modern smart home hubs, OLED TVs, and gaming consoles draw standby power. Adding an outlet for a high-draw appliance like a microwave or a laser printer on an already burdened 15A lighting/receptacle circuit is a primary cause of nuisance tripping.
Materials and Tool Loadout (2026 Standards)
Skip the builder-grade materials. Upgrading your network requires commercial-spec components that ensure longevity and safety.
| Category | Recommended Product | Est. Cost | Why It Matters |
|---|---|---|---|
| Receptacle | Leviton 15A Tamper-Resistant (R52-05320-00W) | $3.50 | Commercial spec, heavy-duty brass contacts, NEC-mandated TR shutters. |
| Connectors | WAGO 221-413 (3-Port) & 221-415 (5-Port) | $0.85 ea. | Lever-nuts eliminate loose wire-nut connections and save crucial box space. |
| Wire | Southwire 14/2 NM-B (Solid Copper) | $0.75/ft | Must match existing circuit gauge (14 AWG for 15A, 12 AWG for 20A). |
| Old Work Box | Carlon 1-Gang 22.5 cu in. Deep (B122R) | $2.50 | Deep boxes prevent box-fill violations when adding pigtails. |
| Tester | Klein Tools NCVT-3 Non-Contact Voltage Tester | $25.00 | Dual-range detection ensures the line is truly dead before touching wires. |
The "Box Fill" Trap: NEC 314.16 Explained
The most common failure point when adding an outlet to an existing junction is violating NEC Article 314.16 (Box Fill Capacity). Every wire, clamp, and device takes up physical volume inside the box to allow for heat dissipation. Overstuffing a box causes wires to pinch, insulation to tear, and arcing faults to ignite.
Expert Rule of Thumb: Never add a new cable to an existing standard-depth (16 cu in) box that already contains two cables. You will almost certainly exceed the cubic inch allowance.
Calculating Box Fill (14 AWG Example)
For 14 AWG wire, each volume allowance is 2.0 cubic inches. Here is how to count the allowances in a standard existing box before you add your new outlet:
- Current-Carrying Wires: Count every hot and neutral wire entering the box. (e.g., 2 cables = 4 wires = 4 allowances).
- Ground Wires: All bare/green ground wires combined count as one single allowance (1 allowance).
- The Device (Receptacle): The yoke of the receptacle counts as two allowances (2 allowances).
- Internal Clamps: If the box has internal plastic clamps, count as one allowance (1 allowance).
Total Existing Allowances: 4 + 1 + 2 + 1 = 8 allowances.
Existing Volume Required: 8 x 2.0 = 16.0 cubic inches.
If your existing box is 16 cu in, it is completely full. Adding a new 14/2 cable adds two more current-carrying wires and a ground (2 + 1 = 3 allowances, or 6.0 cubic inches). You would need a 22 cu in box. Solution: If the existing box is full, you must cut it out and install a deep 22.5 cu in old-work box, or route the new outlet from a different, less crowded junction.
Step-by-Step Upgrade Execution
Step 1: Kill the Power and Verify
Turn off the breaker. Use your Klein NCVT-3 to test the top and bottom receptacles. Plug in a lamp to verify zero power. The U.S. Consumer Product Safety Commission (CPSC) notes that misidentified shared-neutral circuits are a leading cause of DIY electrical shocks; always test before touching.
Step 2: Pigtailing vs. Pass-Through (Daisy-Chaining)
Amateur electricians often use the second set of screws on the existing receptacle to "pass through" power to the new outlet. Do not do this. If the upstream receptacle fails or is removed, the downstream outlet loses power, creating a confusing troubleshooting nightmare. Furthermore, running 14 AWG solid copper through two side-wire screws puts immense mechanical stress on the device yoke.
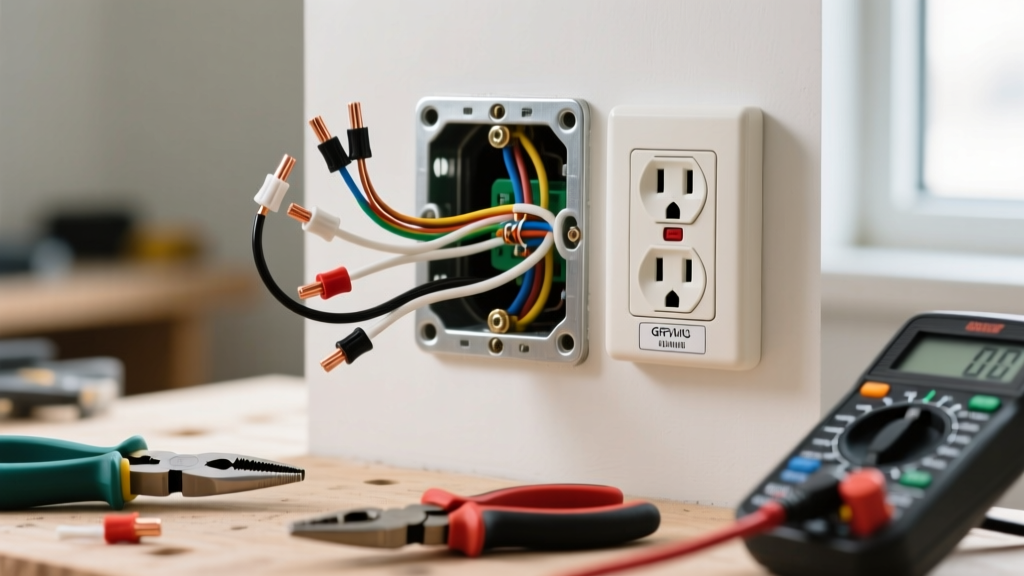
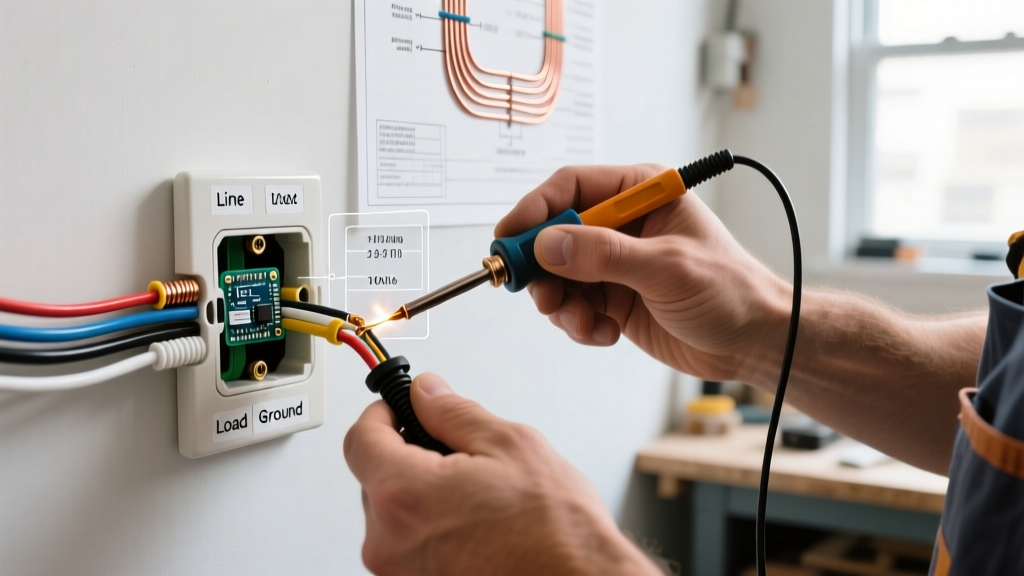
The Pro Method: Use WAGO 221 lever-nuts to create pigtails. Connect the incoming hot, the outgoing hot (to the new outlet), and a 6-inch black pigtail (to the existing receptacle) into a single 3-port WAGO connector. Repeat for the neutral (white) wires. This ensures a gas-tight, maintenance-free connection that won't degrade over decades of thermal cycling.
Step 3: Routing and Terminating the New Outlet
When wiring the new receptacle, always use the side-screws, never the backstab (push-in) holes. Backstab connections rely on a tiny internal spring that can loosen over time, leading to high-resistance arcing. Strip exactly 3/4 inch of insulation using precision strippers (like the Klein 11055), loop the wire clockwise around the brass (hot) and silver (neutral) screws, and torque to 14 inch-pounds if using a torque screwdriver. Wrap the perimeter of the receptacle with high-quality electrical tape to cover the exposed screw terminals—this prevents accidental shorts against the metal box or ground wires when pushing the device back in.
Troubleshooting & Edge Cases
Edge Case: Discovering Aluminum Wiring
If your home was built between 1965 and 1972, you may uncover single-strand aluminum wiring. Aluminum expands and contracts at a different rate than copper, which causes standard brass screw terminals to loosen and catch fire. If you find aluminum wire, you cannot simply connect it to a standard copper receptacle. You must use a COPALUM crimp (requires a licensed pro) or AlumiConn lug connectors to safely transition from aluminum to copper pigtails before terminating at a CO/ALR rated receptacle.
Edge Case: Multi-Wire Branch Circuits (MWBC)
If you open the existing box and find two hot wires (one black, one red) connected to a single neutral white wire, you have a Multi-Wire Branch Circuit. These share a neutral across two 120V legs. If you are adding an outlet here, you must ensure the new outlet is on the same leg as the existing one, or you must use a 2-pole handle-tied breaker to prevent overloading the shared neutral. If you are unsure, cap the wires, restore power, and test the voltage between the black and red wires. If it reads 240V, they are on opposite legs; if it reads 0V, they are on the same leg.
Final Safety and Inspection Notes
According to OSHA electrical safety guidelines, proper grounding and secure mounting are non-negotiable. Ensure the bare copper ground is securely fastened to the green grounding screw on the receptacle and bonded to the metal box (if applicable) using a grounding clip or pigtail. Once the outlet is secured, use a 3-prong receptacle tester to verify correct wiring (two yellow lights indicate a correct standard circuit). By respecting box fill mathematics and utilizing modern lever-nut pigtailing, your newly added outlet will provide reliable, safe power for decades to come.