
Why Your Electrical Outlet Cover Matters More Than You Think
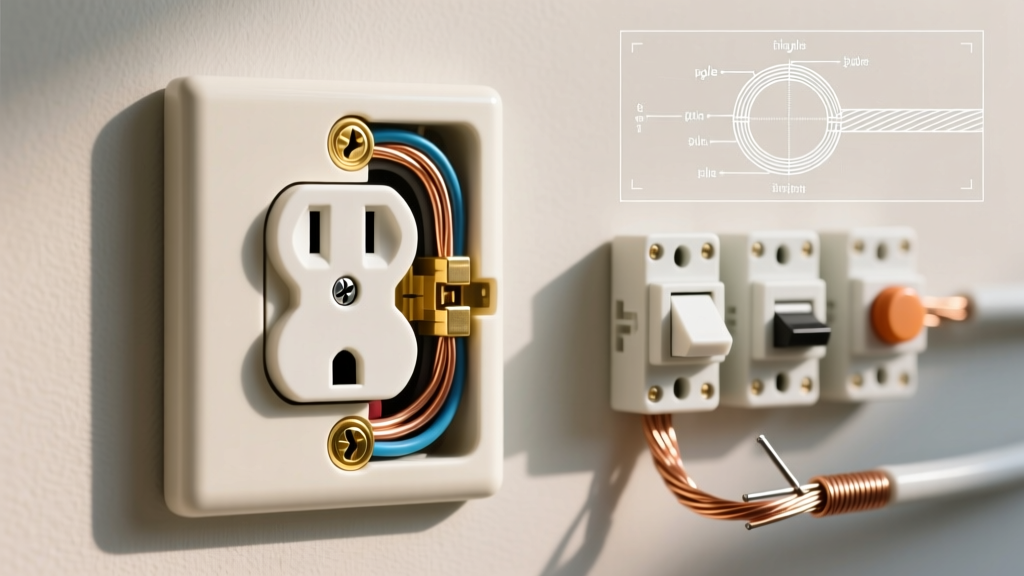
While often treated as an afterthought in home renovations, the electrical outlet cover (or wall plate) is a critical safety component. It prevents accidental contact with live 120V or 240V terminals, blocks dust and moisture ingress, and contains potential electrical arcing within the junction box. According to the Electrical Safety Foundation International (ESFI), improperly fitted or missing wall plates are a recurring factor in residential electrical shocks and fire hazards.
For beginners, upgrading a standard builder-grade plate to a modern screwless or jumbo electrical outlet cover is an excellent entry point into DIY electrical work. It requires minimal tools, carries low risk when proper lockout procedures are followed, and instantly modernizes a room. This 2026 guide will walk you through the exact steps, tools, and edge-case troubleshooting required for a flawless installation.
Essential Tools for a Flawless Installation
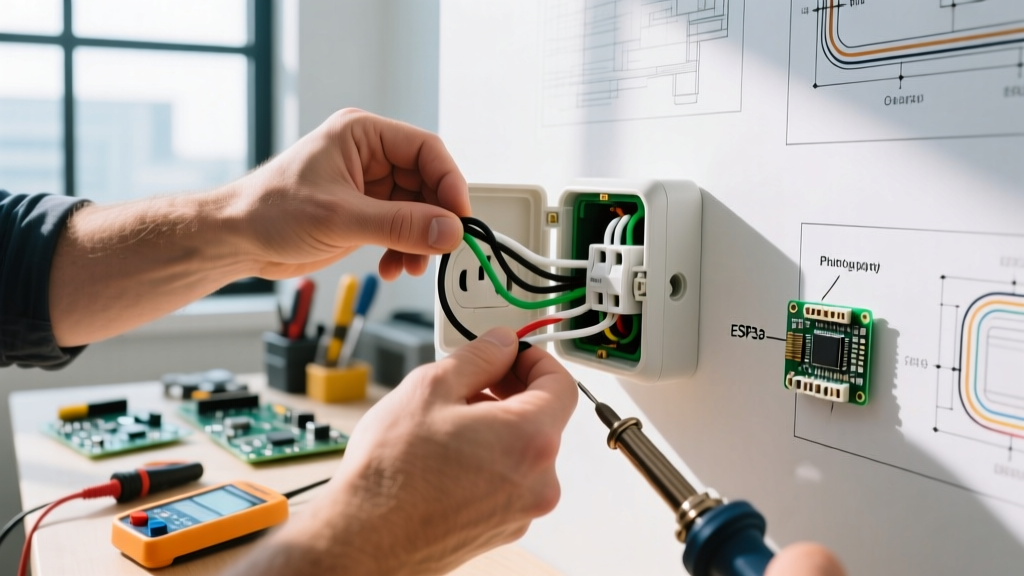
Before touching any screws, gather the following professional-grade tools. Using the right equipment prevents stripped screws, cracked plates, and safety hazards.
- Voltage Tester: Klein Tools NCVT-2 Non-Contact Voltage Tester (Dual-range AC, approx. $28). Never rely solely on a smart switch or wall dimmer to indicate power is off.
- Screwdrivers: Wiha 320P Insulated Phillips #2 and Slotted 1/8" screwdrivers. Magnetic tips are highly recommended to prevent dropping screws into the wall cavity.
- Shim Spacers: Ideal Industries Plastic Spacers (Cat. No. 214). Essential for fixing recessed outlets.
- Level: A 2-inch torpedo level to ensure the plate and receptacle are perfectly plumb.
Comparing Electrical Outlet Cover Types
Not all wall plates are created equal. Choosing the right electrical outlet cover depends on your wall condition, aesthetic preference, and functional needs. Below is a comparison of the most common types available on the market in 2026.
| Cover Type | Standard Dimensions | Avg. Cost (2026) | Best Use Case |
|---|---|---|---|
| Standard Duplex (Nylon) | 2.75" x 4.5" | $0.80 - $1.20 | Utility rooms, garages, behind furniture |
| Decora / Rocker | 2.75" x 4.5" | $1.50 - $2.50 | Modern homes, pairing with rocker switches |
| Screwless Overlay | 2.85" x 4.65" | $4.50 - $7.00 | High-visibility areas, kitchens, living rooms |
| Jumbo / Oversized | 3.5" x 5.25" | $3.00 - $5.00 | Hiding poorly cut drywall, covering wide gaps |
| Weatherproof (In-Use) | 4.5" x 6.0" | $15.00 - $25.00 | Exterior walls, patios, wet locations |
Step-by-Step Installation: From Bare Box to Finished Wall
Step 1: Verify Power is Off (Do Not Skip)
Locate your main electrical panel and switch off the breaker controlling the outlet. Use your Klein Tools NCVT-2 to test the top and bottom slots of the receptacle. The tester should remain completely dark and silent. For absolute certainty, plug in a lamp or use a multimeter to verify zero voltage across the hot and neutral slots.
Step 2: Remove the Existing Plate and Inspect
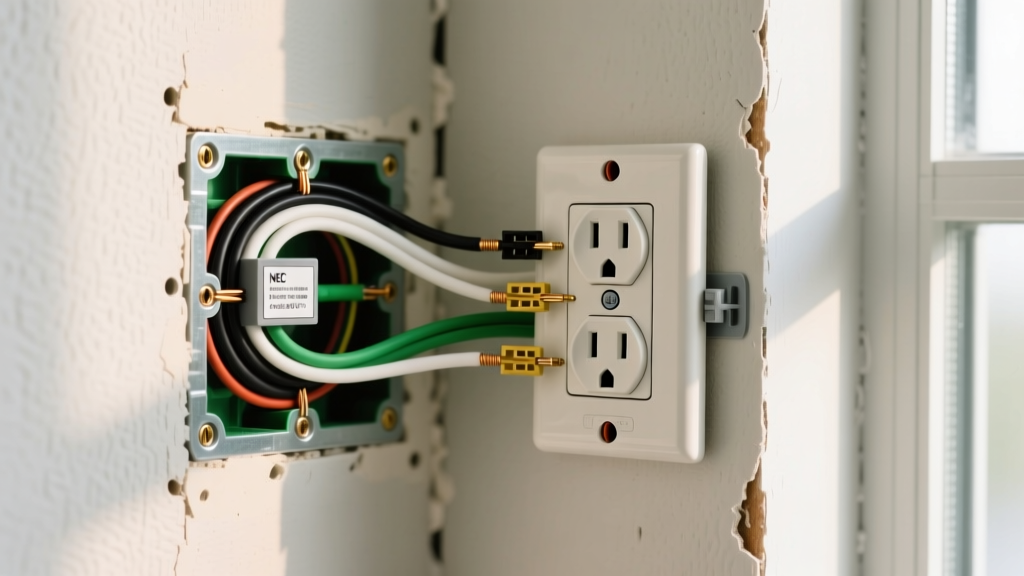
Unscrew the center mounting screw (for duplex/toggle) or the top and bottom screws (for Decora/rocker). Pull the old electrical outlet cover away. Inspect the drywall edges around the electrical box. If the drywall is crumbling or the gap between the box and the drywall exceeds 1/8th of an inch, you will need to address this before installing the new cover.
Step 3: Correcting the Box Gap (The 1/8-Inch Rule)
A common beginner mistake is installing a new cover over a recessed outlet. If the face of the receptacle sits more than 1/8" behind the finished wall surface, it violates fire codes and creates a severe arcing hazard.
Expert Insight: To fix a recessed outlet, slide Ideal Industries plastic spacers (Cat. No. 214) over the mounting screws between the drywall and the receptacle yoke (the metal strap). You can stack up to three spacers per screw. If you need more than three, the box must be physically extended using a metal box extender ring.
Step 4: Mounting a Screwless Electrical Outlet Cover
Screwless plates, such as the popular Leviton Decora 42390-W, use a two-piece sub-plate and snap-on overlay system.
- Remove the snap-on overlay by gently prying it from the bottom edge with a flathead screwdriver wrapped in painter's tape (to prevent scratching).
- Mount the inner sub-plate using the provided 6-32 machine screws. Critical: Do not overtighten. Tighten only until the sub-plate is flush against the wall. Overtightening will bow the sub-plate, making it impossible to snap the outer cover on without cracking it.
- Use your torpedo level to ensure the sub-plate is perfectly straight.
- Align the outer overlay and press firmly around the perimeter until you hear a uniform clicking sound.
Troubleshooting Edge Cases and Drywall Disasters
Even with careful preparation, you may encounter structural issues behind the wall plate. Here is how to handle the most common edge cases:
The Drywall Was Cut Too Wide
If the previous installer used a rotary tool and overshot the cutout, you might be left with a 1/2" gap on the sides of the electrical box. A standard 2.75" wide electrical outlet cover will not hide this. Solution: Upgrade to a Jumbo plate, such as the Pass & Seymour TP26 (3.5" wide). If the gap exceeds the jumbo plate's coverage, you must apply joint compound and sand the area flush before painting and installing.
The Plate Keeps Cracking When Snapping On
If you are installing a screwless overlay and it cracks or refuses to snap, the sub-plate is likely warped. This happens when the drywall is uneven and the installer cranks down on the mounting screws to force the sub-plate flat. Solution: Loosen the sub-plate screws, insert a thin cardboard shim behind the recessed side of the sub-plate to level it, and re-tighten gently.
Paint Sealed the Plate to the Wall
When removing an old plate in a freshly painted room, the painter's tape or wet paint often seals the plate to the drywall. Prying it off will tear the paper facing off the drywall. Solution: Take a fresh utility knife and lightly score the perimeter of the electrical outlet cover where it meets the wall. This breaks the paint seal and allows for clean removal.
Understanding NEC Compliance for Wall Plates
Adhering to the National Electrical Code (NEC) is not just for licensed electricians; it ensures your home passes inspections and remains insurable. The National Fire Protection Association (NFPA) outlines specific rules for outlet covers under NFPA 70 (the NEC).
- NEC Article 314.20 (Flush Mounting): As mentioned in Step 3, boxes and receptacles must be flush with the wall surface. The gap between the box and the receptacle face cannot exceed 1/8" in non-combustible surfaces (like drywall) without an approved extender.
- NEC Article 406.5 (Receptacle Mounting): Receptacles must be securely fastened to the box, and the wall plate must completely cover the opening without leaving exposed live parts. If a plate is cracked or missing a section, it must be replaced immediately.
- Wet and Damp Locations: For outdoor outlets or areas near sinks, NEC Article 406.9 mandates the use of a weatherproof electrical outlet cover that remains sealed even when a cord is plugged in (commonly known as an 'in-use' or 'bubble' cover).
For further reading on residential electrical hazards and safe DIY practices, consult the Consumer Product Safety Commission (CPSC) Electrical Safety Center.
Final Thoughts
Upgrading your electrical outlet cover is one of the highest-ROI DIY projects you can undertake. Whether you are swapping out yellowed builder-grade nylon for sleek screwless overlays or installing jumbo plates to hide drywall mistakes, the key to success lies in respecting the 1/8-inch gap rule and avoiding overtightened screws. By following this tutorial, you ensure your outlets are not only visually appealing but fully compliant with 2026 safety standards.