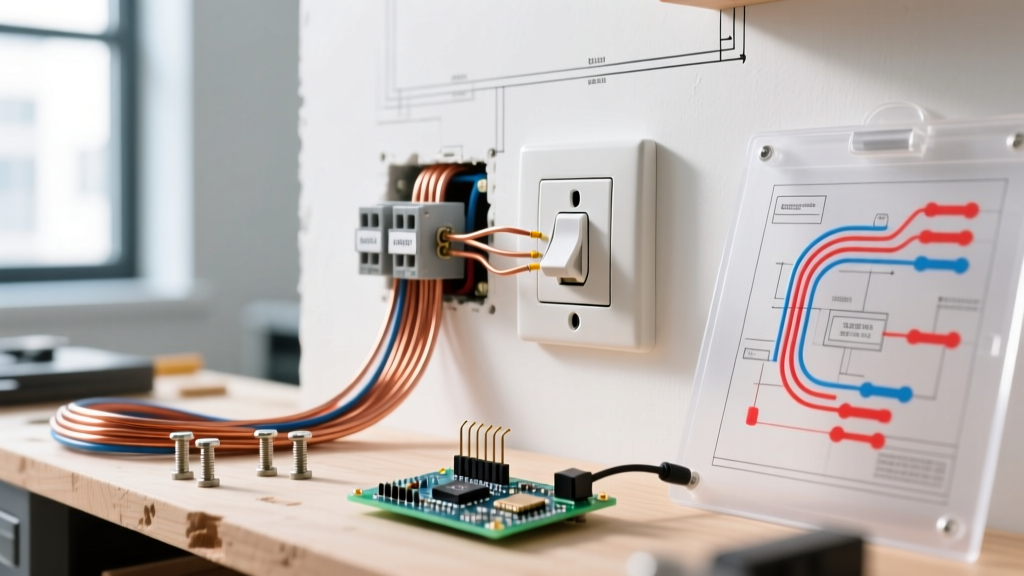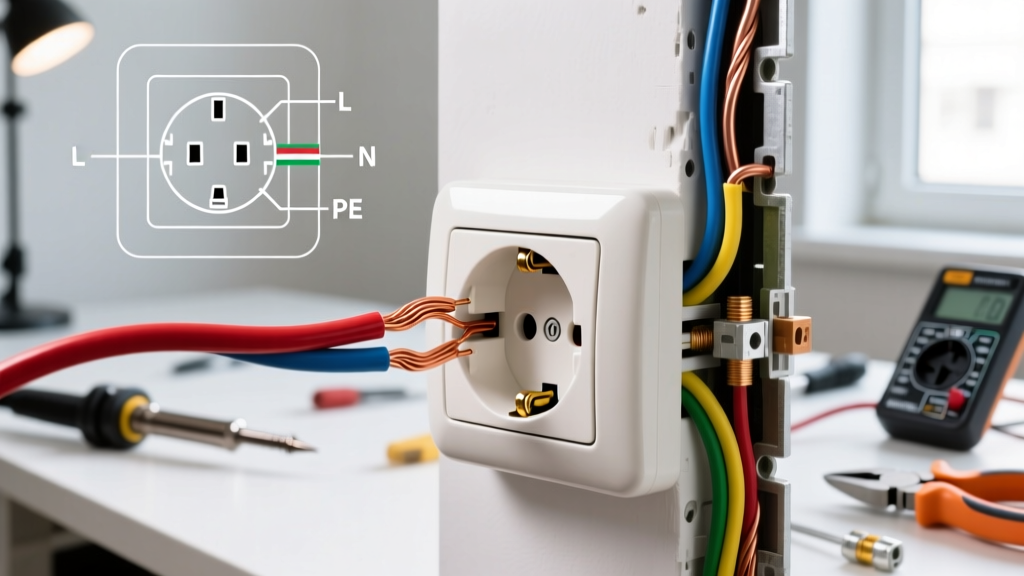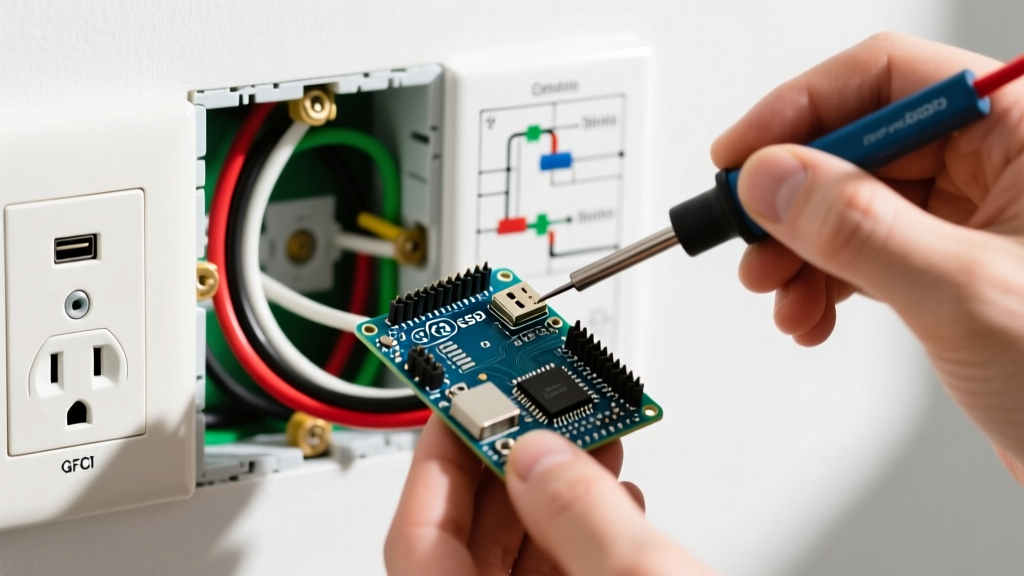

Why Perform Electrical Outlet Upgrades in Modern Homes?
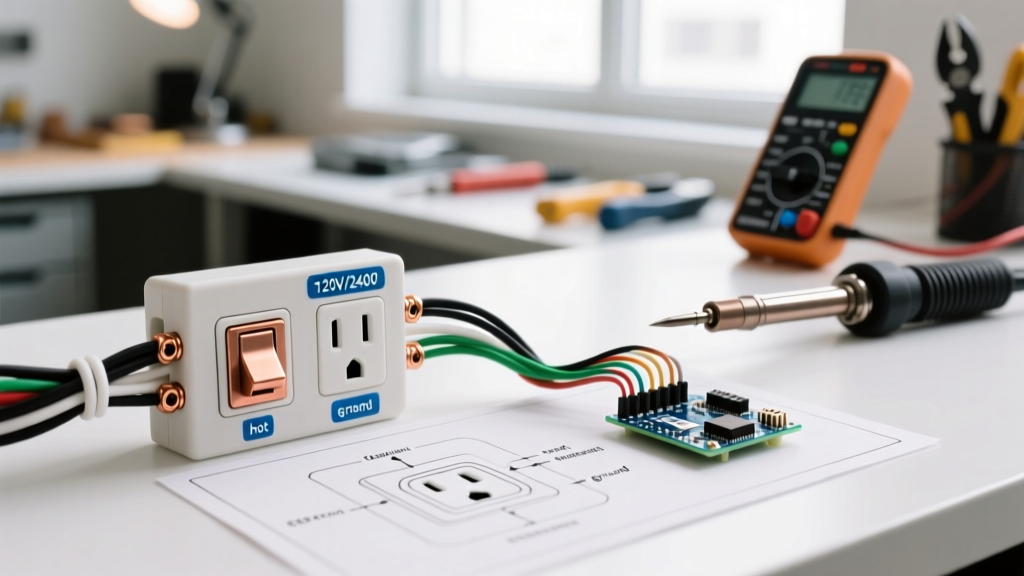
The standard 15-amp duplex receptacle has served homes for decades, but the modern electrical landscape demands more. As we move through 2026, the proliferation of USB-C Power Delivery (PD) devices and stricter National Electrical Code (NEC) safety mandates make electrical outlet upgrades a critical home improvement project. Upgrading your aging standard receptacles to integrated USB-C ports eliminates bulky power bricks, while replacing outdated two-prong or standard outlets in wet areas with Ground Fault Circuit Interrupter (GFCI) receptacles is a non-negotiable safety requirement.
This comprehensive, step-by-step guide will walk you through two of the most impactful electrical outlet upgrades: installing a high-wattage USB-C combo receptacle and wiring a 20-amp GFCI outlet. We will cover exact tool requirements, torque specifications, and the critical 'Line vs. Load' wiring logic that separates professional electricians from amateur DIYers.
Essential Tools and Materials for the Job
Before cutting any wires, gather professional-grade tools. Using improper tools is the leading cause of terminal damage and subsequent arcing failures.
- Voltage Tester: Klein Tools NCVT-3 or Fluke 1AC-II Non-Contact Voltage Tester (~$25-$30). Never rely solely on the breaker panel labels.
- Wire Strippers: Klein Tools 11055 (10-18 AWG) or 11063W (10-22 AWG). Precision stripping prevents nicking the copper conductor.
- Torque Screwdriver: CDI 1002MFRMH or similar inch-pound torque driver. Modern NEC guidelines heavily emphasize proper torque to prevent thermal loosening.
- Receptacle 1: USB-C Upgrade: Leviton T5636 (Type-C and Type-A combo, 30W PD) or Cooper Wiring Devices TR7745. Expect to pay $28 to $38 per unit.
- Receptacle 2: GFCI Upgrade: Leviton GFWT2-W (20-Amp, Tamper Resistant, Weather Resistant) or Eaton GFTR20. Expect to pay $22 to $28 per unit.
- Wire Nuts/Connectors: Ideal SureConnect or standard Ideal wire nuts (Yellow for 3x 14AWG, Red for 3x 12AWG).
Project 1: Installing a USB-C / Type-A Combo Receptacle
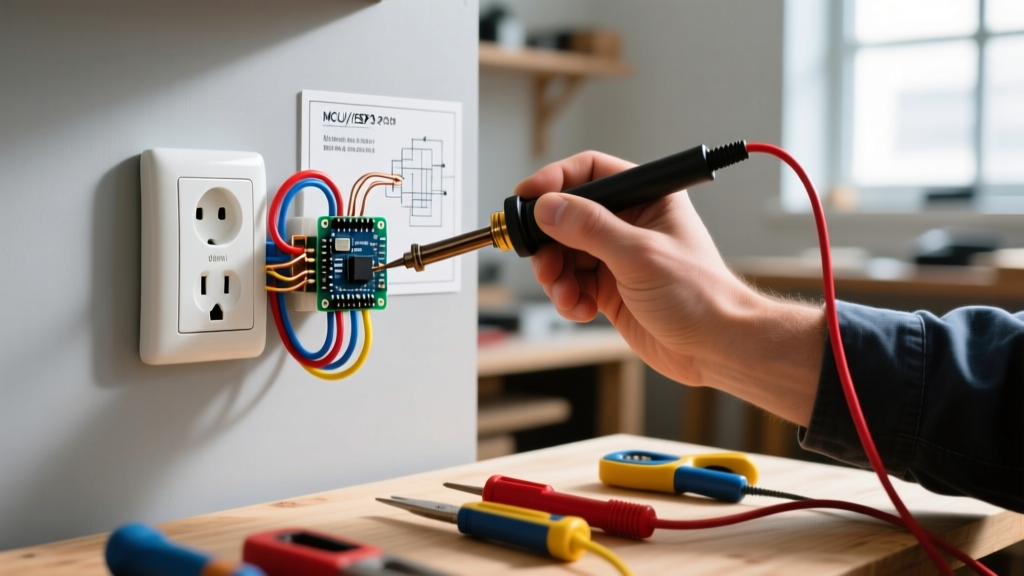
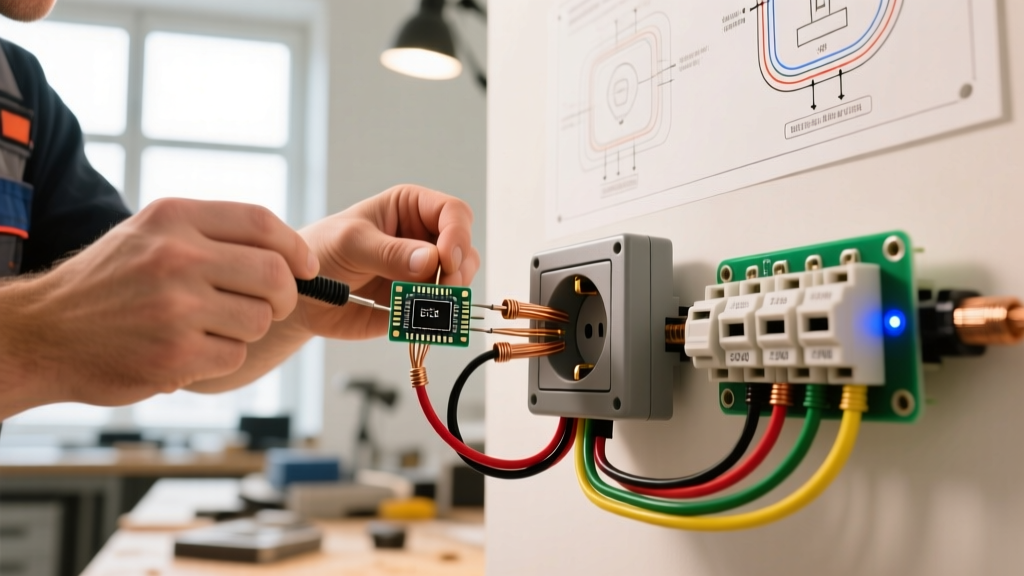
The Leviton T5636 and similar 30W USB-C PD receptacles require direct integration into your 120V branch circuit. Unlike standard outlets, these contain internal switching power supplies that generate heat. Proper heat dissipation and secure wiring are paramount.
Step 1: Power Verification and Teardown
Turn off the circuit breaker. Insert your non-contact voltage tester into the top and bottom slots of the existing outlet. Test a known live circuit first to verify the tester's battery is functional. Once confirmed dead, remove the faceplate and unscrew the receptacle from the gang box. Pull it out gently without disconnecting the wires yet.
Step 2: Wire Preparation and Stripping
Most residential lighting and receptacle circuits use 14 AWG (15-amp) or 12 AWG (20-amp) solid copper wire. Use the corresponding hole on your wire strippers. Strip exactly 3/4 inch of insulation. Pro Tip: Use the built-in gauge on the back of your new Leviton receptacle to verify the strip length. Exposed copper outside the terminal creates a shock hazard; too little copper inside the terminal results in a poor connection.
Step 3: Wiring the Terminals (Side-Wire vs. Back-Wire)
USB-C receptacles draw continuous internal loads. Never use push-in 'stab' connections on the back of the device, as they rely on weak spring tension that fails under thermal cycling.
- Neutral (White): Connect to the silver terminal. Loop the wire clockwise around the screw so tightening pulls the loop closed.
- Hot (Black): Connect to the brass terminal.
- Ground (Bare/Green): Connect to the green grounding screw.
Critical Torque Specification: Leviton specifies a terminal torque of 14 in-lbs for their premium receptacles. Use your torque screwdriver to tighten the screws until the tool clicks. Over-tightening strips the brass threads; under-tightening causes high-resistance connections, leading to voltage drop and potential melting of the polycarbonate housing.
Project 2: Upgrading to a 20-Amp GFCI Receptacle
The NEC mandates GFCI protection in kitchens, bathrooms, garages, outdoors, and unfinished basements. Upgrading to a 20-amp GFCI (like the Leviton GFWT2) on a 20-amp circuit (12 AWG wire) provides robust protection for high-draw appliances like hair dryers and power tools.
Step 1: Identifying LINE vs. LOAD
This is where 90% of DIY electrical outlet upgrades fail. A GFCI receptacle has two sets of terminals: LINE and LOAD.
- LINE: Brings power from the breaker panel. This is where your incoming hot and neutral wires must connect.
- LOAD: Sends protected power to downstream outlets. If you wire the incoming power to the LOAD terminals, the GFCI will not reset, or worse, it will provide power but zero ground-fault protection.
Identification Trick: If you have multiple cables in the box and aren't sure which is the incoming line, cap all wires, turn the breaker back on, and carefully use your voltage tester to find the single cable that has power. Turn the breaker back off before proceeding.
Step 2: Wiring and Pigtailing
If you have only one cable (one black, one white, one ground), connect them strictly to the LINE terminals. If you have multiple cables and need to protect downstream outlets, connect the incoming power to LINE, and the downstream cables to LOAD.
The Shared Neutral Edge Case: In older homes, you may encounter a 'multi-wire branch circuit' (MWBC) where two hot wires share a single neutral wire. Standard GFCI receptacles cannot be wired on the load side of an MWBC without causing nuisance tripping. If you identify a shared neutral (two black wires on different breakers sharing one white wire), you must abandon the GFCI receptacle upgrade and instead install a Dual-Function (AFCI/GFCI) Circuit Breaker in your main panel to protect the entire circuit.
Comparison Matrix: Which Outlet Upgrade Do You Need?
| Upgrade Type | Best Use Case | Estimated Cost (2026) | NEC Requirement / Code Reference |
|---|---|---|---|
| USB-C / Type-A Combo | Bedrooms, living rooms, home offices | $28 - $38 | Not mandated, but requires Tamper Resistant (TR) rating per NEC 406.12 |
| 20-Amp GFCI Receptacle | Kitchen countertops, bathrooms, garages | $22 - $28 | Mandated by NEC 210.8(A) for all 125V/15A/20A receptacles in wet/damp areas |
| AFCI / GFCI Dual Breaker | Older homes with shared neutrals (MWBC) | $45 - $65 | Required when receptacle-level GFCI is impossible due to shared neutral wiring |
| Weather-Resistant (WR) GFCI | Outdoor patios, pool equipment areas | $30 - $40 | Mandated by NEC 406.9(B)(1) for all outdoor 15A/20A receptacles |
Common Failure Modes and Troubleshooting
Even with meticulous preparation, electrical outlet upgrades can present challenges post-installation. Here is how to diagnose the most common issues:
1. The GFCI Will Not Reset
Cause: Incoming power is wired to the LOAD terminals instead of LINE, or the internal ground-fault sensor detected an active leak during installation. Fix: Turn off the breaker. Swap the wires from LOAD to LINE. Ensure the bare ground wire is not touching the silver neutral terminal or the metal gang box.
2. USB-C Port Charges Slowly or Intermittently
Cause: Voltage drop due to a loose neutral connection on a daisy-chained circuit, or the circuit is heavily loaded, dropping the voltage below the 110V threshold required for the receptacle's internal PD handshake. Fix: Check all upstream receptacles on the same breaker. Ensure all neutrals are tightly torqued. Avoid backstab connections on upstream standard outlets.
3. Receptacle Feels Warm to the Touch
Cause: High resistance at the terminal screws due to under-torquing, or using 14 AWG wire on a 20-amp circuit drawing near-maximum current. Fix: Immediately turn off the breaker. Remove the faceplate and check for scorch marks. Re-strip the wires, ensure they are cleanly looped, and tighten to 14 in-lbs using a calibrated torque driver.
Safety Standards and Authoritative Resources
Electrical work carries inherent risks of arc flash, electrocution, and structural fire. Always adhere to local building codes, which are typically based on the National Electrical Code (NEC). Before beginning any electrical outlet upgrades, consult your local municipality regarding permit requirements for DIY electrical work.
For the most accurate and up-to-date safety guidelines, refer to the following authoritative organizations:
- National Fire Protection Association (NFPA) - Electrical Safety: Comprehensive guides on preventing home electrical fires and understanding circuit loads.
- U.S. Consumer Product Safety Commission (CPSC) - GFCI Guidelines: Detailed explanations of how Ground Fault Circuit Interrupters save lives and where they must be installed.
- National Electrical Code (NEC) via NFPA: The definitive standard for safe electrical design, installation, and inspection.
By following these precise steps and respecting the physics of your home's electrical system, your outlet upgrades will provide decades of safe, modernized power delivery.