
Why Your Electrical Outlet Sparks When Plugging Something In
Seeing a flash of light and hearing a sharp zap when you connect a device is a jarring experience. If your electrical outlet sparks when plugging something in, your first instinct might be to avoid that receptacle entirely. However, not all sparks indicate an imminent electrical fire. To accurately diagnose the issue and perform a permanent repair, you need to understand the physics of the spark and equip yourself with the right diagnostic tools and replacement materials.
As a homeowner or DIY electrician in 2026, relying on guesswork is dangerous. This tool and material guide will walk you through the exact equipment needed to differentiate between harmless capacitive inrush and dangerous arc faults, along with the specific spec-grade materials required to fix the problem safely.
The Physics: Inrush Current vs. Arc Faults
Before opening up your wall boxes, you must categorize the spark you are witnessing. Electrical sparks generally fall into two distinct categories:
1. Capacitive Inrush (The Harmless Blue Flash)
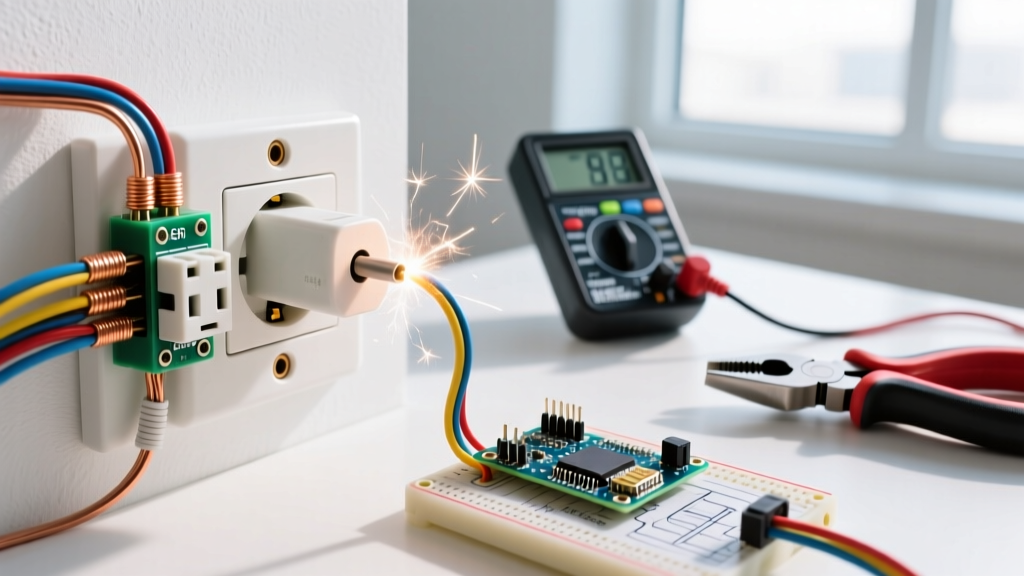
When you plug in a device with a large power supply capacitor (such as a laptop charger, a desktop computer, or a shop vacuum), the uncharged capacitor initially acts as a dead short circuit. For a fraction of a millisecond, a massive surge of current—known as inrush current—rushes into the circuit. As the plug blades approach the receptacle contacts, the high voltage jumps the microscopic air gap, ionizing the air and creating a brief, bright blue spark. This is a normal physical phenomenon and does not mean the outlet is defective.
2. Resistive Arcing (The Dangerous Yellow/Orange Spark)
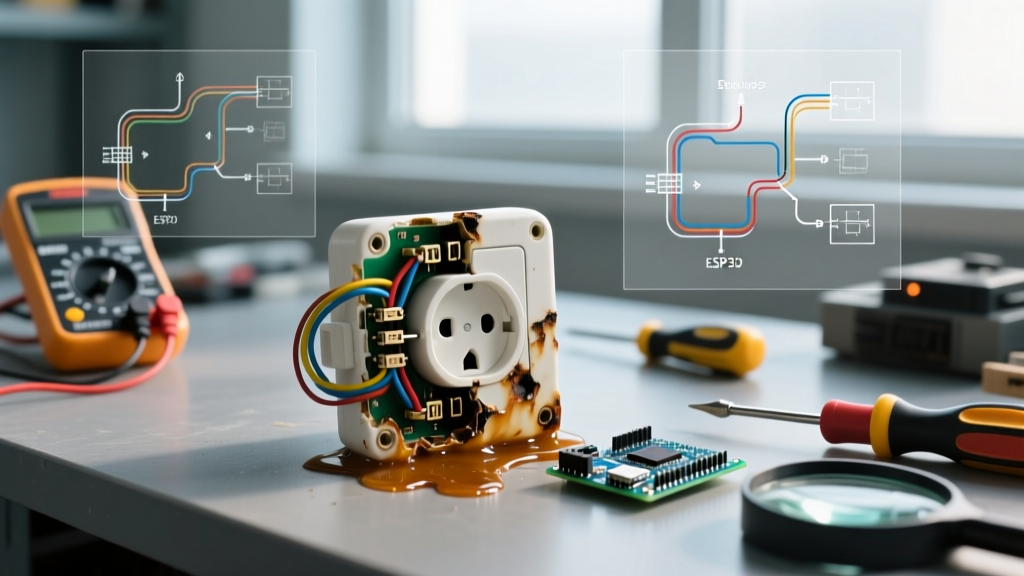
If the spark is yellow or orange, accompanied by a popping sound, a burning ozone smell, or visible scorch marks on the receptacle face, you are witnessing an arc fault. This occurs when the physical connection between the plug blade and the internal receptacle contacts is loose, oxidized, or degraded. The high electrical resistance at the loose joint generates intense localized heat (often exceeding 1,000°F), which melts the surrounding thermoplastic and creates a carbon track that sustains the arc. According to the National Fire Protection Association (NFPA), arcing faults are a leading cause of residential electrical fires.
The 2026 Diagnostic Toolkit
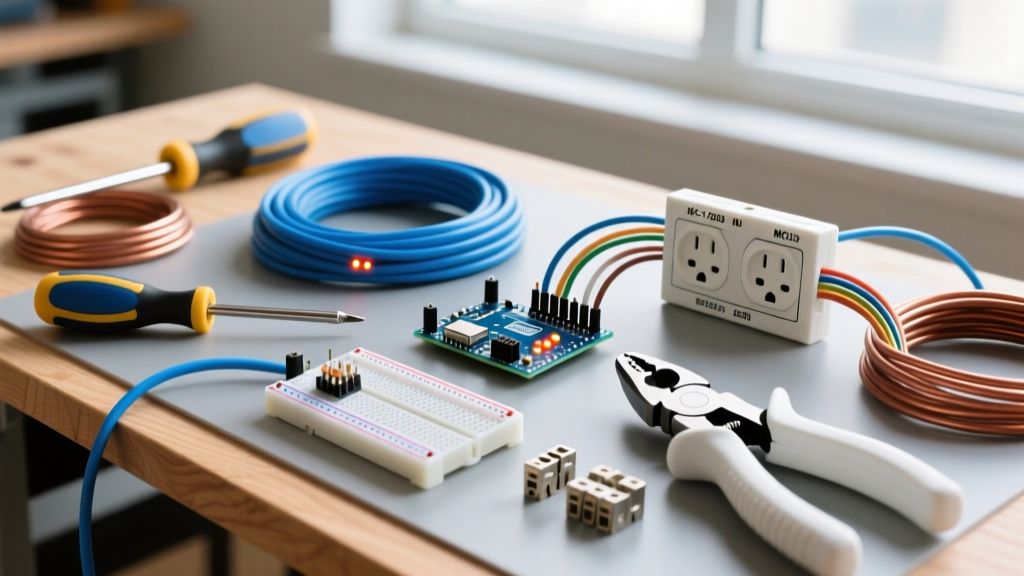
To safely troubleshoot an arcing receptacle, you need professional-grade testing equipment. Skip the cheap, single-function testers and invest in tools that provide granular data.
- Non-Contact Voltage Tester (NCVT): The Klein Tools NCVT-3 (approx. $38) is the industry standard. It features dual-range detection (12V to 1000V AC) and a built-in LED flashlight. You will use this to verify the circuit is dead before removing the receptacle from the wall box.
- True-RMS Digital Multimeter (DMM): The Fluke 117 True RMS Multimeter (approx. $225) is essential. Its VoltAlert feature provides a secondary check for voltage, and its True-RMS capability ensures accurate AC voltage readings even on circuits with non-linear loads. You will use this to test Hot-to-Neutral and Hot-to-Ground continuity.
- Receptacle Circuit Analyzer: The Gardner Bender GFI-3501 (approx. $18) quickly identifies wiring faults like open grounds, reversed polarity, or open neutrals, which can cause uneven load distribution and subsequent arcing.
- Thermal Imaging Camera (Advanced): For persistent issues where the spark originates behind the drywall, a tool like the FLIR C5 (approx. $450) allows you to scan the wall plate for hidden thermal hotspots caused by high-resistance connections without opening the wall.
Material Upgrades: Ditching Builder-Grade Receptacles
If your diagnostic tests confirm a failing receptacle, do not replace it with another $1.20 builder-grade unit. Builder-grade receptacles utilize thin, stamped brass contacts and rely on "backstab" push-in wire connections that are notorious for failing under thermal cycling.
The Spec-Grade Solution
Upgrade to a spec-grade (specification grade) receptacle. Models like the Leviton Prograde 5320-W (15A) or 5362-W (20A) (costing $4 to $7 each) feature thick, solid brass contacts that maintain high grip tension on plug blades for decades. Furthermore, they are designed for side-wiring (wrapping the wire around the terminal screw) or back-wiring via a heavy-duty internal clamp plate, completely eliminating the push-in connection failure mode.
Wire Connectors: Wago vs. Twist-On
When pigtailing wires inside a cramped junction box, standard twist-on wire nuts can loosen over time due to the expansion and contraction of copper wires. In 2026, professional electricians overwhelmingly prefer Wago 221 Series Lever-Nuts (e.g., the 221-413 for 3 conductors, approx. $18 for a 50-pack). These transparent, lever-actuated connectors provide a gas-tight, vibration-proof connection that virtually eliminates neutral-wire arcing inside the box.
Step-by-Step Diagnostic Protocol
Follow this exact workflow when an electrical outlet sparks when plugging something in to ensure a comprehensive repair.
- Visual & Olfactory Inspection: With the circuit ON, carefully smell the receptacle face for ozone or melting plastic. Look for brown or black scorch marks. If present, immediately turn off the breaker.
- Verify De-energization: Use the Klein NCVT-3 on the top and bottom slots of the receptacle. Follow up by testing the Fluke 117 across Hot-to-Neutral and Hot-to-Ground to confirm 0.0V.
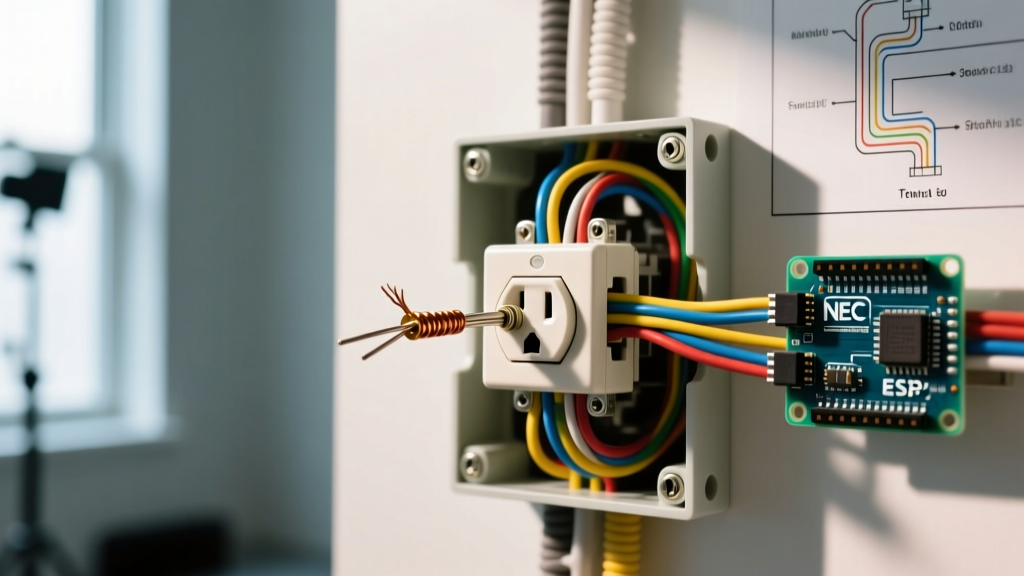
- Extract and Inspect: Remove the mounting screws and pull the receptacle out. Inspect the wire terminations. If you see push-in backstab connections, this is likely your failure point.
- Check Wire Integrity: Strip back the wire insulation by 1/4 inch to expose fresh, unoxidized copper. If the existing copper is black or brittle, it has suffered thermal damage and must be cut back to clean metal.
- Terminate with Spec-Grade Materials: Connect the fresh copper to the side-wire terminal screws of a new Leviton Prograde receptacle, torquing the screws to 12-14 inch-pounds to ensure a secure mechanical bond.
Failure Mode & Material Matrix
Use this quick-reference table to match your specific symptoms with the correct diagnostic tool and material fix.
| Symptom Observed | Probable Failure Mode | Diagnostic Tool Used | Required Material Fix |
|---|---|---|---|
| Brief blue flash, no smell, high-draw appliance | Normal Capacitive Inrush Current | N/A (Visual Observation) | None required; normal operation. |
| Yellow spark, loose plug feel, slight melting | Worn internal brass contact grips | Visual / Tactile Inspection | Leviton Prograde Spec-Grade Receptacle |
| Intermittent power loss, buzzing sound behind wall | Loose backstabbed neutral or hot wire | Fluke 117 (Continuity/Voltage Drop) | Side-wire termination + Wago 221 Pigtails |
| Warm faceplate, scorch marks on plug blades | Oxidized copper / High-resistance joint | FLIR C5 Thermal Camera | Cut back damaged wire, fresh strip, new device |
| Sparking accompanied by breaker tripping | Dead short or severe ground fault | Gardner Bender GFI-3501 Analyzer | Identify shorted appliance cord or damaged box wiring |
Crucial Edge Cases: Aluminum Wiring and Code Compliance
If your home was built between 1965 and 1973, you may have single-strand aluminum branch wiring. Aluminum expands and contracts at a much higher rate than copper when heated, leading to severe loosening at terminal screws and catastrophic arcing. The Consumer Product Safety Commission (CPSC) strongly warns against simply swapping receptacles on aluminum circuits without proper mitigation.
Expert Warning: Never connect standard copper-rated (CU-only) receptacles to aluminum wiring. If you must replace a receptacle on an aluminum circuit, you must use CO/ALR (Copper-Aluminum Revised) rated devices, or pigtail the aluminum to copper using AlumiConn lug connectors before terminating to a standard spec-grade receptacle.
Furthermore, be aware of the National Electrical Code (NEC) requirements regarding replacements. Under recent NEC cycles (including updates leading into 2026), any receptacle replacement in areas requiring ground-fault or arc-fault protection must be upgraded to the current standard. This means replacing a standard sparking receptacle in a bedroom or living room may legally require installing an AFCI (Arc-Fault Circuit Interrupter) receptacle, while kitchens and bathrooms mandate GFCI (Ground-Fault Circuit Interrupter) and TR (Tamper-Resistant) ratings. Always consult your local Authority Having Jurisdiction (AHJ) and refer to resources from the Occupational Safety and Health Administration (OSHA) regarding safe electrical work practices.
Final Thoughts on Outlet Safety
When an electrical outlet sparks when plugging something in, it is a direct communication from your home's electrical system. A tiny blue flash on a laptop charger is physics at work; a yellow pop with a burning smell is a fire hazard demanding immediate intervention. By investing in a True-RMS multimeter, abandoning builder-grade backstab receptacles, and utilizing modern lever-nut connectors, you can permanently eliminate arcing faults and ensure your home's electrical infrastructure remains safe, reliable, and up to modern 2026 standards.