
The Core Toolkit: What You Actually Need (and What to Skip)
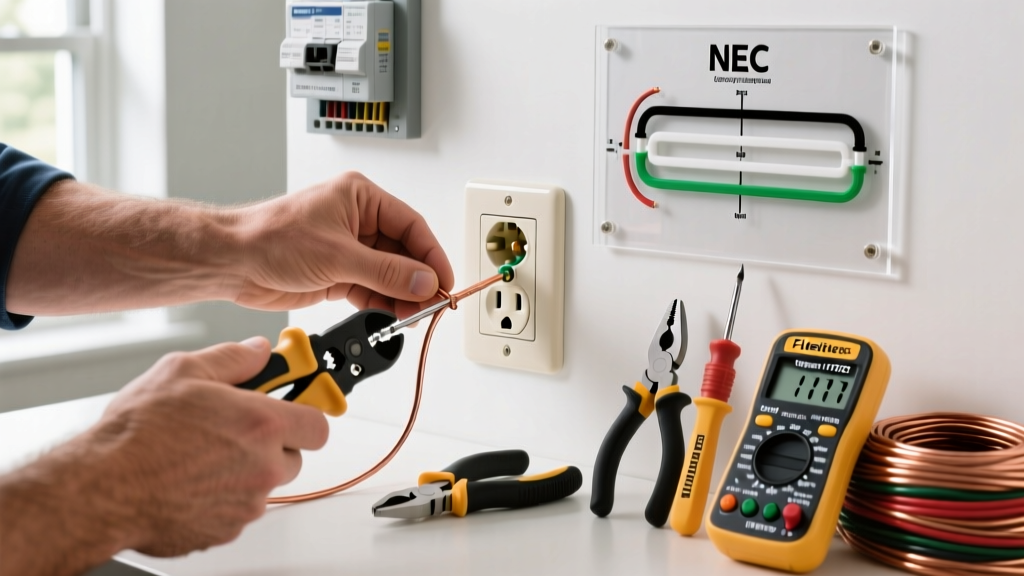
Understanding how to wire an electrical outlet goes far beyond simply twisting wires together. The difference between a safe, code-compliant installation and a potential fire hazard often comes down to the precision of your tools and the quality of your materials. As of 2026, local jurisdictions are strictly enforcing the latest National Electrical Code (NEC) standards, making professional-grade tools a necessity even for advanced DIYers.
Forget the generic $15 toolkits from the hardware store checkout aisle. Here is the exact, field-tested toolkit you need for residential 15A and 20A receptacle wiring.
1. Wire Strippers: Klein Tools 11055 (Approx. $28)
While basic combination pliers can strip wire, they often nick the copper conductor, creating a weak point that increases resistance and heat. The Klein 11055 features precision-machined stripping holes specifically calibrated for 14 AWG and 12 AWG solid copper wire. It cleanly removes the insulation without scoring the metal, which is critical for preventing arc faults under terminal screws.
2. Voltage Tester: Fluke 1AC-II VoltAlert (Approx. $35)
Never trust a breaker label. The Fluke 1AC-II is a CAT IV 1000V non-contact voltage tester (NCVT) that detects energized wires through insulation. Its continuous self-test feature and visual/audible indicators ensure you are working on a dead circuit before your hands ever enter the junction box.
3. Torque Screwdriver: Klein Tools 601-7 (Approx. $140)
This is the most overlooked tool in DIY wiring. NEC 110.14(D) requires that terminations be tightened to the manufacturer's specified torque. While many residential receptacles simply state "tighten securely," professional electricians use inch-pound torque screwdrivers to ensure the terminal screw exerts exactly 12 to 16 inch-pounds of force on the wire loop, preventing thermal cycling loosening over time.
4. Screwdrivers: Milwaukee 48-22-2211 Multi-Bit (Approx. $18)
You need a #2 Phillips and a 1/4-inch flathead. The Milwaukee multi-bit driver features a magnetic tip that holds the terminal screw, which is invaluable when working in deep, awkwardly angled junction boxes where dropped screws are a constant frustration.
Material Matrix: Matching Wire, Breakers, and Receptacles
Mismatching wire gauge and breaker amperage is a leading cause of residential electrical fires. The following matrix outlines the exact material pairings required for standard 120V branch circuits in 2026.
| Circuit Ampacity | Wire Gauge (NM-B) | Breaker Type | Receptacle Rating | Avg. Wire Cost (2026) |
|---|---|---|---|---|
| 15 Amp | 14 AWG (White sheath) | 15A AFCI/GFCI | 15A Tamper-Resistant | $0.48 / linear ft |
| 20 Amp | 12 AWG (Yellow sheath) | 20A AFCI/GFCI | 20A Tamper-Resistant | $0.68 / linear ft |
Note: You can install a 15A receptacle on a 20A circuit (provided there are multiple receptacles on the run), but you can never install a 20A receptacle on a 15A circuit.
Receptacle Selection: Tamper-Resistant and Grade Differences
When learning how to wire an electrical outlet, selecting the right receptacle is just as important as the wiring itself. According to the National Fire Protection Association (NFPA), NEC Article 406.12 mandates that all 15A and 20A, 125V and 250V non-locking receptacles in dwelling units must be Tamper-Resistant (TR).
Residential vs. Commercial Grade
- Residential Grade (e.g., Leviton 5262-SW - $1.85): Made with standard thermoplastic. Suitable for low-traffic areas like guest bedrooms or attics. The internal brass contacts are thinner and may lose grip tension after 50-100 plug insertions.
- Commercial/Spec Grade (e.g., Leviton 5320-W - $3.50): Features a high-impact polycarbonate face and thicker, high-tension brass contacts designed to withstand thousands of mating cycles. The internal yoke is also reinforced. Expert Recommendation: Spend the extra $1.65 per outlet for Commercial grade in kitchens, living rooms, and workshops.
Step-by-Step Tool Application: Wiring the Outlet
With your materials verified and your toolkit ready, follow this precise sequence to terminate the wires safely.
- Verify Dead Circuit: Insert the Fluke 1AC-II into the existing outlet slots and touch it to the bare ground wire. Confirm zero voltage detection.
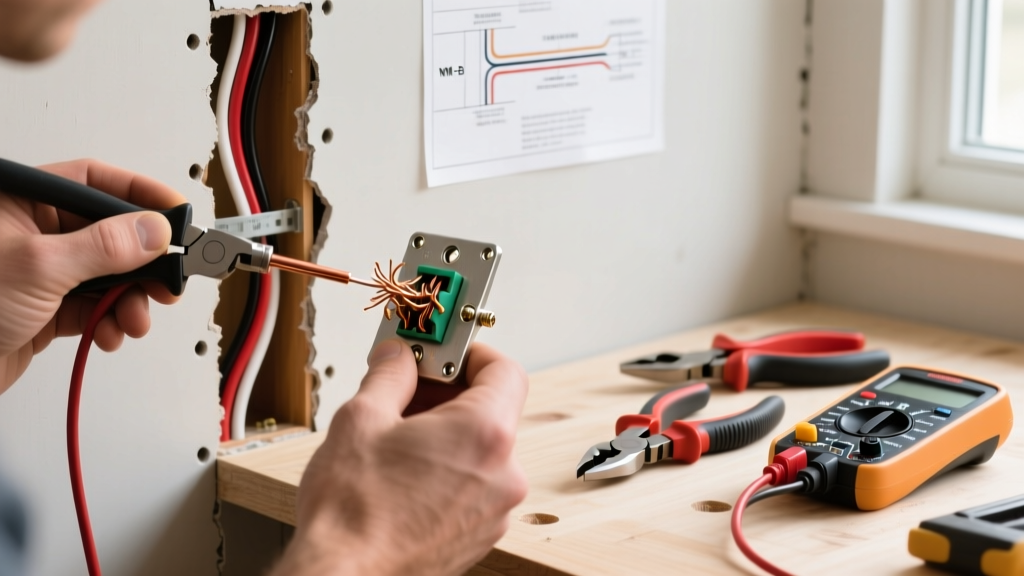
- Strip the Jacket: Use the Klein 11055 to score the outer NM-B jacket. Strip back exactly 6 inches of the outer sheathing to expose the black (hot), white (neutral), and bare copper (ground) wires.
- Strip the Conductors: Strip exactly 3/4 inch of insulation from the individual conductors. Critical Edge Case: Stripping more than 3/4 inch leaves exposed copper outside the terminal, creating a shock hazard. Stripping less results in insulation getting trapped under the screw, causing a high-resistance connection.
- Form the J-Hook: Use the needle-nose pliers on your strippers to bend the exposed copper into a "J" or Shepherd's hook shape.
- Terminate Clockwise: Hook the wire around the terminal screw clockwise. As you tighten the screw with your Milwaukee driver, the clockwise rotation will pull the loop tighter around the screw shaft rather than pushing it out.
- Apply Torque: If using a torque screwdriver, set it to the manufacturer's spec (typically 14 in-lbs for Leviton commercial grade) and tighten until the tool clicks.
- Grounding: Connect the bare copper to the green grounding screw. If the box is metal, you must also pigtail a ground wire to the metal junction box itself using an Ideal Greenie wire connector.
Safety Warning: The Electrical Safety Foundation International (ESFI) reports that improper wiring and loose connections are primary catalysts for residential arc faults. Never rush the termination process.
Common Material Failures and Edge Cases
Even experienced DIYers fall victim to specific material traps. Avoid these common failure modes:
The "Backstab" Push-In Terminal Trap
Most standard 15A receptacles feature push-in holes on the back. These rely on a tiny internal spring-leaf to grip the 14 AWG wire. Over time, thermal expansion and contraction (from drawing current) causes the spring to fatigue, leading to a loose connection, arcing, and melted plastic. Always use the side screw terminals or the screw-to-clamp plate terminals found on higher-end models.
Aluminum Wiring Incompatibility
If you are upgrading an outlet in a home built between 1965 and 1973, you may encounter aluminum branch wiring. Standard copper-rated receptacles will react galvanically with aluminum, creating aluminum oxide—a highly resistive compound that causes extreme heat. You must use receptacles specifically marked CO/ALR (Copper/Aluminum Revised) and apply anti-oxidant paste (like Noalox) to the wire before termination.
Multi-Wire Branch Circuits (MWBC)
If you open a box and find two hot wires (one black, one red) sharing a single white neutral, you have an MWBC. You must use a wire nut to pigtail the neutral wire to the receptacle. Breaking the neutral tab on the receptacle itself to feed two separate circuits on a shared neutral is a severe NEC violation that can overload the neutral conductor and cause a fire.
Frequently Asked Questions
Can I use 12 AWG wire on a 15 Amp receptacle?
Yes. While 14 AWG is standard for 15A circuits, using 12 AWG wire is perfectly safe and actually reduces voltage drop on long runs. However, 12 AWG is thicker and stiffer, making it slightly more difficult to fold into standard single-gang junction boxes.
Do I need to wrap electrical tape around the sides of the outlet?
Many older electricians wrap the sides of receptacles with electrical tape to cover the exposed terminal screws. While not required by the NEC if the box is properly sized and wires are neatly folded, it is a good defensive practice in shallow metal boxes where a stray ground wire could short against the hot terminal side.
What is the difference between GFCI and standard receptacles?
A Ground Fault Circuit Interrupter (GFCI) monitors the current balance between the hot and neutral wires. If it detects a leakage of just 4 to 6 milliamps (indicating current is flowing through an unintended path, like a person), it trips in under 25 milliseconds. As of 2026, GFCI protection is required in kitchens, bathrooms, garages, outdoors, and within 6 feet of any water source.