
Why Upgrade Your Plastic Outlet Cover?
A cracked, discolored, or poorly fitting wall plate is more than just an eyesore; it is a genuine safety hazard. Exposed wiring gaps can lead to accidental shock, while brittle, degraded plastics can shatter upon impact, leaving live terminal screws exposed. In 2026, replacing a standard wall plate with a high-quality plastic cover for electrical outlet receptacles remains one of the most cost-effective home safety upgrades you can perform. Standard nylon plates cost between $0.80 and $1.50, while specialized childproof or weatherproof variants range from $3.00 to $6.00.
This beginner-friendly tutorial will walk you through the material science of outlet covers, exact sizing matrices, and a step-by-step installation process that guarantees a flush, code-compliant fit without cracking the new plate.
Material Science: Nylon vs. Thermoset vs. Polycarbonate
Not all plastics are created equal. When shopping for a replacement, you will encounter three primary materials. Understanding the difference prevents premature failure and stress fractures during installation.
- Nylon (Polyamide): The industry standard for modern residential plates (e.g., Leviton 802-W or Legrand Pass & Seymour TP26W). Nylon is highly flexible, impact-resistant, and will not shatter if overtightened. It also resists UV yellowing and chemical degradation from household cleaners.
- Thermoset (Bakelite/Urea): Common in older homes or budget bulk packs. Thermoset is rigid and brittle. If your drywall is uneven and you overtighten the mounting screw, thermoset plates will crack instantly. Avoid these for DIY installations where wall flatness is not guaranteed.
- Polycarbonate: Used primarily for high-impact or weatherproof outdoor covers. It offers extreme durability but is generally overkill for standard indoor residential use.
Sizing Matrix: Getting the Right Fit
Before purchasing your plastic cover for electrical outlet boxes, measure your existing wall cutout. Using the wrong size will leave exposed drywall paper or require extensive patching and painting.
| Cover Size | Dimensions (W x H) | Best Use Case | Avg. Cost (2026) |
|---|---|---|---|
| Standard | 2.75" x 4.5" | New construction, perfectly patched drywall | $0.80 - $1.20 |
| Midsize (Trade) | 3.125" x 4.875" | Covers minor drywall tears or wide cutouts | $1.30 - $1.80 |
| Jumbo | 3.5" x 5.25" | Major drywall damage, avoiding mud/paint work | $1.50 - $2.50 |
Pro Tip: Always keep a few Midsize plates in your toolkit. They are the ultimate 'problem solver' for older homes where the drywall cutout around the electrical box has been gouged out by previous DIYers.
Tools and Materials Checklist
Gather these specific tools before beginning. Using the wrong screwdriver bit is the leading cause of stripped screws and damaged plastic covers.
- Non-Contact Voltage Tester (NCVT): Klein Tools NCVT-2 or Fluke 1AC-II. Never rely on the wall switch to confirm power is off.
- Screwdriver: #2 Phillips and #2 Robertson (Square) drivers. Many modern plates use combination Phillips/Square screws.
- New Plastic Cover: Ensure it matches your receptacle type (Duplex, Decorator/Rocker, or Toggle).
- Mounting Screws: Standard plates use 6-32 UNC thread, 1/2-inch length. If using a Jumbo plate or an outlet extender, you may need 3/4-inch 6-32 screws.
- Plastic Shims: For outlets that sit recessed behind the drywall.
Step-by-Step Installation Tutorial
Step 1: Verify Power and Remove the Old Plate
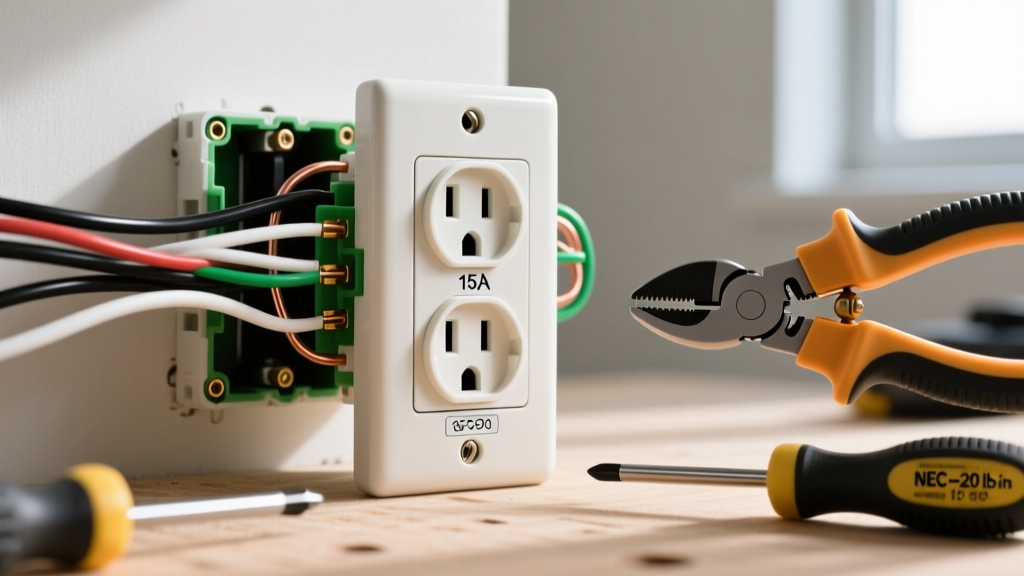
Turn off the circuit breaker controlling the outlet. Insert your NCVT into the top and bottom slots of the receptacle. The tester must remain completely dark and silent. Once verified, use your #2 screwdriver to remove the center mounting screw. If the old plate is painted to the wall, score the perimeter lightly with a utility knife to prevent tearing the drywall paper.
Step 2: Inspect the Box and Receptacle Alignment
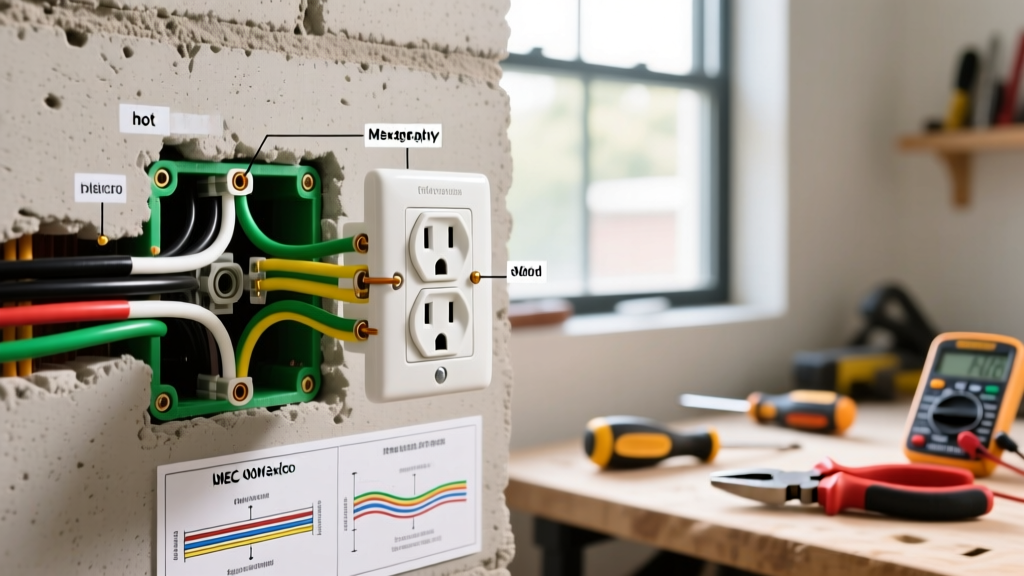
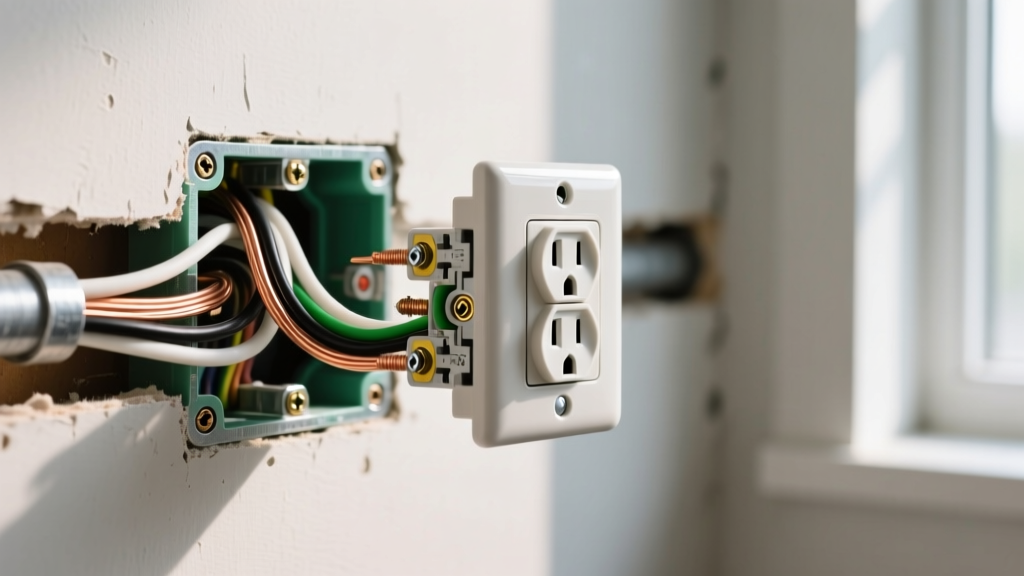
Look at how the outlet sits relative to the drywall surface. According to the National Fire Protection Association (NFPA), electrical boxes must be flush with the wall surface. If the outlet is recessed more than 1/8 inch into the wall, a standard plastic cover will flex inward when you plug in a cord, eventually causing stress fractures.
The Fix: Install a plastic box extender (like the Arlington BE-1) or stack plastic outlet shims behind the device mounting ears to bring it flush with the wall.
Step 3: Mount the New Plastic Cover
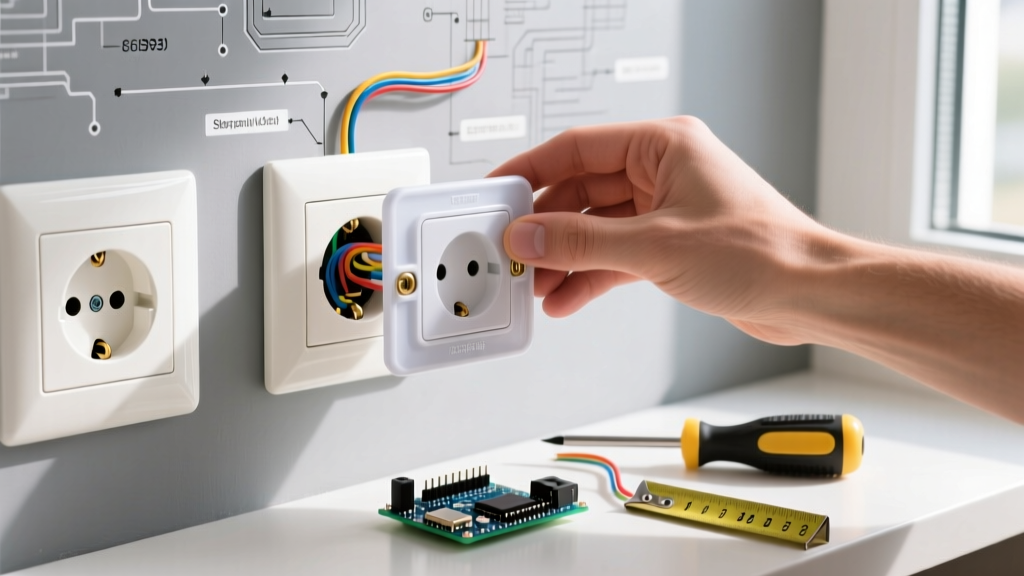
Align the new plate over the receptacle. Insert the 6-32 mounting screw by hand to avoid cross-threading. Once the screw catches, use your screwdriver to tighten it.
Critical Torque Warning: Tighten the screw until the plate is snug against the wall, then stop. Do not apply excessive force. Nylon plates can withstand some flex, but overtightening against an uneven wall will warp the plastic and cause the center bridge to snap over time.
Childproofing: Upgrading to Sliding Plastic Covers
If you are childproofing a home, standard plastic plug inserts are no longer recommended by safety experts. They pose a choking hazard and are easily removed by toddlers. Instead, opt for a childproof sliding plastic cover for electrical outlet receptacles (such as the Leviton 406-W or Safety 1st Self-Closing covers).
These replace the standard faceplate entirely. They feature spring-loaded internal plastic shutters that automatically close when a plug is removed. To install, simply remove the existing faceplate and mount the childproof plate using the provided 6-32 screws. Ensure the internal sliding mechanism moves freely and does not bind against the receptacle's face. If it binds, the outlet may be protruding too far; adjust the mounting ears backward slightly.
For comprehensive guidance on childproofing, the Consumer Product Safety Commission (CPSC) highly recommends upgrading to Tamper-Resistant (TR) receptacles alongside your protective covers, as TR receptacles feature internal shutters that prevent foreign objects from being inserted.
Troubleshooting Common Edge Cases
The Cover Plate Cracks When Tightened
Cause: The drywall is uneven, or the outlet box is mounted at an angle, creating a gap on one side of the plate. When you tighten the screw, the plastic bends until it reaches its tensile limit and snaps.
Solution: Loosen the screw. Identify the gap behind the plate. Cut a small piece of cardboard or use a dedicated plastic outlet shim to fill the void behind the plate where the gap exists. This provides a solid backstop, allowing the plate to sit flat without bending.
The Outlet Sits Too Deep (Gap Around the Edges)
Cause: The electrical box was set too far back during construction, or multiple layers of tile/backer board were added.
Solution: Do not use longer screws to pull the outlet forward, as this leaves the sides of the box exposed. Use an Arlington BE-1 plastic box extender. It slides over the existing device and bridges the gap to the drywall, ensuring the new plastic cover sits flush and code-compliant.
Screws Keep Spinning and Won't Catch
Cause: The mounting ears on the receptacle are stripped, or the wrong screw size is being used.
Solution: Ensure you are using a 6-32 screw, not a 10-32 or 8-32 (which are used for grounding or metal boxes). If the receptacle's threaded hole is stripped, you must replace the receptacle itself, as a secure cover plate cannot be mounted to a compromised device.
Safety and Code Compliance
When installing any plastic cover for electrical outlet systems, adherence to the National Electrical Code (NEC) is mandatory. NEC Article 314.20 dictates that in combustible walls (like standard drywall and wood paneling), the electrical box must be flush with the surface, and the cover plate must completely close the opening without leaving gaps that expose the interior of the wall cavity.
Furthermore, the Electrical Safety Foundation International (ESFI) warns against using metal cover plates on ungrounded circuits or in damp locations where accidental contact with a live wire could energize the plate. High-quality nylon and thermoplastic covers are inherently non-conductive, providing an extra layer of dielectric protection for the end-user.
Final Thoughts
Replacing a wall plate is a 5-minute job that drastically improves the aesthetics and safety of your home. By selecting the correct material (nylon over thermoset), choosing the right size (midsize for problem walls), and ensuring the underlying device is flush, your new plastic cover for electrical outlet receptacles will provide years of durable, code-compliant service. Always prioritize safety by verifying the power is off before touching any electrical components.