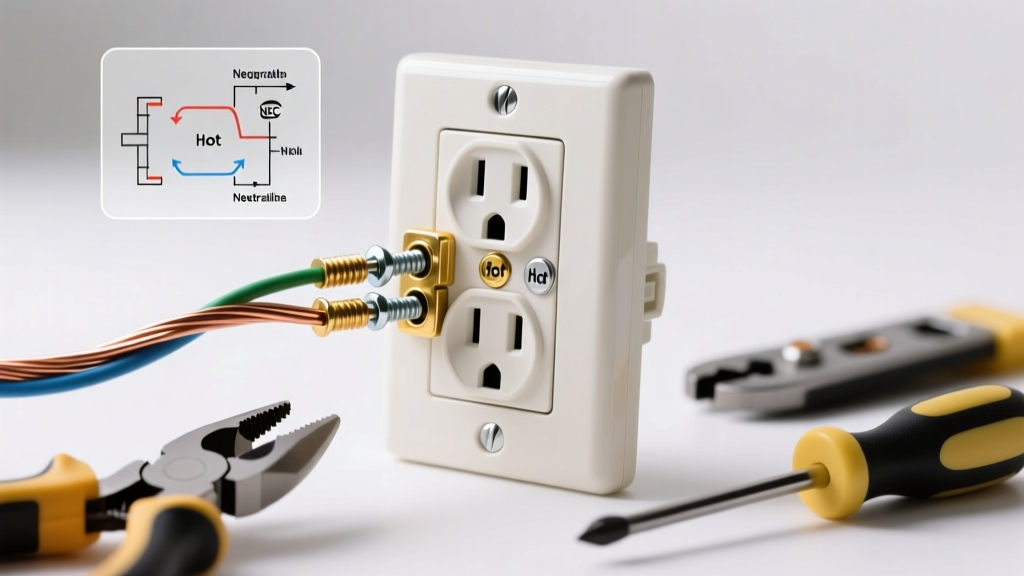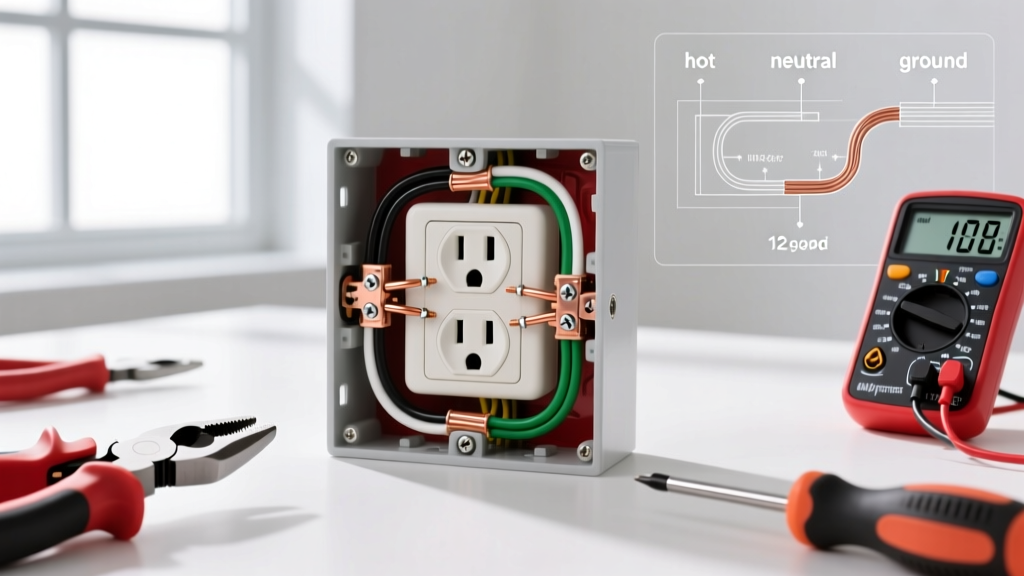

The Foundation: Matching Wire, Breakers, and Receptacles
Understanding how to wire an electric outlet safely requires more than just twisting wires together; it demands a precise understanding of circuit capacity, material ratings, and modern electrical codes. As of 2026, the National Electrical Code (NEC) continues to enforce strict guidelines on tamper-resistant (TR) receptacles and torque-specific terminations to prevent residential fires. Before you strip a single wire, you must verify that your materials align with your circuit breaker. Mismatching a 15-amp receptacle on a 20-amp circuit without specific multi-outlet branch circuit allowances is a direct code violation and a severe fire hazard.
| Circuit Breaker | Wire Gauge (Copper) | Receptacle Rating | Primary Use Case |
|---|---|---|---|
| 15 Amp | 14 AWG | 15A / 125V | Bedrooms, living rooms, lighting |
| 20 Amp | 12 AWG | 20A / 125V (or 15A) | Kitchens, bathrooms, garages, outdoors |
| 20 Amp (GFCI) | 12 AWG | 20A TR / GFCI | Wet locations, unfinished basements |
The Professional Tool Arsenal
Amateur electrical work often fails not because of a lack of knowledge, but due to poor tooling. Ragged wire cuts lead to arcing, and under-tightened screws cause thermal expansion failures. Here is the exact tool loadout required for professional-grade outlet wiring.
1. Wire Strippers: Klein Tools 11055 ($28 - $32)
The Klein 11055 is the industry standard for a reason. It features precision-machined stripping holes for 10-20 AWG solid and 12-22 AWG stranded wire. When learning how to wire an electric outlet, achieving a clean strip without nicking the copper conductor is critical. A nicked 12 AWG wire creates a localized hot spot under load, which can melt the insulation over time. The 11055 includes a built-in gauge guide to ensure you strip exactly 3/4-inch of insulation—the exact length required to seat a wire fully under a standard Leviton receptacle screw terminal without exposing bare copper outside the terminal pad.
2. Lineman Pliers: Milwaukee 48-22-0012 ($35 - $40)
You need high-leverage pliers to grip, pull, and twist wires. The Milwaukee 48-22-0012 features a tapered jaw for working in tight gang boxes and a precision-hardened cutting edge that cleanly snips 12 AWG copper without deforming the wire ends. Use these to form the 'shepherd's hook' loop at the end of your stripped wire, ensuring the loop is perfectly round and matches the diameter of the terminal screw.
3. True-RMS Multimeter: Fluke 117 ($190 - $210)
Never trust a non-contact voltage tester alone when verifying a dead circuit. The Fluke 117 True-RMS multimeter allows you to test line-to-neutral (should read ~120V) and line-to-ground (should read ~120V) to confirm the circuit is truly de-energized before touching bare conductors. Furthermore, testing neutral-to-ground (should read <2V) helps identify bootleg grounds or shared-neutral faults in older homes before you install a new GFCI outlet, which will instantly trip if a neutral-ground fault exists downstream.
4. Torque Screwdriver: Klein Tools 60346 ($130 - $150)
This is the most overlooked tool in residential wiring. Modern NEC standards mandate that terminations be made using listed torque values. Over-tightening a brass terminal screw on a 15A receptacle can strip the threads or crush the wire, reducing its cross-sectional area. Under-tightening causes high resistance and heat. The Klein 60346 allows you to dial in the exact inch-pound rating specified by the manufacturer (typically 14 in-lbs for standard duplex receptacles).
Material Selection: Beyond the Basic Receptacle
The $0.80 builder-grade outlets found in big-box stores are a false economy. They utilize inferior internal brass contacts that loosen over years of plug insertion and removal, leading to arcing.
- Receptacles: Always specify Commercial or Spec-Grade Tamper-Resistant (TR) receptacles. The Electrical Safety Foundation International (ESFI) mandates TR receptacles in all new residential construction to prevent childhood electrocution. The Leviton T5262 (15A, ~$3.50) and Leviton T5362 (20A, ~$4.25) feature heavy-duty thermoplastic faces and robust internal steel yokes that resist bending during installation.
- Wire Connectors: Abandon standard vinyl wire nuts for push-in or high-tension spring connectors. The IDEAL 72B Twister Wire Connector (~$0.15 each) features a square-wire spring that bites into the copper, providing a vibration-proof connection that will not back out when stuffed into a cramped 18-cubic-inch gang box.
- Wall Plates: Use nylon or polycarbonate unbreakable plates (e.g., Leviton Mid-Size Nylon). Standard PVC plates crack if the outlet yoke is slightly misaligned with the drywall cutout.
Execution: Precision Wiring Techniques
With your tools and materials prepped, follow this exact sequence for terminating a standard 15A or 20A duplex receptacle.
- Verify De-energization: Turn off the breaker. Use your Fluke 117 to test the top and bottom receptacles (line to neutral, line to ground). Lock out the panel if possible to prevent accidental re-energization, following basic OSHA electrical safety principles adapted for residential work.
- Strip and Prep: Using the Klein 11055, strip exactly 3/4-inch of insulation from the black (hot), white (neutral), and bare (ground) wires. If the wire is kinked from previous installations, snip it back to a straight, undamaged section.
- Form the Hook: Use the Milwaukee lineman pliers to bend the exposed copper into a tight, 180-degree hook. The hook should be smooth, with no sharp burrs that could slice into the terminal pad.
- Terminate Clockwise: Loop the wire around the terminal screw clockwise. This ensures that as you tighten the screw, the loop pulls tighter around the shaft rather than being pushed outward. The insulation should sit flush against the terminal pad—no bare copper visible, and no insulation trapped under the screw head.
- Apply Torque: Set your torque screwdriver to the manufacturer's specification (check the back of the Leviton receptacle, usually 14 in-lbs). Tighten until the driver clicks. Do not guess.
- Secure the Ground: The bare copper ground wire must be terminated to the green grounding screw. Never leave a ground wire 'floating' in the box, even if the outlet is mounted to a metal box.
Critical Failure Modes to Avoid
Even experienced DIYers make mistakes that manifest months or years later as melted outlets or tripped AFCI breakers.
The 'Backstab' Push-In Trap
Most standard receptacles feature push-in holes on the back for 14 AWG wire. Never use these. These connections rely on a tiny internal spring-metal wedge that grips the wire. Over time, the thermal expansion and contraction of the wire under load causes the spring to fatigue, resulting in a high-resistance connection. This is a leading cause of residential electrical fires. Always use the side screw terminals or the 'side-wire' (back-wire) clamp terminals found on higher-end commercial receptacles, which physically clamp the wire under a metal plate via the screw.
Reversed Polarity and Bootleg Grounds
Connecting the black (hot) wire to the silver (neutral) terminal and the white (neutral) wire to the brass (hot) terminal creates a reversed polarity condition. While the outlet will still power a lamp, the internal fuse or switch mechanism of any plugged-in appliance will be on the neutral side, leaving the appliance internally energized at 120V even when switched off. Furthermore, in older homes, you may encounter a 'bootleg ground'—where a jumper wire connects the neutral terminal to the ground screw to trick a tester. This is incredibly dangerous; if the neutral wire ever breaks upstream, the metal chassis of any plugged-in appliance will become energized at 120V.
Code Note: The National Fire Protection Association (NFPA) continuously updates the NEC to address termination failures. As of the latest code cycles, listed torque values are no longer a suggestion; they are a mandatory requirement for all electrical terminations to ensure long-term grid and home safety.
Frequently Asked Questions
Can I use 14 AWG wire on a 20-amp breaker?
No. 14 AWG wire is rated for a maximum of 15 amps. If you connect it to a 20-amp breaker, the wire can overheat and catch fire inside the walls before the breaker ever trips. You must use 12 AWG wire for any 20-amp circuit.
Why does my new GFCI outlet trip immediately after wiring?
GFCI outlets monitor the current balance between the hot and neutral wires. If it trips immediately, you likely have a neutral-to-ground fault downstream, a shared neutral with another circuit, or you have wired the 'Load' terminals instead of the 'Line' terminals while a downstream fault exists. Disconnect the Load wires, reset the GFCI, and test again to isolate the fault.
Is it safe to wire multiple outlets on the same circuit?
Yes, standard residential branch circuits typically wire multiple outlets in a 'daisy-chain' (parallel) configuration. However, you must calculate the total expected load. A 15-amp circuit should not continuously carry more than 12 amps (80% rule for continuous loads exceeding 3 hours). Use the 'pigtail' method for neutrals and hots in crowded boxes to maintain uninterrupted continuity.