
The Hidden Danger of Factory-Molded Plugs
Most heavy-duty extension cords and power tool cables come from the factory with injection-molded plugs. While these molded plugs are cheap to manufacture and initially convenient, they are notoriously prone to internal failure. The rigid plastic casing often cracks under job-site abuse, and the internal strain relief frequently fails, leading to exposed conductors, arcing, and severe fire hazards. According to the U.S. Consumer Product Safety Commission (CPSC), damaged cords and plugs are responsible for thousands of electrical fires annually.
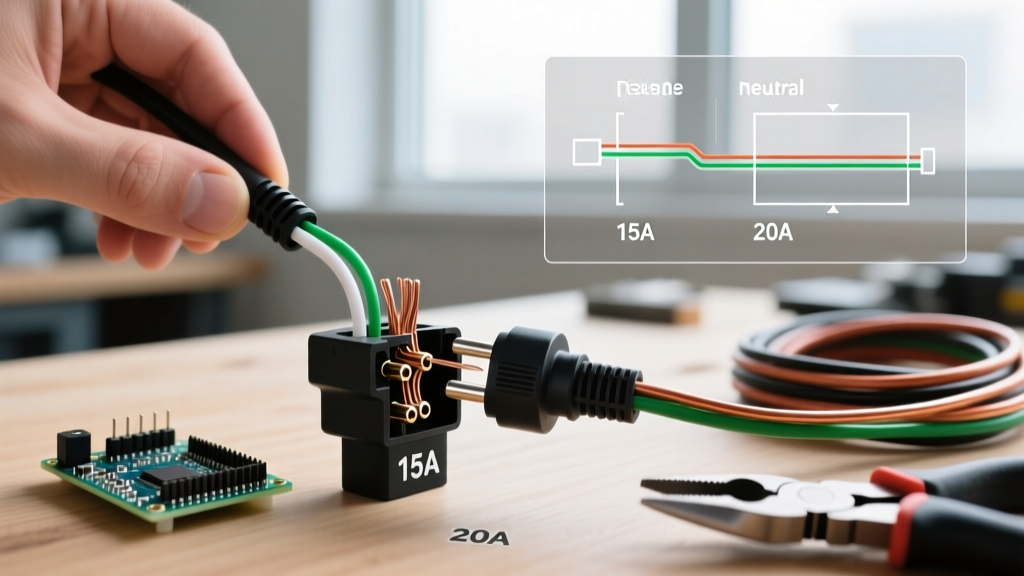
Upgrading to a field-wirable, industrial-grade replacement plug is one of the most effective safety improvements you can make in your workshop or on a job site. This guide covers the precise methodology for wiring an electric plug to replace damaged 15A and 20A 125V cord ends, transforming a compromised cable into a rugged, code-compliant power delivery system.
Pro Tip: Never attempt to repair a cracked molded plug with electrical tape or heat shrink. The internal brass contacts cannot be inspected or re-tensioned once the factory mold is compromised. Total replacement is the only safe option.
Selecting Your Upgrade: Industrial vs. Residential Plugs
When wiring an electric plug for heavy-duty use, skip the cheap $2 residential replacements found in big-box store bins. You need an industrial-grade plug featuring a nylon or thermoplastic elastomer body, internal cord grippers, and heavy brass terminal screws. Below is a comparison of the top-tier 15A replacement plugs available in 2026.
| Brand & Model | Amperage | Body Material | Terminal Type | Avg. Price (2026) |
|---|---|---|---|---|
| Hubbell 5266C | 15A / 125V | Rugged Nylon | Binding Head Screw | $14.50 - $16.00 |
| Leviton 5266-C | 15A / 125V | Thermoplastic | Hook & Screw | $9.00 - $11.50 |
| Pass & Seymour 5266-X | 15A / 125V | Nylon | Binding Head Screw | $11.25 - $13.00 |
| Hubbell 5366C | 20A / 125V | Rugged Nylon | Binding Head Screw | $18.00 - $21.00 |
Essential Tools for the Upgrade
Precision is critical when terminating flexible cords. Dull tools or improper stripping will nick the copper strands, reducing the wire's ampacity and creating a localized hot spot.
- Wire Strippers: Klein Tools 11055 (for 10-18 AWG solid/stranded) or Knipex 12 42 11.
- Cable Jacket Stripper: A dedicated rotary stripper or a high-quality utility knife with a fresh blade.
- Screwdrivers: #2 Phillips and a 1/4-inch flathead (preferably with a magnetic tip).
- Crimpers (Optional but Recommended): Ferrule crimping tool (e.g., Preciva or Titan) if you are upgrading stranded wire to use pin ferrules.
- Multi-meter: For continuity and polarity testing post-assembly.
Step-by-Step: Wiring an Electric Plug (15A and 20A)
Follow this exact sequence to ensure a secure, code-compliant termination. This procedure applies to standard 3-prong (NEMA 5-15P and 5-20P) configurations.
Step 1: Cord Preparation and Jacket Stripping
Using your utility knife or rotary stripper, score the outer SJTW or SOOW rubber jacket exactly 2 inches from the end of the cord. Carefully peel the jacket back and snip it off. Do not nick the inner insulation of the individual conductors. If you expose bare copper at this stage, cut the cord and start over. You should now have three insulated wires (Black, White, Green) protruding 2 inches from the jacket.
Step 2: Wire Stripping and Ferrule Crimping
Strip exactly 1/2 inch of insulation from the tip of each individual conductor. If you are using a plug with binding head screws (like the Hubbell 5266C), you can insert the bare stranded wire directly under the screw head and washer. However, for maximum reliability and to prevent stray strands from causing short circuits, crimp a 14 AWG or 12 AWG copper pin ferrule onto each stripped end. This transforms flexible stranded wire into a solid pin, ensuring perfect contact pressure under the terminal screw.
Step 3: Terminal Termination and Polarity
Disassemble the replacement plug by removing the central faceplate screw. Thread the cord through the rear cord grip and the plug body before making any electrical connections. Now, terminate the wires to the correct blades:
- Ground (Green/Bare): Connect to the Green terminal screw. This is the longest blade on the plug and must always be connected first for safety.
- Neutral (White): Connect to the Silver terminal screw. This corresponds to the wider vertical blade on the plug face.
- Hot (Black): Connect to the Brass terminal screw. This corresponds to the narrower vertical blade.
If using hook terminals (common on Leviton models), bend the stripped wire into a tight clockwise hook using needle-nose pliers. The clockwise orientation ensures that tightening the screw pulls the wire loop tighter rather than pushing it out. Tighten all terminal screws firmly. If using a calibrated torque screwdriver, aim for 14 in-lbs to meet NFPA 70 (NEC) Article 110.14 termination standards.
Step 4: Strain Relief and Reassembly
This is the most frequently botched step in wiring an electric plug. The internal cord grip (strain relief) must clamp down tightly on the outer rubber jacket of the cord, never on the individual colored wires. If the grip clamps the inner wires, the cord will eventually pull out, tearing the wires from the terminal screws and causing a dead short. Adjust the cord position so the jacket extends into the grip by at least 1/4 inch, then tighten the grip screws securely. Reattach the faceplate and ensure no bare copper is visible outside the terminal blocks.
Troubleshooting Common Termination Failures
Even with industrial components, improper technique leads to failure. Use this matrix to diagnose issues if your newly wired plug fails or overheats.
| Failure Mode | Visual Symptom | Root Cause & Correction |
|---|---|---|
| Terminal Melting | Brown/black scorch marks on the brass screw or plastic housing. | Loose terminal screw causing high-resistance arcing. Re-strip wire and torque screw firmly. |
| Cord Pull-Out | The outer jacket slides out of the plug body when pulled. | Strain relief clamped on inner wires instead of the outer jacket. Re-seat cord deeper into the grip. |
| Intermittent Power | Tool loses power when the cord is wiggled near the plug head. | Nicked copper strands during jacket stripping, leading to internal wire breakage. Cut back 2 inches and re-terminate. |
| Reversed Polarity | Receptacle tester reads 'Hot/Neutral Reverse'. | Black wire placed on Silver screw, White on Brass. Swap the Black and White wire terminations. |
Code Compliance and Safety Standards
When upgrading flexible cords, you must adhere to both National Electrical Code (NEC) guidelines and occupational safety standards. OSHA Standard 1926.405(a)(2)(ii) explicitly mandates that flexible cords must be protected from damage and that splices or repairs on cords must maintain the original insulation and grounding properties. While replacing a molded plug with a listed industrial replacement plug is perfectly legal and safe, splicing a cord in the middle of a run is strictly prohibited on job sites.
Furthermore, ensure your replacement plug carries a UL (Underwriters Laboratories) or CSA (Canadian Standards Association) listing mark molded directly into the plastic. Uncertified, imported plugs often use undersized brass contacts that cannot safely carry the full 15A or 20A continuous load, leading to catastrophic thermal failure. By selecting premium brands like Hubbell or Pass & Seymour and following the precise stripping and termination measurements outlined above, you guarantee a safe, durable, and code-compliant power connection for years to come.