
Why Add an Outlet to an Existing Circuit?
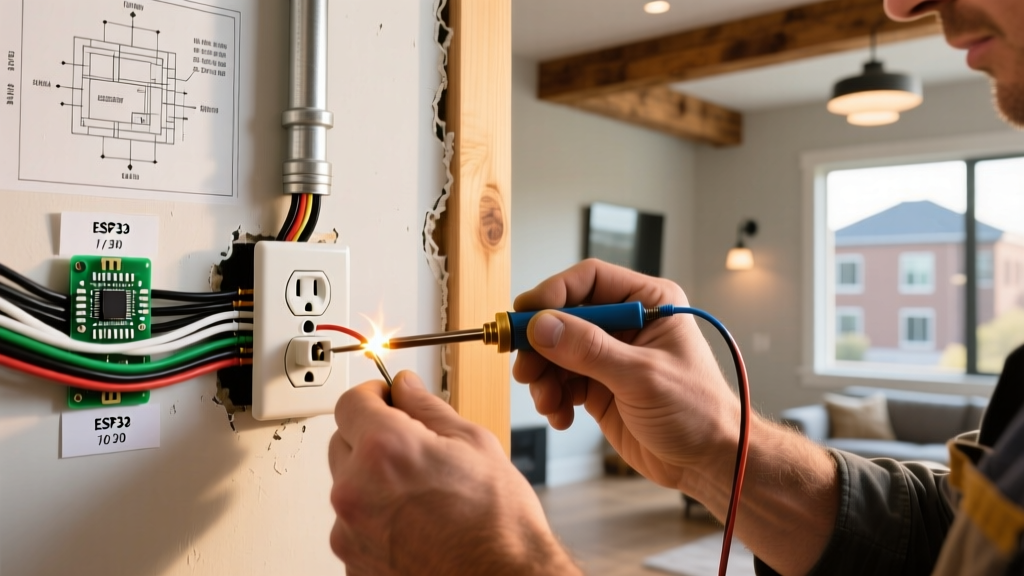
Adding a new receptacle to an existing circuit is one of the most common and cost-effective electrical upgrades a homeowner can tackle. Whether you are eliminating a hazardous extension cord behind a wall-mounted TV or adding convenience to a kitchen island, understanding how to install an electrical outlet from an existing outlet requires strict adherence to the National Electrical Code (NEC) and a solid grasp of circuit load limits. According to the U.S. Consumer Product Safety Commission (CPSC), improper wiring and overloaded circuits are leading causes of residential electrical fires. This guide provides a professional-grade, step-by-step methodology to extend a circuit safely in 2026.
Pre-Installation: Circuit Capacity & Planning
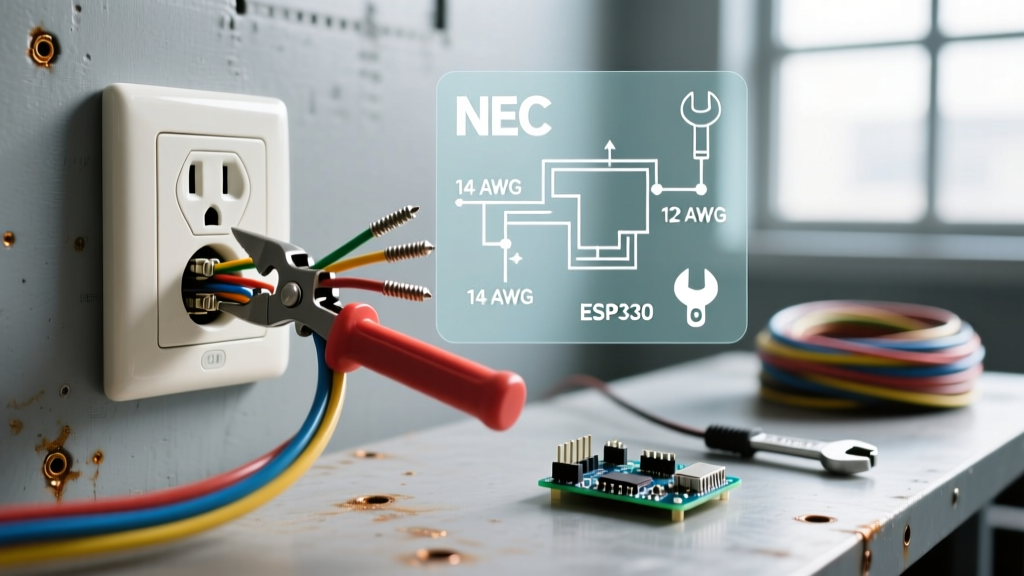
Before cutting any drywall, you must verify that the existing circuit has the spare amperage to support a new outlet. Most general-purpose lighting and receptacle circuits are either 15-amp or 20-amp. You cannot simply keep adding outlets indefinitely; the NEC limits the total load to 80% of the breaker's continuous rating.
Circuit Capacity Matrix
| Breaker Size | Wire Gauge (NM-B) | Max Continuous Wattage (120V) | Recommended Max Outlets |
|---|---|---|---|
| 15 Amp | 14 AWG | 1,440 Watts | 8 to 10 (General Use) |
| 20 Amp | 12 AWG | 1,920 Watts | 10 to 13 (General Use) |
Note: Kitchen, bathroom, and laundry circuits have dedicated NEC requirements (NEC 210.11) and generally should not be extended to power general living room or bedroom devices.
Tools & Materials Required
Skip the cheap hardware store kits. For a reliable, code-compliant installation, gather the following professional-grade materials:
- Non-Contact Voltage Tester: Fluke 2AC II or Klein Tools NCVT-2 (Essential for safety verification).
- Wire Strippers: Klein Tools 11055 (for 14-12 AWG solid copper).
- Cable: Southwire 14/2 NM-B (for 15A circuits) or 12/2 NM-B (for 20A circuits). Approx. $0.75 - $1.10 per foot.
- Receptacle: Leviton 5262-SW (15A Tamper-Resistant Duplex) or Leviton 5362-SW (20A). Cost: ~$3.50 each.
- Connectors: WAGO 221-413 Lever Nuts (for pigtailing) or Ideal 34 Yellow Wire-Nuts.
- Miscellaneous: 1/2-inch NM cable staples, steel nail plates (for stud boring), and a drywall saw.
Step-by-Step Installation Guide
Step 1: Kill the Power and Verify
Locate your main electrical panel and switch off the breaker controlling the existing outlet. Plug a lamp or a digital multimeter into the existing receptacle to confirm it is dead. Finally, remove the faceplate and use your Fluke non-contact tester on the side wires to ensure zero voltage. Never skip this step.
Step 2: Remove the Existing Receptacle & Identify Wires
Unscrew the top and bottom mounting screws and gently pull the outlet from the gang box. You will see black (hot), white (neutral), and bare copper (ground) wires. Take a photo of the current wiring configuration. If there are two sets of wires entering the box, one is the 'Line' (power from the panel) and the other is the 'Load' (power continuing to another downstream device).
Step 3: Run the New NM-B Cable
Cut a new opening in the drywall for the new work box (use an old-work remodeling box like the Carlon B618R if you cannot access the studs directly). Drill a 3/4-inch hole through the center of the wall studs between the existing box and the new box. NEC 300.4(A)(1) requires that if the hole is less than 1-1/4 inches from the edge of the stud, you must install a steel nail plate to prevent future drywall screws from piercing the cable.
Step 4: Wire the Existing Outlet (The Pigtailing Method)
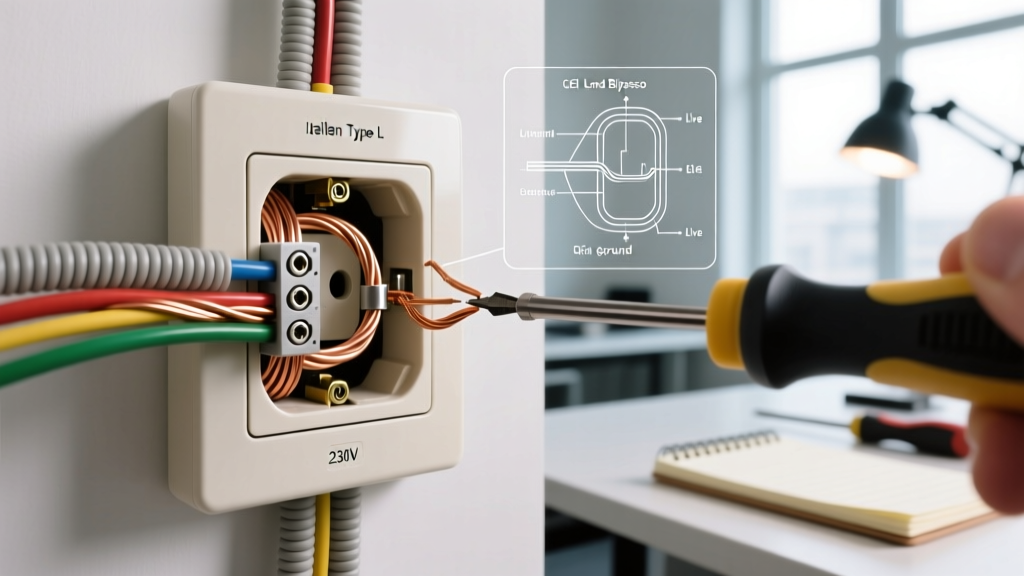
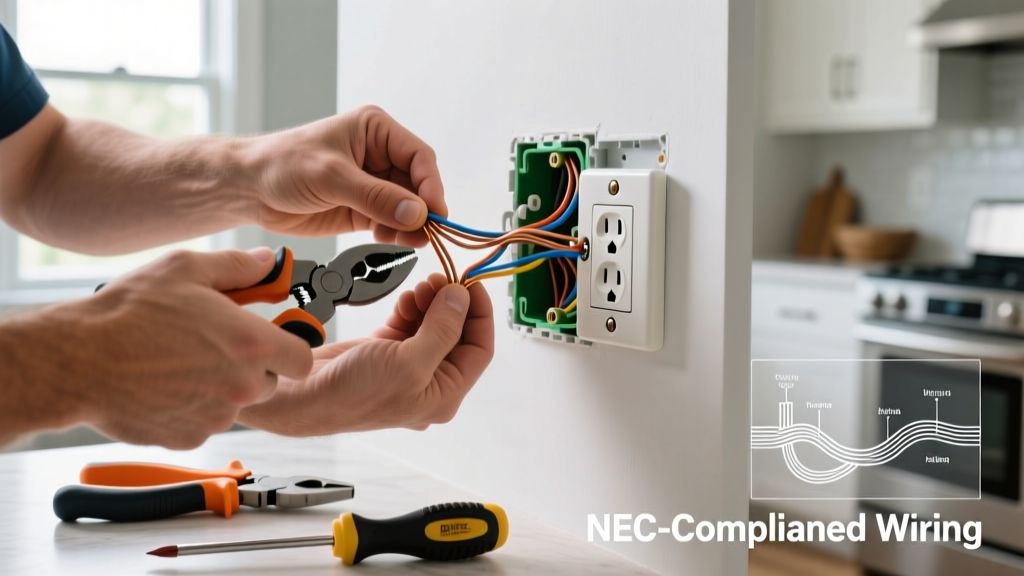
While you can 'daisy-chain' by connecting the new cable directly to the second set of screws on the existing receptacle, master electricians strongly recommend pigtailing. Pigtailing ensures that if the existing outlet is ever removed or fails, the downstream outlet does not lose power.
- Strip 3/4 inch of insulation from the existing black, white, and ground wires, as well as the new cable's wires.
- Take a 6-inch piece of spare black wire (the pigtail). Connect it to the existing black wires and the new cable's black wire using a WAGO 221-413 lever nut.
- Connect the free end of the black pigtail to the brass (hot) screw on the existing receptacle.
- Repeat this process for the white (neutral) wires, connecting the pigtail to the silver screw.
- Connect all bare copper grounds together with a green wire nut or WAGO lever nut, and attach a pigtail to the green grounding screw on the outlet.
Step 5: Wire the New Outlet
At the new gang box, strip the cable and connect the wires directly to the new Leviton receptacle. Wrap the black wire clockwise around the brass screw, the white wire around the silver screw, and the bare copper around the green ground screw. Tighten to 14 inch-pounds of torque. Ensure no bare copper is exposed outside the terminal connection.
Step 6: Mount, Test, and Finish
Push the wires neatly into the back of both gang boxes, fold them in a Z-pattern to avoid pinching. Screw the receptacles to the boxes, attach the faceplates, and restore power at the breaker panel. Use a receptacle tester (like the Klein Tools RT210) to verify correct wiring at both the old and new outlets.
Critical Edge Case: Multi-Wire Branch Circuits (MWBC)
If you remove the existing outlet and see two black wires and one white wire connected to a single receptacle (often with the brass fin tab broken off), you are likely dealing with an MWBC. This means the circuit uses two hot legs sharing a single neutral. Extending an MWBC requires advanced knowledge of handle-tied breakers and neutral sizing. If you encounter this, stop and consult a licensed electrician.
Common Failure Modes to Avoid
- Backstabbing: Never use the push-in 'backstab' holes on the back of a 15A receptacle. They rely on a weak spring tension that loosens over time due to thermal expansion, causing arcing and fires. Always use the side screw terminals or screw-and-clamp mechanisms.
Over-tightening Terminal Screws: Stripping the brass threads on a cheap receptacle ruins the connection. Use a calibrated screwdriver and stop when snug. - Box Fill Violations: NEC Article 314.16 dictates the maximum number of wires allowed in a gang box. A standard single-gang box (18 cubic inches) can typically hold a receptacle, two 14/2 cables, and the associated pigtails. If you add a third cable, you must upgrade to a deeper 22-cubic-inch box.
Frequently Asked Questions
Do I need a permit to add an outlet from an existing one?
In most municipalities, adding a single receptacle to an existing circuit in a single-family home does not require a permit, provided you are not altering the main service panel or working in a wet location. However, always check with your local Authority Having Jurisdiction (AHJ) as local codes supersede general guidelines.
Can I extend a kitchen or bathroom outlet?
No. The National Fire Protection Association (NFPA) outlines in NEC 210.52 that kitchen small-appliance branch circuits and bathroom receptacle circuits must be dedicated. You cannot extend a kitchen GFCI circuit to power a living room lamp or a dining room TV.
What is the cost to hire an electrician for this job?
If you prefer not to do it yourself, hiring a licensed electrician in 2026 to add a single outlet from an existing source typically costs between $175 and $300, depending on drywall repair requirements, local labor rates, and attic/crawlspace accessibility.
Final Thoughts
Learning how to install an electrical outlet from an existing outlet empowers you to customize your home's electrical layout safely. By prioritizing pigtailing over daisy-chaining, respecting box-fill limits, and utilizing modern connectors like WAGO lever nuts, you ensure your new receptacle will operate safely for decades. Always prioritize safety verification and adhere strictly to NEC guidelines to protect your home and family.