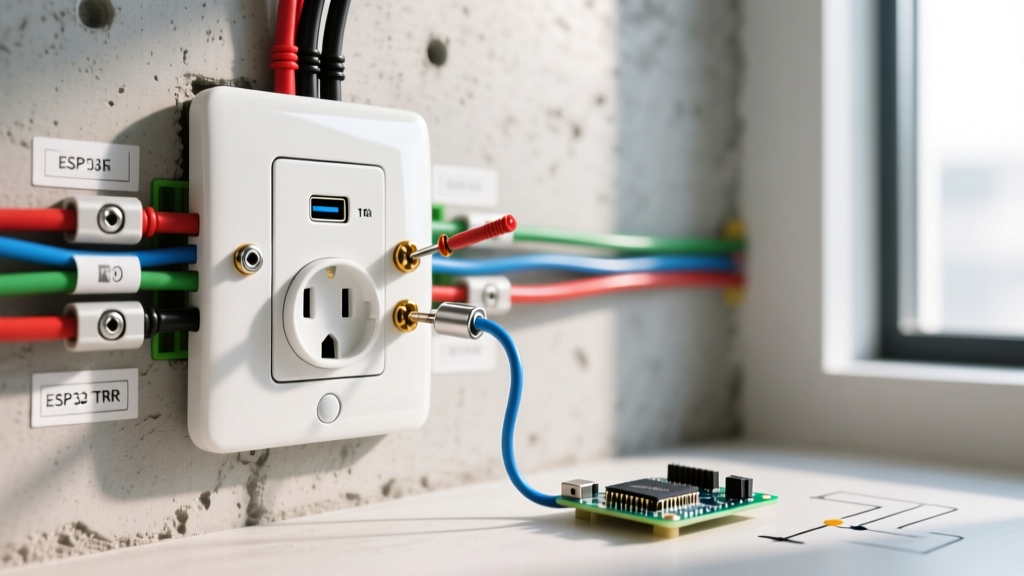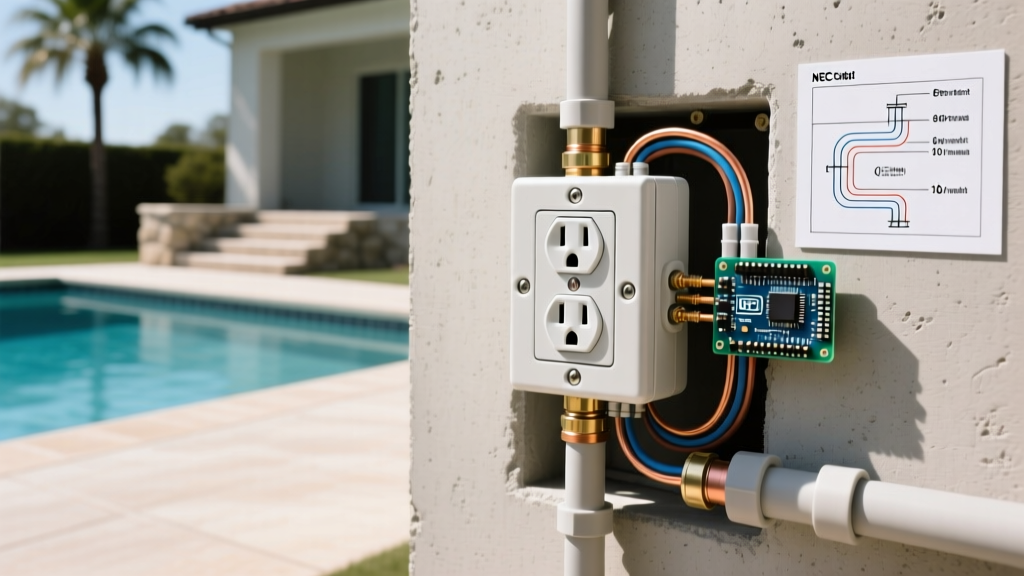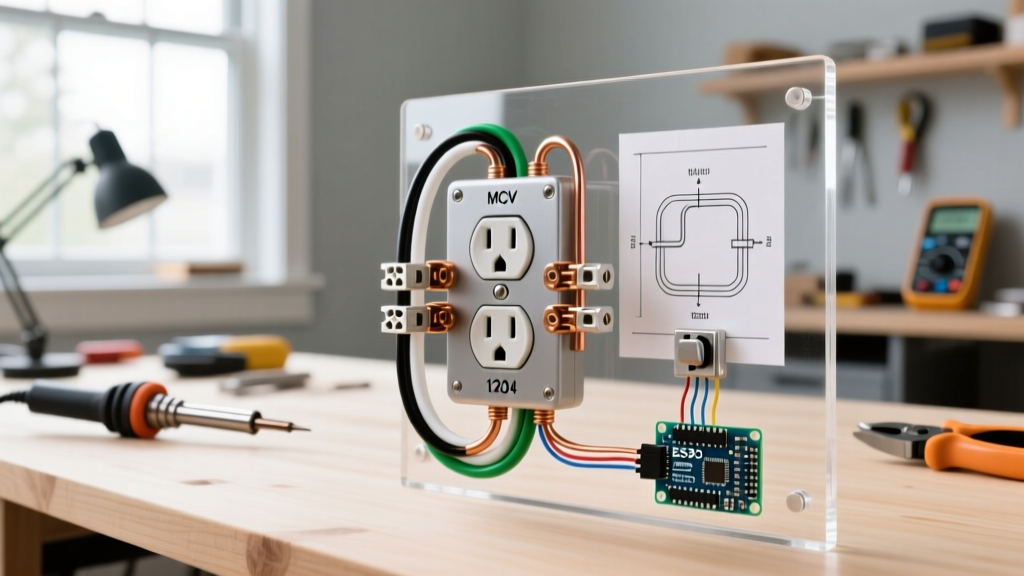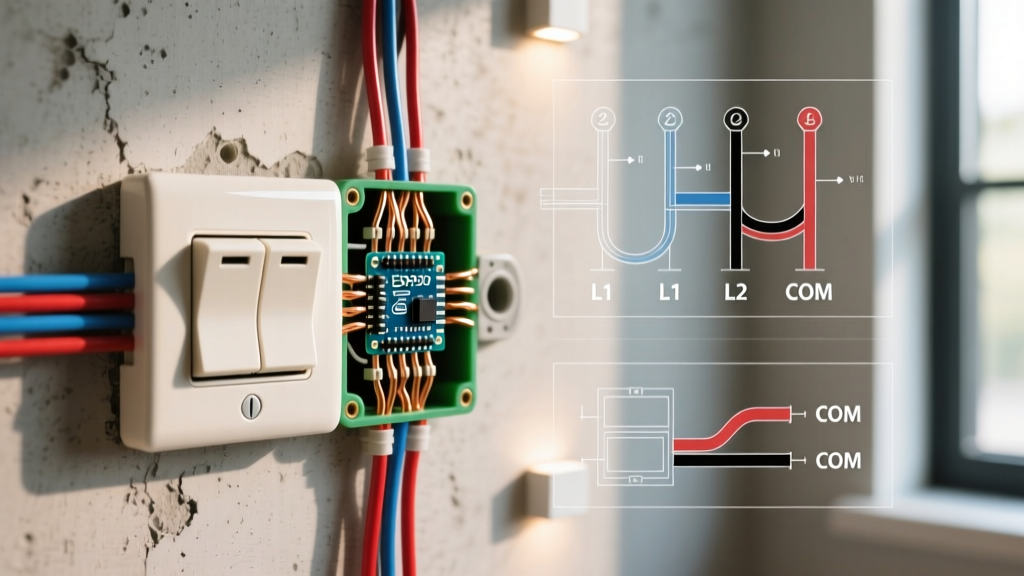

What Is an Open Ground Electrical Outlet?
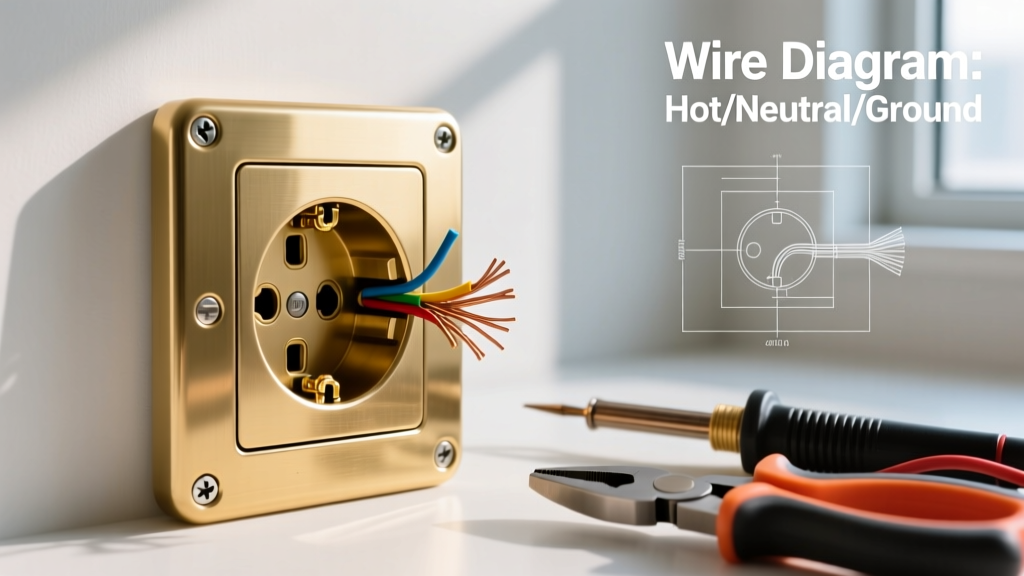
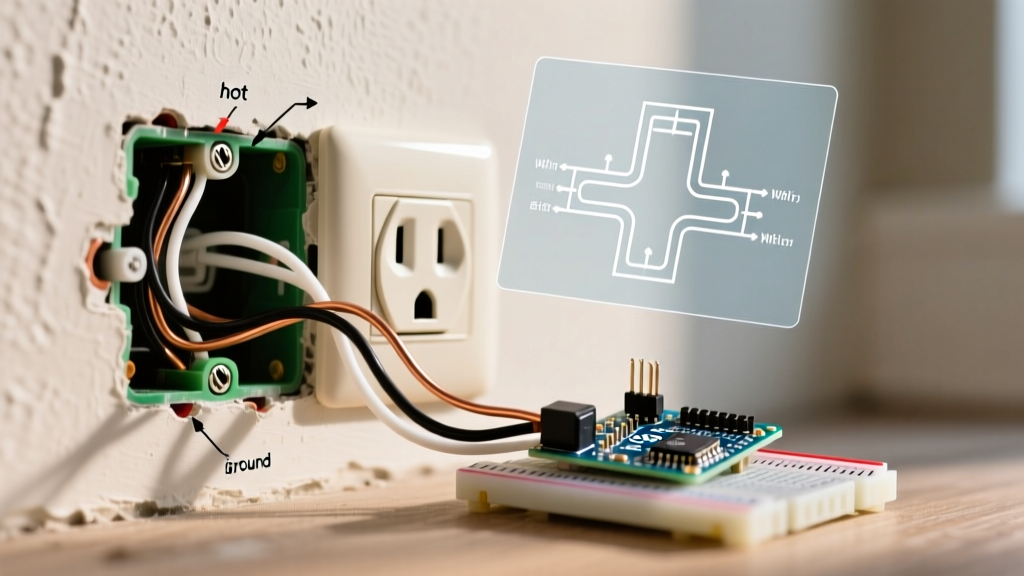
To understand electrical safety in modern homes, you must first answer the question: what is an open ground electrical outlet? A standard 120-volt North American receptacle relies on three distinct pathways: the hot wire (carrying 120V from the panel), the neutral wire (completing the circuit back to the panel), and the equipment grounding conductor (EGC). The ground wire does not carry current during normal operation. Instead, it provides a low-resistance emergency path back to the earth, ensuring that if a hot wire touches the metal casing of an appliance, the breaker trips instantly rather than electrifying the user.
An open ground occurs when this third prong is physically disconnected, broken, or entirely missing from the circuit path between the receptacle and the main service panel. In older homes built before the 1960s, two-prong ungrounded outlets were the norm. However, an open ground often appears in modern three-prong outlets where the ground wire was damaged, improperly spliced, or left disconnected behind the drywall.
⚠️ Critical Safety Warning: According to the National Fire Protection Association (NFPA), an ungrounded or open-ground receptacle poses a severe shock hazard, particularly in damp locations like kitchens, bathrooms, and garages. Never ignore an open ground reading on a diagnostic tester.
The "Bootleg Ground" Trap: A Deadly Edge Case
When diagnosing an open ground, you must watch out for a "bootleg ground." This is an illegal and highly dangerous wiring trick where a previous homeowner or handyman installed a jumper wire between the neutral (silver) terminal and the ground (green) terminal on the back of the receptacle.
A standard plug-in tester (like the Klein Tools RT100) will read a bootleg ground as "Correct" because it detects continuity between neutral and ground. However, if the neutral wire ever disconnects upstream, the metal chassis of any plugged-in appliance will immediately become energized with 120 volts. To detect a bootleg ground, you must physically remove the receptacle from the box and inspect the terminals, or use a specialized 3-wire circuit analyzer with bootleg detection capabilities.
Code-Compliant Repair Decision Matrix
When you confirm an open ground, the National Electrical Code (NEC) provides specific pathways for remediation. Below is a comparison of your options based on the 2026 NEC standards.
| Repair Method | NEC Reference | Safety Level | Avg. Cost (2026) | Best Use Case |
|---|---|---|---|---|
| Run New Ground Wire | 250.130(C) | Maximum (True Ground) | $150 - $400+ | Open walls, basements, or accessible crawlspaces. |
| Install GFCI Receptacle | 406.4(D)(2)(b) | High (Shock Protection) | $18 - $35 (DIY) | Finished walls where running a new wire is impossible. |
| Replace with 2-Prong | 406.4(D)(1) | Moderate (No Shock Guard) | $2 - $5 | Living areas where GFCI is not strictly mandated. |
| Bootleg Ground (Jumper) | ILLEGAL | Extreme Hazard | N/A | Never. Violates all safety codes. |
Step-by-Step Installation: The GFCI Workaround
If your home has ungrounded wiring (e.g., vintage knob-and-tube or early Romex without a ground wire) and you cannot easily fish a new ground wire through finished walls, the NEC allows you to install a Ground Fault Circuit Interrupter (GFCI). The U.S. Consumer Product Safety Commission (CPSC) heavily advocates for GFCI installation as it trips in milliseconds upon detecting a ground fault, saving lives even without a physical ground wire.
Required Materials: Leviton GFNT1-W (15-Amp Tamper-Resistant GFCI), wire strippers, Phillips screwdriver, non-contact voltage tester (e.g., Fluke 1AC-II), and the included "No Equipment Ground" sticker.
Step 1: Kill the Power and Verify
Turn off the corresponding breaker at the main service panel. Insert your Fluke 1AC-II VoltAlert into the top and bottom slots of the receptacle. The tip must remain completely dark and silent. Remove the faceplate and unscrew the existing receptacle. Pull it out gently and test the bare wires one more time to ensure the circuit is dead.
Step 2: Identify Line vs. Load
A GFCI will only function if wired correctly. Look at the existing wiring. If you only have one black (hot) and one white (neutral) wire entering the box, these are your LINE wires. If you have two sets of cables (four wires total), one set is the LINE (power from the panel) and the other is the LOAD (power feeding downstream outlets). You must use a multimeter or temporarily restore power with wire nuts to identify which pair carries the 120V source.
Step 3: Wire the GFCI Terminals
- Strip exactly 3/4 inch of insulation from the black and white wires using your wire strippers.
- Connect the black LINE wire to the brass terminal marked LINE. Tighten the screw to 14 in-lbs to prevent arcing.
- Connect the white LINE wire to the silver terminal marked LINE.
- Crucial Note: Do NOT connect anything to the green grounding screw, as there is no ground wire present. Do NOT use the LOAD terminals unless you intend to protect downstream outlets (and if you do, ensure downstream boxes are also labeled).
Step 4: Apply the Mandatory Label
NEC 406.4(D)(2)(b) strictly requires that any GFCI installed on an ungrounded circuit must be visibly labeled. Peel the "No Equipment Ground" sticker included in the Leviton box and affix it to the center of the new faceplate. This informs future users and home inspectors that while the outlet provides shock protection, it does not provide surge protection (surge protectors require a true ground to divert voltage spikes).
Step-by-Step Installation: Retrofitting a True Ground
If you want to install sensitive electronics (like a home theater PC or medical equipment) that require a true earth ground for EMI filtering and surge protection, you must retrofit a ground wire per NEC 250.130(C).
- Source the Ground: You can route a new bare copper or green-insulated ground wire back to the main panel's ground busbar, to a metal service raceway, or to an accessible grounding electrode (like a copper ground rod or metal water pipe bonded to the system).
- Select the Gauge: For a 15-amp circuit (14 AWG hot/neutral), use a minimum 14 AWG copper ground wire. For a 20-amp circuit (12 AWG hot/neutral), you must use a 12 AWG copper ground wire.
- Fish the Wire: Use fiberglass fish tapes to pull the new ground wire through the wall cavity from the receptacle box to the basement or crawlspace below.
- Terminate at the Receptacle: Create a pigtail using a wire nut or a Wago 221 lever connector. Connect the new ground wire to the existing ground (if present) and a 6-inch pigtail that will attach to the green grounding screw on your new standard duplex receptacle (e.g., Leviton R52-05320-00W).
- Terminate at the Source: Secure the other end to the panel ground busbar using a grounding screw or lug, ensuring a tight, oxide-free connection.
2026 Cost & Time Estimates
- GFCI Replacement (DIY): $18 - $30 for parts; 30 minutes of labor.
- Retrofitting a Ground Wire (DIY): $10 - $25 for wire/connectors; 2 to 4 hours depending on wall access.
- Professional Electrician (True Ground Retrofit): $150 - $450 per outlet, heavily dependent on drywall cutting and patching requirements.
Frequently Asked Questions
Can I use a surge protector on a GFCI-protected open ground outlet?
No. While the GFCI will protect you from lethal shock, a surge protector relies on the equipment grounding conductor to divert excess voltage to the earth. Without a true ground, the surge protector cannot function as designed, leaving your expensive electronics vulnerable.
Why does my outlet tester show an open ground on a newly built home?
If this occurs in new construction, it is likely a missed connection at the receptacle, a broken wire staple that severed the ground, or a loose ground wire at the panel busbar. Contact the builder immediately under warranty.