
Why Outdoor Electrical Installs Demand Precision
Learning how to install electrical outlet outdoors is a milestone project for any DIYer. Unlike indoor receptacles, outdoor outlets face extreme temperature fluctuations, UV radiation, and direct water exposure. A failed outdoor connection doesn't just mean a tripped breaker; it introduces severe shock and electrocution hazards. According to the Electrical Safety Foundation International (ESFI), ground fault circuit interrupters (GFCIs) are your primary defense against outdoor electrical fatalities, reducing the risk of severe shock by rapidly cutting power when a ground fault is detected.
This beginner tutorial walks you through a code-compliant, weatherproof installation using modern 2026 materials. We will focus on running a dedicated 20-amp circuit using PVC conduit and installing a Weather-Resistant (WR) GFCI receptacle inside an extra-duty cover.
Safety Warning: Never work on live circuits. Always shut off the main breaker, verify the absence of voltage with a non-contact tester, and use a lockout/tagout (LOTO) device on the panel to prevent accidental re-energizing while you work.
Understanding the 2026 NEC Code Requirements
Before picking up a screwdriver, you must understand the National Electrical Code (NEC) rules governing outdoor receptacles. The National Fire Protection Association (NFPA) outlines these in NFPA 70 (NEC). Key articles for this project include:
- NEC 210.8(F): Mandates GFCI protection for all 125V through 250V receptacles rated 50A or less in outdoor locations.
- NEC 406.9(B)(1): Requires all 15A and 20A outdoor receptacles in damp or wet locations to be enclosed in a weatherproof enclosure that is weatherproof whether or not the attachment plug is inserted (commonly known as an 'extra-duty' or 'in-use' bubble cover).
- NEC 406.9(C): Requires the receptacle itself to be listed as Weather-Resistant (WR), indicated by a 'WR' stamp on the face and strap, featuring UV-resistant plastics and nickel-plated brass contacts to prevent corrosion.
- NEC 110.14(D): Mandates that terminals be tightened to the manufacturer's specified torque using a calibrated torque screwdriver.
Tools and Materials Checklist
Budget approximately $75 to $110 for materials, depending on the length of your wire run. Do not substitute indoor-rated components to save money.
| Component | Recommended Model / Specification | Est. Cost |
|---|---|---|
| WR GFCI Receptacle | Leviton 20A Tamper-Resistant WR (Model: GFNT2-W) | $24.00 |
| Extra-Duty Cover | TayMac Extra Duty Diecast (Model: BX1000) | $19.00 |
| Wiring | 12 AWG THWN-2 (Stranded) in 1/2' PVC | $1.25/ft |
| Conduit & Fittings | 1/2' Schedule 40 PVC & Liquidtight Connectors | $15.00 |
| Sealant | GE Advanced Silicone 2 (Clear) | $8.00 |
| Torque Screwdriver | Klein Tools 690 (or equivalent inch-pound driver) | $45.00 |
Step-by-Step Installation Guide
Step 1: Circuit Planning and Safe Shutoff
Outdoor receptacles should ideally be on a dedicated 20-amp circuit to handle high-draw tools like pressure washers or holiday lighting arrays. Locate your main service panel, turn off the 20A breaker, and apply a breaker lockout. Test the existing indoor receptacles on the circuit you plan to tap into (if extending an existing line) or verify your new dedicated breaker is completely dead using a Klein Tools NCVT-3 non-contact voltage tester and a digital multimeter.
Step 2: Routing the Conduit and Wire
While Underground Feeder (UF-B) cable can be direct-buried at a depth of 24 inches, running individual THWN-2 stranded wires inside 1/2-inch Schedule 40 PVC conduit is the professional standard. Conduit buried at 18 inches protects the wires from shovel strikes and allows for future wire pulling without digging up your yard.
- Dig an 18-inch deep trench from your main panel (or interior junction box) to the exterior wall location.
- Assemble the PVC conduit using PVC primer and cement. Ensure all joints are watertight.
- Pull three 12 AWG THWN-2 wires (Black for Hot, White for Neutral, Green for Ground) through the conduit using a fish tape.
- Leave 12 inches of wire slack inside the exterior weatherproof box and 24 inches at the panel.
Step 3: Mounting the Weatherproof Box
Select a deep, weatherproof masonry or siding box (such as the Bell 5327-0). If mounting to wood siding or brick, apply a thick bead of GE Silicone 2 to the back perimeter of the box before pressing it against the wall. This prevents water from migrating behind your siding or into the wall cavity. Secure the box using stainless steel or galvanized exterior screws—never use standard drywall screws, which will rust and fail within a single season.
Step 4: Wiring the WR GFCI Receptacle
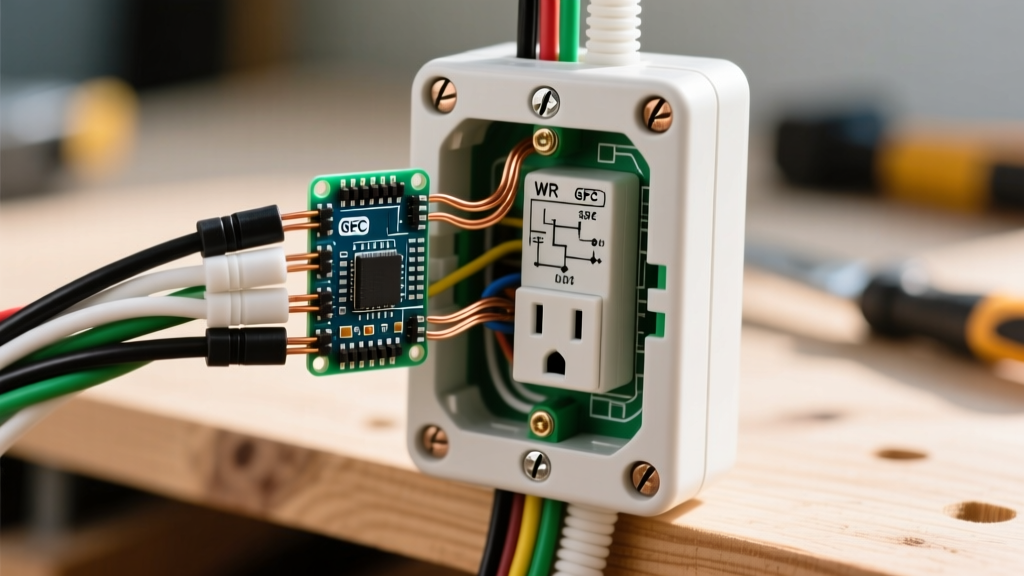
This is where most beginners make critical errors. A GFCI receptacle has two sets of terminals: LINE and LOAD.
- LINE: Connects to the incoming power from the breaker panel. The black (hot) wire goes to the brass LINE screw; the white (neutral) goes to the silver LINE screw.
- LOAD: Used only if you are daisy-chaining downstream outlets. If this is the end of the run, leave the LOAD terminals empty and keep the yellow warning tape intact.
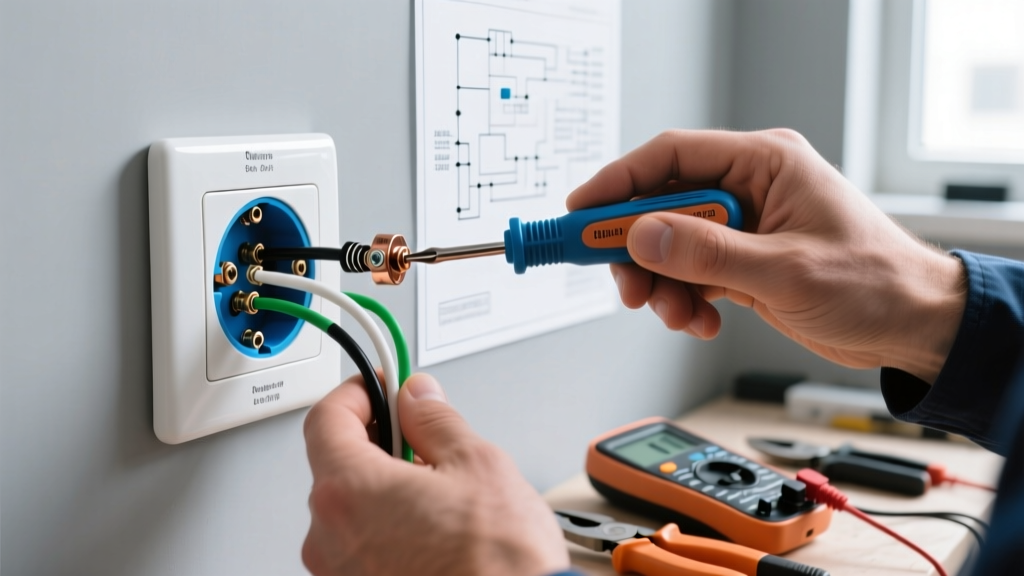
The Torque Requirement: Strip exactly 3/4 inch of insulation from your wires. Loop the wire clockwise around the terminal screw. Using your torque screwdriver set to 14 in-lbs (verify on the Leviton spec sheet), tighten the screws until the driver clicks. Proper torque prevents thermal expansion and contraction from loosening the connection over time, which is a leading cause of outdoor electrical fires.
Step 5: Sealing and Installing the In-Use Cover
Attach the TayMac BX1000 extra-duty cover to the weatherproof box. Before tightening the four corner screws, run a continuous bead of clear silicone sealant along the top and side edges where the cover meets the wall or box flange. Do not seal the bottom edge. Leaving the bottom unsealed allows any incidental condensation that forms inside the bubble cover to weep out, rather than trapping moisture inside the enclosure.
Cover Selection: Flat vs. Extra-Duty Bubble Covers
Choosing the right cover is just as important as the receptacle itself. Here is how they compare for outdoor applications:
| Feature | Standard Flat Cover | Extra-Duty Bubble Cover (Required) |
|---|---|---|
| NEC 406.9 Compliance | Fails (Only weatherproof when empty) | Passes (Weatherproof with cord plugged in) |
| Depth / Space | Flush, low profile | Deep (approx. 2.75 inches to accommodate plugs) |
| Material Durability | Often plastic, prone to UV cracking | Diecast aluminum or heavy-duty polycarbonate |
| Best Use Case | Interior damp locations only | All exterior wet/damp locations |
Common Beginner Failure Modes and Troubleshooting
Even with careful planning, outdoor installs can present unique challenges. Watch out for these specific failure modes:
- Nuisance Tripping from Moisture Ingress: If your GFCI trips randomly during heavy rain, the conduit fittings may not be sealed. Ensure you used threaded liquidtight connectors with sealing locknuts where the conduit enters the box, rather than standard push-in fittings.
- Corroded Pigtails: If you must use wire nuts to pigtail wires inside a tight outdoor box, use silicone-filled, waterproof wire connectors (like Ideal Twister 341) or Wago 221 lever nuts coated in dielectric grease to prevent copper oxidation.
- Incorrect GFCI Resetting: After wiring, you must press the 'TEST' button, then the 'RESET' button to activate the internal circuitry before plugging in any devices. Many beginners assume a newly wired GFCI is live immediately without resetting it.
Final Inspection and Testing
Once the cover is sealed and the silicone has cured (typically 24 hours), restore power at the main panel. Plug a dedicated GFCI receptacle tester (like the Gardner Bender GMT-319) into the outlet. Press the black test button on the tester; the GFCI should immediately trip, cutting power to the tester. Reset the receptacle. If this sequence occurs, your outdoor outlet is safely grounded, correctly wired, and ready to handle your patio electronics, holiday lights, or power tools for years to come.
For further reading on residential electrical safety standards, always refer to the latest NFPA 70 National Electrical Code documentation and consult a licensed electrician if your local jurisdiction requires a permit for exterior circuit extensions.