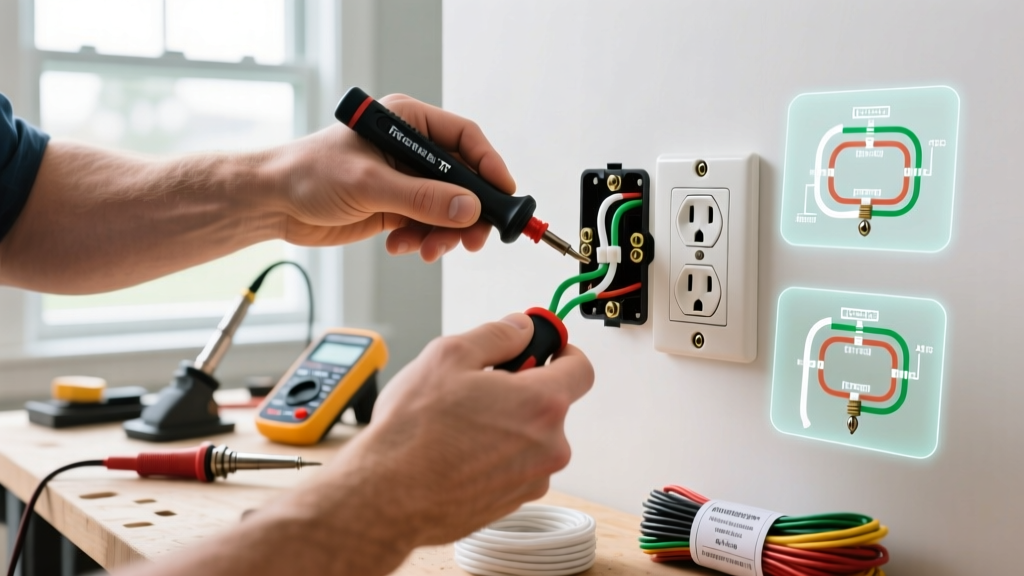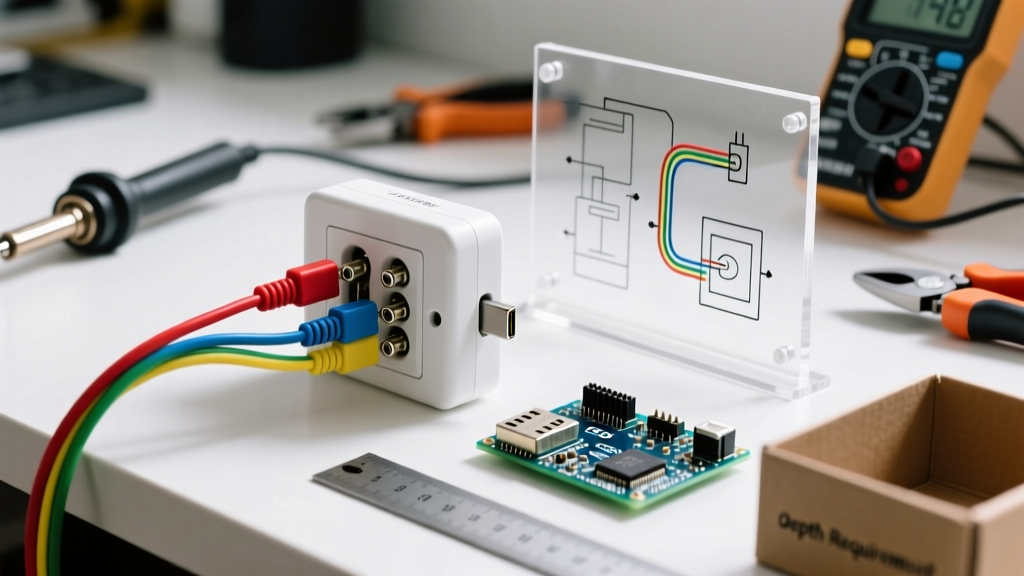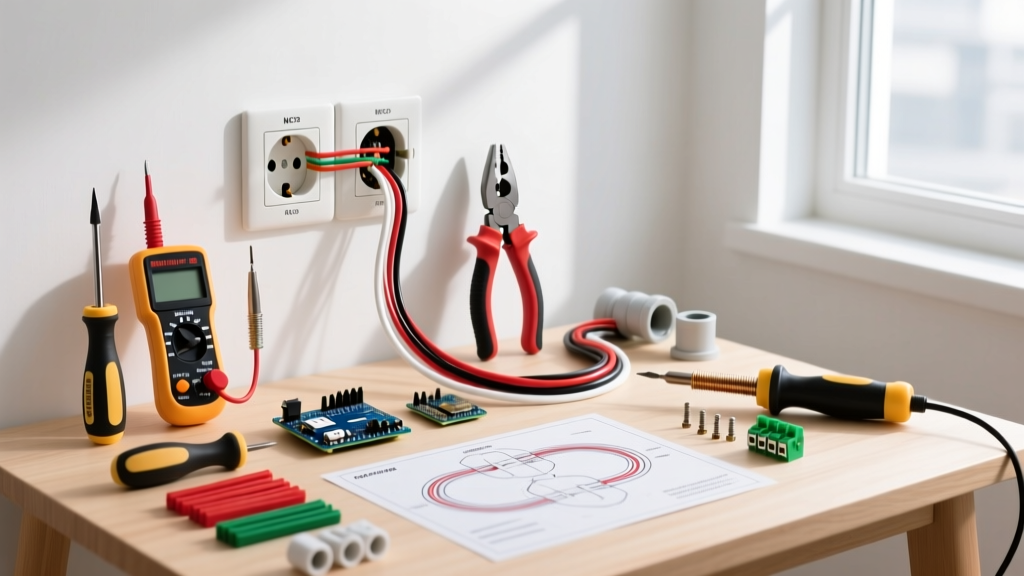

The Hidden Dangers of a Wobbly Receptacle
A wobbly receptacle is more than just a cosmetic annoyance; it is a significant fire and shock hazard. When an electrical outlet loose in wall shifts every time you plug in a vacuum or unplug a phone charger, the mechanical stress transfers directly to the wire terminations. Over time, this repetitive motion can loosen the hot or neutral wires, increasing electrical resistance and generating dangerous heat. According to the Electrical Safety Foundation International (ESFI), arcing and loose connections are leading causes of residential electrical fires, accounting for hundreds of preventable emergencies annually.
As a DIYer or professional electrician, guessing the fix with folded cardboard or bent screws is a violation of the National Electrical Code (NEC) and a massive safety risk. This comprehensive tool and material guide breaks down the exact, code-compliant hardware you need to permanently stabilize a loose receptacle, whether the issue is a crumbling drywall cutout, a sunken junction box, or stripped mounting ears.
NEC Code Alert (Article 314.20): In combustible walls (like standard drywall), the front edge of the electrical box must be flush with the finished surface. In non-combustible walls (like tile or concrete), the box may be recessed up to 1/4 inch. Any gap larger than this requires a listed box extender, not just longer screws.
Diagnostic Matrix: Identifying Your Specific Failure Mode
Before purchasing materials, you must diagnose why the outlet is loose. Is the receptacle wiggling inside a secure box, or is the entire junction box moving within the wall cavity? Use this diagnostic matrix to select the correct materials.
| Failure Mode | Visual Symptom | Required Material | Estimated Cost (2026) |
|---|---|---|---|
| Crumbled Drywall (Box is flush) | Outlet wobbles, but the metal/plastic box behind it is rock solid. | Vulcanized Fiber Outlet Shims (e.g., Raco 384) | $3.50 - $5.00 / pack |
| Sunken Junction Box | Box is recessed >1/4" into the wall; outlet yoke cannot reach the drywall. | PVC Box Extender (e.g., Arlington BE1) | $3.00 - $4.50 / unit |
| Stripped Mounting Holes | Screws spin endlessly; the box's threaded 6-32 ears are stripped. | 6-32 UNC Machine Screws (1.5" to 2" length) | $2.00 / pack |
| Loose Junction Box in Cavity | The entire metal/plastic box shifts when you touch the outlet. | Old Work Bracket / Madison Hanger (e.g., Arlington CE3) | $4.00 - $6.00 / unit |
The Ultimate Tool & Material Arsenal
To execute a permanent repair, you need the right hardware. Skip the makeshift hacks and invest in these professional-grade materials.
1. Outlet Shims (The Quick Fix for Crumbled Drywall)
When the drywall around the box has been chewed up by a previous installer, the outlet's mounting ears (the yoke) have nothing to rest against. The Pro Choice: Raco 384 Steel Outlet Shims or Ideal Industries Polycarbonate Shims. Steel shims are preferred by master electricians because they do not compress over time and will not melt in the event of a minor thermal fault. You can stack these horseshoe-shaped shims (typically 1/16" thick each) on the mounting screws between the yoke and the wall to bridge the gap perfectly. Never use folded paper or cardboard, as these are combustible and violate fire codes.
2. Box Extenders (The Code-Compliant Fix for Deep Boxes)
If the junction box is buried deep in the wall, shims are not enough to satisfy NEC 314.20. You must bridge the gap between the box and the drywall to prevent sparks from igniting wall insulation or paper backing. The Pro Choice: Arlington Industries BE1 (1/2" to 1" extension) or BE2 (1/4" to 1/2" extension). These PVC rings slide over the existing wires and snap directly into the front of the old box, creating a continuous, fire-rated enclosure. They cost about $3.50 each and save hours of drywall repair.
3. Hardware Upgrades: The Right Screws
Standard receptacle mounting screws are 6-32 UNC thread, usually 5/8" long. If you are using thick shims or an extender, you need longer screws. The Pro Choice: 1.5-inch or 2-inch 6-32 UNC Steel Machine Screws (often sold as 'cabinet screws' or 'electrical panel screws'). CRITICAL WARNING: Never use coarse-thread drywall screws or wood screws. Their aggressive threads will strip the soft brass or aluminum yoke of the receptacle, and their bugle heads can crack the thermoset plastic face of the outlet.
4. Diagnostic & Safety Tools
- Non-Contact Voltage Tester: The Klein Tools NCVT-3 ($30) is essential for verifying the circuit is dead before removing the faceplate.
- Torque Screwdriver: While mounting screws just need to be 'snug', terminal screws require precise torque. A Wiha 60090 TorqueVario-S set to 14 in-lbs ensures your hot and neutral wires won't vibrate loose over time.
Step-by-Step Material Deployment
Follow this sequence to safely repair an electrical outlet loose in wall using the materials above.
- Kill the Power & Verify: Flip the breaker and test the receptacle with your Klein NCVT-3. Test a known live circuit to ensure the tester's battery is functioning.
- Remove the Receptacle: Unscrew the faceplate and remove the two 6-32 mounting screws. Gently pull the outlet out of the box.
- Assess the Box: Grab the edges of the junction box. If it moves, skip to the 'Loose Box' section below. If the box is solid but recessed, proceed to step 4.
- Install the Extender or Shims:
- For Extenders: Thread the wires through the Arlington BE1, push the extender into the old box until it snaps flush with the drywall, and secure it with the provided long screws into the old box's mounting ears.
- For Shims: Stack the Raco steel shims on the top and bottom mounting screws until the outlet yoke sits perfectly flush with the drywall surface without bending.
- Re-Mount and Torque: Secure the receptacle using your 1.5" 6-32 machine screws. Tighten until snug, but do not overtighten, as cracking the yoke will ruin the outlet.
- Replace Faceplate: Install a new, uncracked faceplate to provide additional lateral support to the receptacle.
Edge Case: The Entire Box is Loose in the Wall
Sometimes, the outlet is tight to the box, but the box itself is rattling inside the wall cavity. This happens when the original drywall cutout was too large, or the old-work 'dog-ear' clamps failed. The Fix: Use an Arlington CE3 Old Work Bracket or a Madison Hanger (Metal Retainer). Slide the metal bracket through the drywall gap, hook it over the inside edge of the drywall, and tighten the provided machine screws. The bracket clamps the drywall and the box together, freezing the assembly in place without requiring you to open up the wall.
Frequently Asked Questions
Can I just bend the mounting ears to make the outlet fit tighter?
No. Bending the yoke (mounting strap) weakens the structural integrity of the receptacle and can misalign the internal brass contacts, leading to poor plug retention and arcing. Always use shims or extenders to bridge gaps.
Why do my plugs fall out of the outlet even when it is tightly mounted?
If the outlet is securely mounted but plugs slide out easily, the internal brass contact springs have fatigued and lost their tension. No tool or shim will fix this. The National Fire Protection Association (NFPA) strongly recommends replacing any receptacle that no longer grips a plug firmly, as this causes microscopic arcing every time a high-draw appliance is used.
Are plastic shims safe to use?
UL-listed polycarbonate shims (like those from Ideal Industries) are safe and code-compliant. However, steel shims are highly recommended for high-draw circuits (like kitchen or laundry room outlets) due to their superior thermal resistance and rigidity.