
Decoding NEC Article 210.52(E): The Outdoor Receptacle Mandate
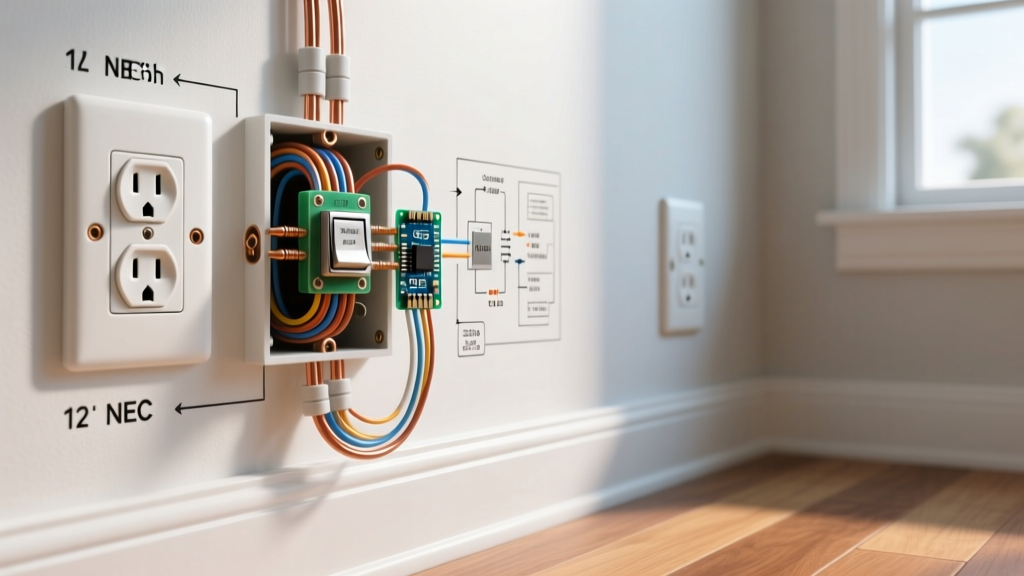
When homeowners and DIYers research how to put an electrical outlet outside, they often focus purely on the physical mounting and overlook the stringent National Electrical Code (NEC) mandates. As of the latest NEC adoption cycles leading into 2026, exterior receptacles are no longer optional upgrades; they are strict code requirements designed to mitigate ground-fault hazards in wet environments. According to the National Fire Protection Association (NFPA), NEC Article 210.52(E) dictates that at least one outdoor receptacle must be installed at the front and rear of any dwelling unit, accessible at grade level. This guide serves as a comprehensive code requirement explainer, detailing the exact materials, wiring methods, and inspector expectations for exterior installations.
Core Code Requirements: What Inspectors Actually Look For
Installing an exterior outlet requires navigating a matrix of specific NEC articles. The Electrical Safety Foundation International (ESFI) emphasizes that outdoor electrical environments are uniquely hostile due to UV exposure, temperature cycling, and moisture intrusion. To pass a municipal inspection, your installation must satisfy three primary code pillars:
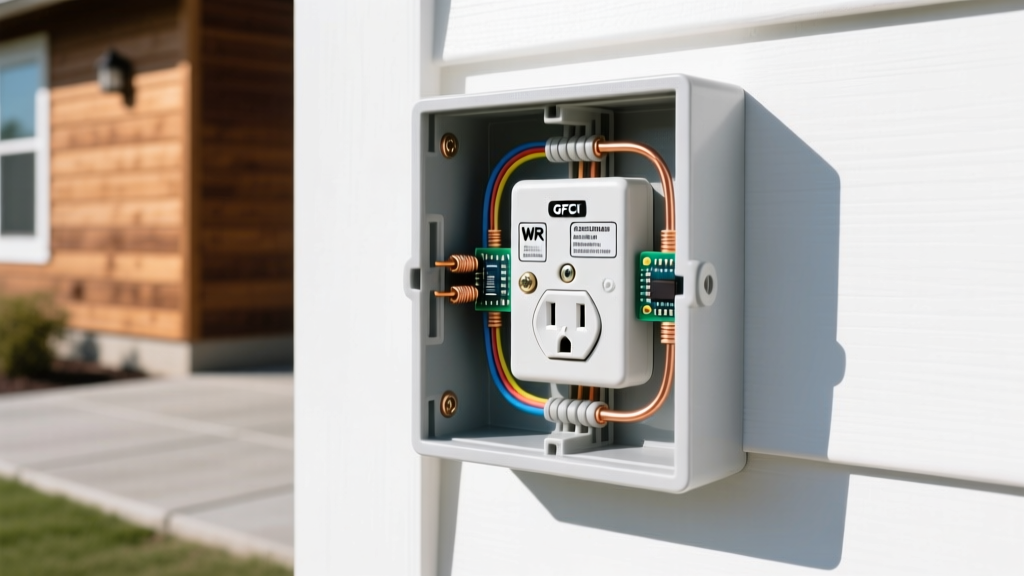
- Weather-Resistant (WR) Receptacles (NEC 406.9(A)): Standard indoor receptacles will fail an outdoor inspection. You must use a receptacle explicitly stamped with 'WR'. These feature UV-stabilized thermoplastic faces and nickel-plated brass contacts to resist corrosion.
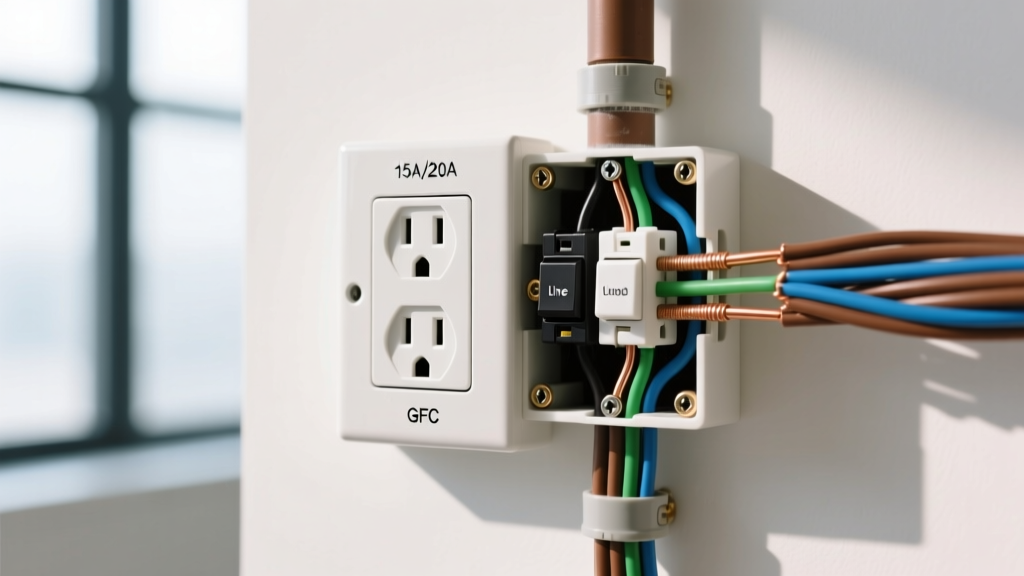
- GFCI Protection (NEC 210.8(A)(3)): All 15-amp and 20-amp, 125-volt outdoor receptacles must have Ground-Fault Circuit Interrupter protection. This can be achieved via a GFCI receptacle at the point of use or a GFCI/AFCI dual-function breaker at the main panel.
- Extra-Duty 'While-in-Use' Covers (NEC 406.9(B)(1)): Standard flat weatherproof covers are illegal for exterior use if a cord is plugged in. The code mandates an extra-duty, bubble-style, or hooded cover that allows the enclosure to remain weatherproof even when a plug is inserted.
Component Matrix: Code-Compliant Outdoor Outlet Gear
Selecting the right materials is half the battle. Below is a matrix of specific, inspector-approved components and their estimated 2026 retail costs.
| Component | Recommended Model | NEC Reference | Est. Cost |
|---|---|---|---|
| Weather-Resistant (WR) Receptacle | Leviton 5362-W (20A WR) | 406.9(A) | $9 - $13 |
| Non-Metallic In-Use Box | Arlington F101NL (1-Gang) | 314.30 | $28 - $35 |
| Extra-Duty In-Use Cover | TayMac MM540C (Die-Cast) | 406.9(B)(1) | $16 - $22 |
| GFCI/AFCI Breaker | Square D HOM120DF (Dual Function) | 210.8(A)(3) | $45 - $55 |
| Torque Screwdriver | Wiha 28501 (Calibrated) | 110.14(D) | $110 - $130 |
Subterranean Routing: Direct Burial vs. Rigid Conduit
If your project involves running a new circuit from the main panel or a subpanel to an exterior wall, your burial method must comply with NEC Table 300.5. The two most common residential methods are direct burial cable and conduit systems.
Method A: UF-B Direct Burial Cable
Underground Feeder (UF-B) cable can be run directly through the earth without conduit, provided it is buried at a minimum depth of 24 inches. If the circuit is protected by a GFCI breaker and limited to 120V/20A, the burial depth can be reduced to 12 inches (per Table 300.5, Column 4). However, UF-B must be sleeved in PVC conduit wherever it transitions from underground to above-ground (up to at least 8 feet above grade) to protect it from physical damage and weed whackers.
Method B: Schedule 40 PVC with THWN-2 Conductors
Running individual THWN-2 stranded conductors inside Schedule 40 PVC conduit is the professional standard. This method requires a minimum burial depth of 18 inches. It offers superior moisture resistance, allows for easier future wire pulling, and provides robust physical protection. Use PVC sweep elbows at the base to prevent water pooling, and install a silicone-filled wire pulling compound to reduce friction.
Execution Protocol: Box Mounting and Termination
Knowing how to put an electrical outlet outside is useless if the physical installation allows moisture ingress. Follow this strict termination protocol:
- Flashing Integration: If mounting to wood siding or brick, integrate a piece of Z-flashing behind the siding above the box. Water must be directed away from the top edge of the enclosure.
- The 'Weep Hole' Sealant Method: Apply a bead of high-grade polyurethane sealant (such as OSI Quad Max) to the top and both side edges of the Arlington F101NL box where it meets the siding. Crucial Code Tip: Leave the bottom edge completely unsealed. If condensation or driven rain breaches the cover, the unsealed bottom acts as a weep hole, allowing water to drain out rather than pooling inside the junction box.
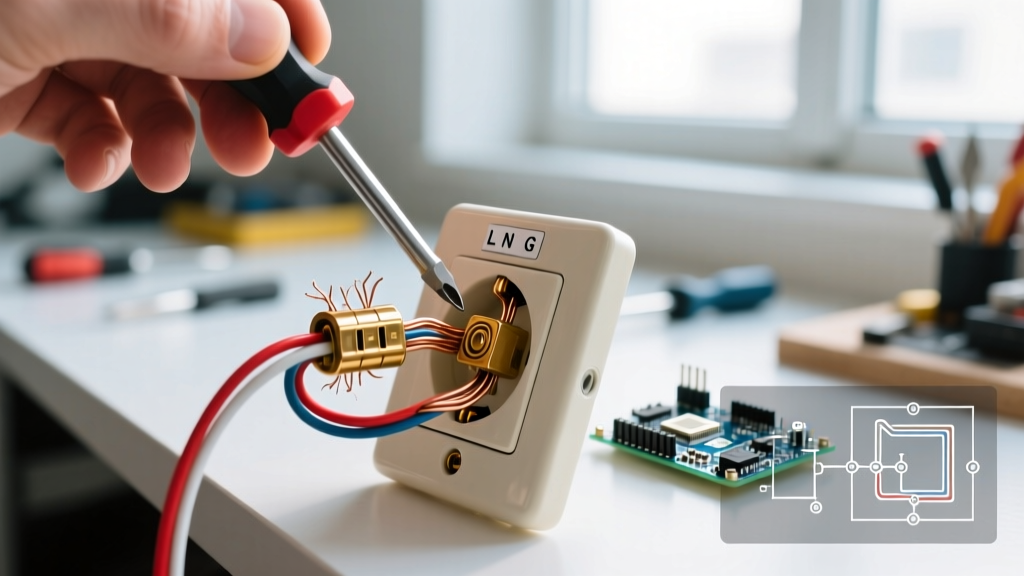
- Wire Stripping and Torque: Strip exactly 3/4 inch of insulation from your 12 AWG THWN-2 wires. Loop the wire clockwise around the brass (hot) and silver (neutral) terminal screws. Per NEC 110.14(D), you must tighten the terminals to the manufacturer's specified torque. For a Leviton 5362-W, this is typically 14 in-lbs. Use a calibrated torque screwdriver to prevent cold joints, which cause arcing and fires.
- Boot Installation: Slide the provided rubber gasket and foam backing pad onto the receptacle face before screwing it into the box. This secondary seal prevents water from migrating behind the device yoke.
Top 3 Failure Modes That Trigger Inspector Rejections
Even experienced DIYers make mistakes when dealing with exterior environments. Avoid these common rejection triggers:
- Using Standard 'In-Use' Bubble Covers on Horizontal Surfaces: If your outlet is mounted facing upward (e.g., on a deck post or patio floor), a standard wall-mount bubble cover will fail. You must use a specialized floor-box or post-mount weatherproof enclosure rated for horizontal wet locations.
- Missing Drip Loops: Any cord or exterior wiring entering the enclosure must have a 'drip loop'—a U-shaped sag in the wire below the entry point. This ensures water travels down the wire and drips off the bottom of the loop rather than running directly into the conduit or receptacle face.
- Piggybacking on an Interior Lighting Circuit: Outdoor receptacles cannot be wired to the same circuit as interior lighting or bathroom fans. They must be on a dedicated 20A branch circuit or a designated exterior circuit to prevent nuisance tripping from overloading the GFCI protection.
Inspector's Note: 'The most frequent failure I write up isn't the wiring itself; it's the hardware. I see standard 15A indoor receptacles stuffed into plastic bubble covers all the time. If the device doesn't have the 'WR' stamp molded directly into the plastic strap, it's an automatic fail. The nickel plating on WR devices is the only thing stopping galvanic corrosion from snapping the terminal screws after two winters.' — Senior Municipal Electrical Inspector
Final Verification and Testing
Once the TayMac MM540C cover is secured with its provided stainless-steel hardware (never use the cheap zinc screws that come in standard boxes, as they will rust and seize within a year), restore power at the main panel. Use a UL-listed GFCI tester (like the Amprobe GFI-350) to verify the ground fault protection trips correctly. Press the 'TEST' button on the tester; the receptacle should immediately cut power. Reset the breaker or receptacle, and your code-compliant, weather-sealed exterior outlet is ready for 2026 and beyond.