
Why Install a Kitchen Island Electrical Outlet?
A kitchen island is the command center of the modern home, serving as a prep space, dining area, and makeshift office. Yet, many homeowners find themselves crawling under cabinets or stringing extension cords across the floor to power a blender or charge a laptop. Installing a dedicated kitchen island electrical outlet solves this problem while adding significant functional value to your home. As a beginner, tackling this project is highly achievable if you respect the electrical codes and follow a systematic wiring process.
In this comprehensive 2026 guide, we will walk you through installing a 20-amp GFCI receptacle on the side panel of your island cabinetry. We will use the industry-standard Leviton GFNT2-W (20A SmartLock GFCI) and route 12/2 NM-B Romex cable to ensure your setup is safe, compliant, and built to last.
Crucial NEC Rules for Island Receptacles
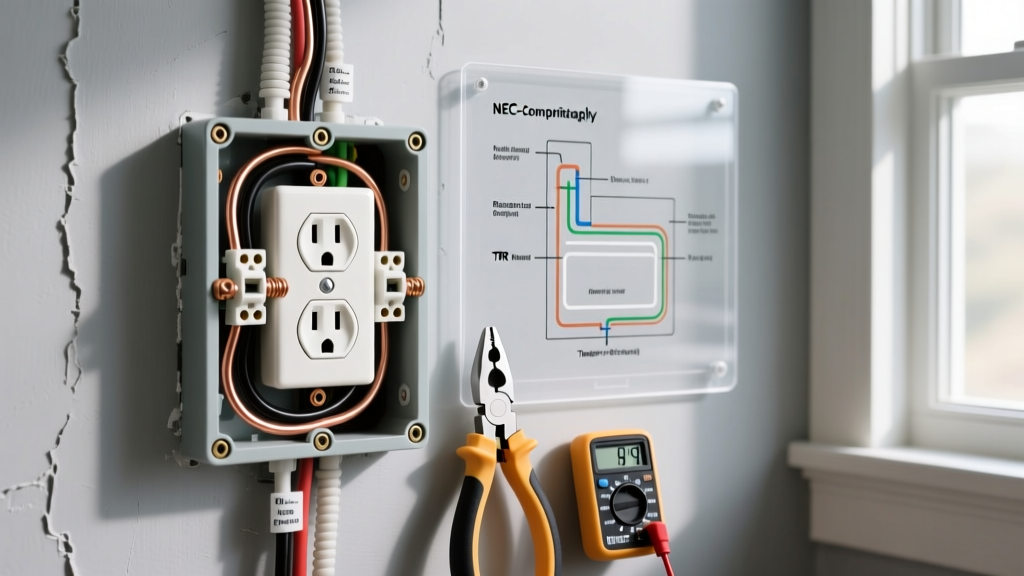
Before cutting into your cabinetry, you must understand the National Electrical Code (NEC) regulations governing island countertops. The NEC 2023 update (which carries into the 2026 adoption cycle) introduced a major shift regarding island receptacles.
NEC 210.52(C)(2) Update: Receptacles are no longer strictly required to be installed for island and peninsular countertops by default. However, if you choose to install a kitchen island electrical outlet, it must strictly adhere to placement and GFCI protection rules, and it will count toward your total required countertop receptacles.
If you proceed with the installation, you must follow these non-negotiable parameters:
- GFCI Protection: All 125-volt, single-phase, 15- and 20-ampere receptacles serving kitchen countertops must have Ground-Fault Circuit-Interrupter protection. According to the Electrical Safety Foundation International (ESFI), GFCIs prevent over 300 electrocutions annually in and around the home.
- Height Restrictions: The receptacle cannot be mounted more than 12 inches below the countertop surface.
- Side-Mounting Caveats: You cannot mount the outlet on the side of the cabinet if the countertop overhang extends more than 6 inches beyond the base of the cabinet, as this creates a cord-draping hazard. Always measure your overhang first.
- Circuit Requirements: The outlet must be on a dedicated 20-amp small-appliance branch circuit (SABC). You cannot tap into a 15-amp lighting circuit or a dedicated appliance circuit (like a dishwasher).
Materials and Tools Bill of Materials (BOM)
Pricing for electrical components has stabilized in early 2026. Below is the exact shopping list you need for a standard side-panel cabinet installation. Expect to spend between $55 and $75 if you already own basic hand tools.
| Component | Specific Model / Type | Estimated 2026 Cost | Purpose |
|---|---|---|---|
| GFCI Receptacle | Leviton GFNT2-W (20A, White) | $22.00 - $26.00 | Provides shock protection and dual 20A slots. |
| Wiring Cable | Southwire 12/2 NM-B (Romex) | $0.85 / linear foot | Handles 20-amp load safely with a ground. |
| Electrical Box | Raco 52C81 (4-inch Square, 1-Gang Mud Ring) | $4.50 | Provides ample volume for GFCI pigtails. |
| Wire Connectors | Ideal 341 Yellow Wing-Nuts | $0.15 each | Secures 12 AWG copper connections. |
| Cable Clamps | Halex 3/8-inch Romex Connectors | $1.20 / pair | Protects wire sheathing at the box knockout. |
| Wall Plate | Leviton 428-W (Mid-Size Nylon) | $1.50 | Covers the mud ring; mid-size hides drywall gaps. |
Tools Required: Non-contact voltage tester, wire strippers (calibrated for 12 AWG), linemans pliers, Phillips screwdriver, torpedo level, and a drywall or jigsaw for cutting the cabinet panel.
Step-by-Step Installation Tutorial
Phase 1: Power Verification and Cable Routing
Safety is your first priority. Head to your main electrical panel and turn off the 20-amp breaker supplying your kitchen small-appliance circuits. Use a non-contact voltage tester on an existing countertop outlet to confirm the power is dead. Never assume a breaker is labeled correctly.
- Route the 12/2 NM-B Cable: You will need to run the cable from an existing upstream GFCI or junction box on the same 20A SABC circuit to your island. This usually involves drilling through the floor joists beneath the island and pulling the wire up through the base cabinet flooring.
- Leave Adequate Slack: Ensure you have at least 8 inches of cable extending past the point where it enters the electrical box inside the cabinet. NEC 300.14 requires a minimum of 6 inches of unspliced conductor length measured from the point it enters the box.
Phase 2: Mounting the Electrical Box
For a clean look, we recommend mounting the Raco 52C81 box on the interior side of the cabinet end panel, cutting a hole to the outside face for the mud ring.
- Locate the Studs: Use a stud finder on the exterior cabinet panel to ensure you do not drill into the structural framing of the island.
- Cut the Opening: Trace the outline of the mud ring on the exterior cabinet face. Drill pilot holes in the corners and use a jigsaw to cut the opening cleanly.
- Secure the Box: Mount the 4-inch square box to the interior cabinet backing using 1-inch wood screws. Feed the 12/2 NM-B cable through a knockout hole fitted with a Halex cable clamp. Tighten the clamp screws until the sheathing is gripped firmly but not crushed.
Phase 3: Wiring the Leviton GFNT2-W GFCI
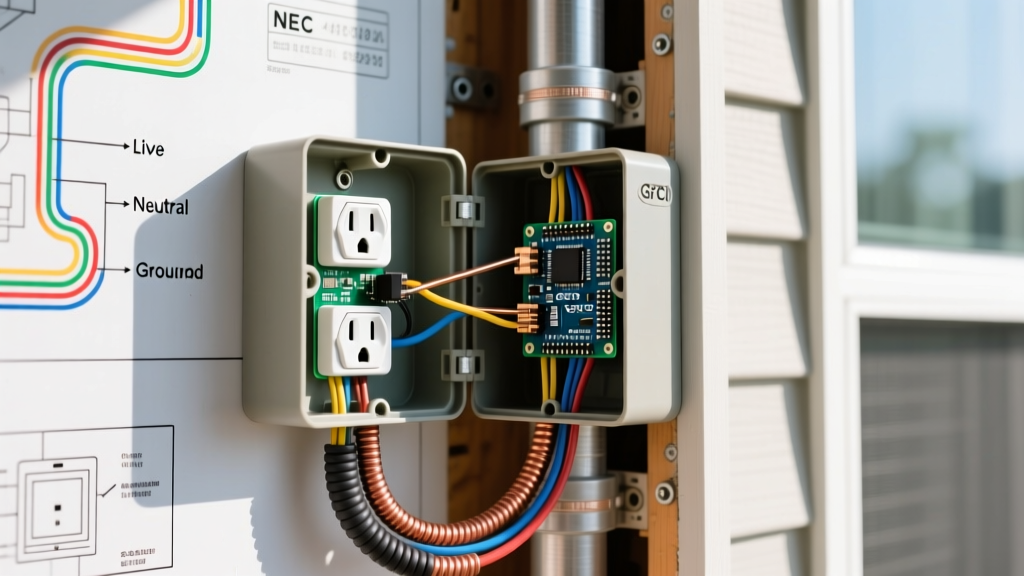
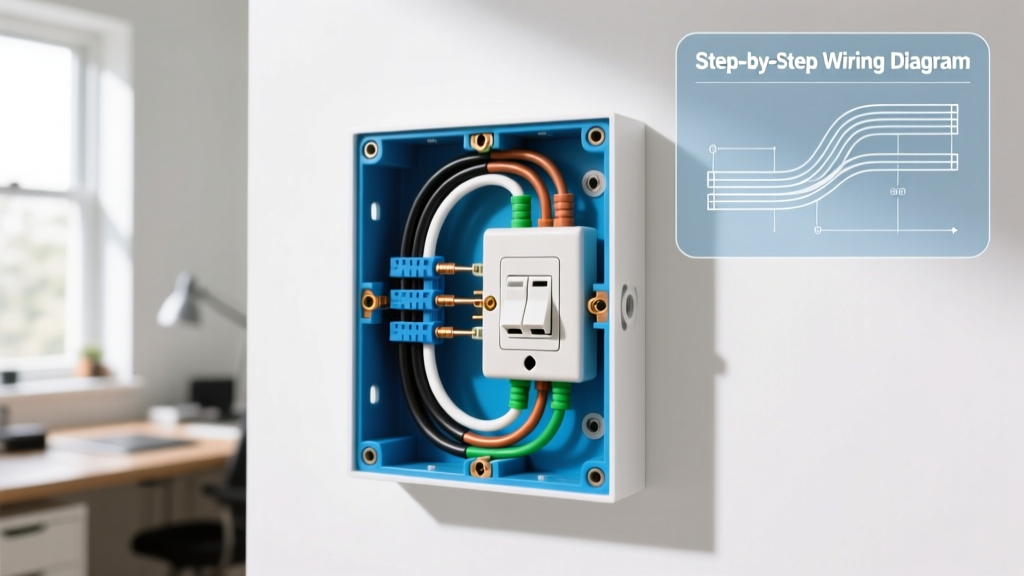
This is where most beginners make critical errors. The Leviton GFNT2-W features two sets of terminals: LINE and LOAD. Because this is the last outlet on the run (or a standalone island drop), you will only use the LINE terminals.
- Strip the Wires: Strip exactly 3/4 inch of insulation from the black (hot), white (neutral), and bare copper (ground) wires. Use the 12 AWG hole on your wire strippers to avoid nicking the copper, which creates a hot spot and fire hazard.
- Connect the Ground: Create a 6-inch bare copper pigtail. Connect one end to the green ground screw on the GFCI, and join the other end to the incoming bare ground wire using a yellow Ideal 341 wire nut. Wrap the wire nut with electrical tape for added vibration resistance.
- Terminate the Neutral: Insert the incoming white wire directly into the terminal marked WHITE LINE. Tighten the screw to 14 inch-pounds of torque. If your screwdriver slips, you risk a loose connection.
- Terminate the Hot: Insert the incoming black wire into the terminal marked HOT LINE (usually brass-colored). Again, torque securely.
- Cap the LOAD Terminals: Place a piece of electrical tape over the LOAD terminals to prevent accidental contact. Do not connect anything to the LOAD side unless you are daisy-chaining another downstream receptacle.
Phase 4: Final Assembly and Testing
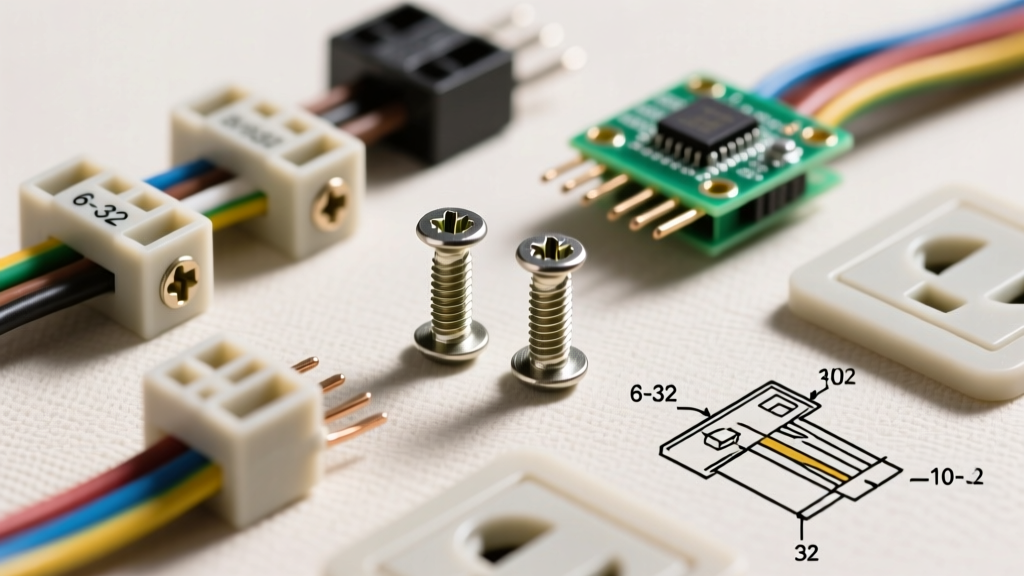
Carefully fold the wires into the back of the Raco box. The Leviton GFNT2-W is notably deeper than a standard switch, so arrange the ground wires flat against the back metal to create room. Push the GFCI into the mud ring and secure it with the provided 6-32 mounting screws. Use your torpedo level to ensure the receptacle sits perfectly plumb before tightening completely.
Attach the mid-size nylon wall plate. Restore power at the main breaker panel. The green LED indicator on the Leviton GFNT2-W should illuminate, indicating the device is properly wired and providing protection. Press the 'TEST' button; the outlet should trip and the light should turn off. Press 'RESET' to restore power. For a deep dive on why GFCI testing is critical, refer to the NFPA 70 National Electrical Code guidelines on ground-fault protection maintenance.
Troubleshooting Common Beginner Failure Modes
If your new kitchen island electrical outlet fails to work or immediately trips, consult this diagnostic matrix before calling an electrician.
| Symptom | Probable Cause | Corrective Action |
|---|---|---|
| GFCI will not reset; no LED light. | Line and Load wires are reversed, or power is off at the breaker. | Verify breaker is ON. Swap black/white wires from Load to Line terminals. |
| Outlet trips immediately upon plugging in an appliance. | Ground fault in the appliance or a pinched neutral wire in the box. | Test a known-safe lamp. Inspect box for pinched wire insulation. |
| Breaker trips at the main panel (not the GFCI). | Hot wire is touching the ground wire or metal box (dead short). | Turn off power. Check for stray copper strands at the terminal screws. |
| Receptacle feels warm to the touch. | Loose terminal connections causing high resistance arcing. | Disconnect power. Retighten terminal screws to 14 in-lbs torque spec. |
Final Thoughts on Kitchen Island Safety
Installing a kitchen island electrical outlet is a rewarding weekend project that drastically improves your kitchen workflow. By adhering strictly to the NEC 12-inch height rule, utilizing a 20-amp GFCI like the Leviton GFNT2-W, and ensuring your torque specifications are met, you will create a safe, code-compliant power source. Always remember to pull local permits if your municipality requires them for kitchen circuit extensions, and never hesitate to hire a licensed journeyman if you feel unsure about routing cables through your floor joists.