
Why Homeowners Need to Change Electric Outlet Devices
Upgrading or replacing a standard duplex receptacle is widely considered the gateway project for DIY electrical work. Over time, the internal brass contacts inside a receptacle lose their tension, leading to loose-fitting plugs. This poor connection creates high electrical resistance, which generates excess heat and poses a severe fire hazard. Other common failure modes include cracked faceplates, scorched plastic housings from previous arcing events, or simply updating an older, non-tamper-resistant device to meet modern aesthetic and safety standards.
If you need to change electric outlet hardware in your home, this comprehensive beginner tutorial will walk you through the exact procedures, safety protocols, and National Electrical Code (NEC) requirements you must follow to ensure a safe, long-lasting installation.
Essential Tools and Materials (2026 Pricing)
Before starting, gather the correct tools. Using the right equipment prevents damaged wires and ensures code compliance. Below is a breakdown of the specific models we recommend for this job, along with current retail pricing.
| Tool / Material | Recommended Model | Estimated Cost | Purpose |
|---|---|---|---|
| Tamper-Resistant Receptacle | Leviton 15A Decora (R72-05320-WMP) | $3.50 | Code-compliant standard replacement |
| Non-Contact Voltage Tester | Fluke 1AC-II VoltAlert | $35.00 | Verifying power is completely off |
| Wire Strippers | Klein Tools 11055 | $28.00 | Precision stripping for 14 & 12 AWG |
| Multi-Bit Screwdriver | Milwaukee 48-22-2202 | $15.00 | Removing faceplates and terminal screws |
| Torque Screwdriver | Wiha TorqueVario-S (Set to 14 in-lbs) | $130.00 | Meeting NEC 110.14(D) terminal specs |
Note: While a dedicated torque screwdriver is an investment, the NEC strictly requires terminal screws to be tightened to the manufacturer's specified torque. For a 15A Leviton receptacle, this is typically 14 in-lbs. If you lack a torque driver, tighten the screw firmly until it seats, then give it an additional quarter-turn, but avoid over-torquing which can strip the brass threads.
Pre-Installation Safety Protocol
Electrical work is unforgiving. According to the Electrical Safety Foundation International (ESFI), hundreds of fatal electrocutions occur in homes annually, many involving DIYers who failed to properly verify de-energized circuits. Never rely solely on a wall switch or a smart home app to confirm a circuit is dead.
Safety Warning: Always turn off the main circuit breaker controlling the outlet at the service panel. Use a non-contact voltage tester on the receptacle slots, and then test the tester on a known live circuit to confirm the battery and sensor are functioning correctly before and after your check.
Step-by-Step: How to Change Electric Outlet Receptacles
Step 1: Remove the Old Receptacle
- Remove the center screw holding the faceplate and pull the plate away.
- Unscrew the top and bottom mounting screws securing the receptacle yoke to the electrical box.
- Gently pull the receptacle out of the box. Do not yank the wires.
- Pro-Tip: Take a clear photograph of the existing wiring configuration with your smartphone before disconnecting anything. This is your fallback reference.
Step 2: Inspect and Prepare the Wires
Examine the exposed copper and insulation. If the wire insulation is heavily nicked, cracked, or shows signs of thermal melting, you must snip the damaged portion off and re-strip the wire. Using your Klein Tools wire strippers, strip exactly 3/4 of an inch of insulation. Most modern receptacles feature a physical 'strip gauge' molded into the back of the plastic housing—use this to verify your strip length. Exposed copper outside the terminal screw creates a shock hazard, while too little copper inside the terminal causes a high-resistance connection.
Step 3: Identify the Wiring Configuration
In a standard 120V branch circuit, you will encounter three types of wires:
- Hot (Line): Black or Red insulation. Connects to the Brass terminal screws.
- Neutral: White insulation. Connects to the Silver terminal screws.
- Ground: Bare copper or Green insulation. Connects to the Green terminal screw at the bottom.
Edge Case: If you have two sets of cables (two blacks, two whites, two grounds) entering the box, your outlet is likely part of a daisy-chain circuit or a split-wired setup. If it is a standard daisy-chain, connect both black wires to the two brass screws, and both white wires to the two silver screws using wire nuts and pigtails if necessary.
Step 4: Connect the New Outlet
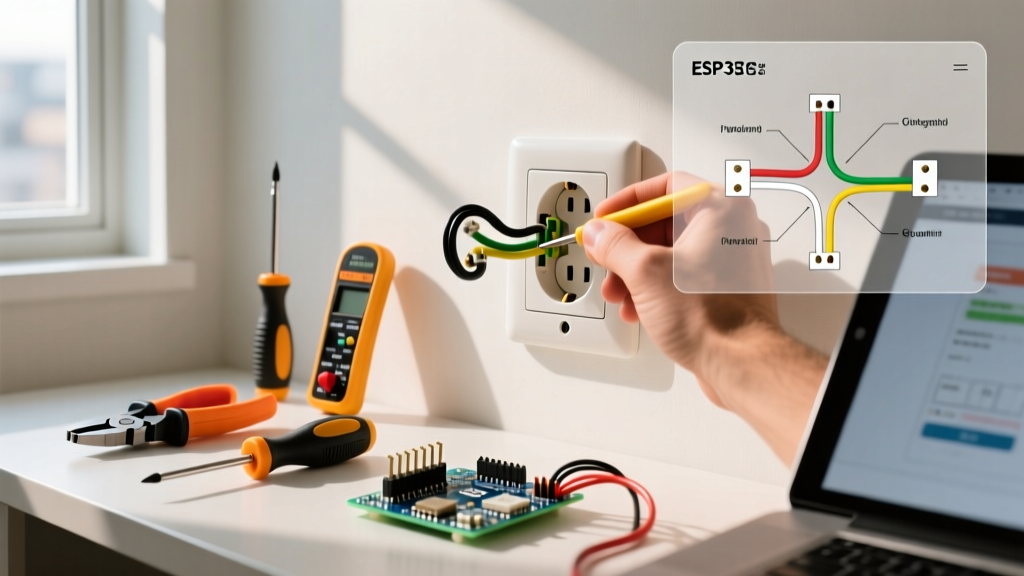
Form a 'J-hook' or 'shepherd's hook' at the end of your stripped wire using needle-nose pliers. Loop the hook clockwise around the terminal screw. This ensures that as you tighten the screw, the loop pulls tighter around the shaft rather than being pushed outward. Secure the ground wire first, followed by the neutral (white to silver), and finally the hot (black to brass).
Step 5: Torque and Mount
Tighten the terminal screws to 14 in-lbs. Carefully fold the wires into the back of the electrical box using an accordion-style fold. Push the receptacle yoke into the box, ensuring it sits perfectly level, and secure it with the provided mounting screws. Attach the faceplate, restore power at the breaker, and test with a standard plug or receptacle tester.
15A vs 20A: Matching the Receptacle to the Wire
A frequent beginner mistake is installing a 20A receptacle on a 15A circuit, or vice versa. The National Fire Protection Association (NFPA) outlines strict rules in the NEC regarding receptacle ratings.
- 15-Amp Circuits (14 AWG Wire): You must use a 15A receptacle (NEMA 5-15R). Both slots are standard vertical slits.
- 20-Amp Circuits (12 AWG Wire): You may use either a 20A receptacle (NEMA 5-20R, which features a T-shaped neutral slot) OR a standard 15A receptacle. However, if the circuit serves only a single receptacle, it must be rated for 20A.
Critical Beginner Mistakes to Avoid
According to data from the U.S. Consumer Product Safety Commission (CPSC), faulty electrical outlets and aging wiring are leading causes of residential structure fires. Avoid these common pitfalls:
- Using 'Backstab' Push-In Connectors: Many cheap receptacles feature holes on the back where you simply push the stripped wire in. Never use these. They rely on a small spring-loaded metal wedge that loosens over time due to thermal expansion and contraction, leading to arcing and fires. Always use the side screw terminals.
- Reversed Polarity: Swapping the hot and neutral wires (black to silver, white to brass). While the appliance will still turn on, the internal fuse and switch mechanisms of the appliance will no longer disconnect the live voltage, creating a severe shock hazard if the device is opened or shorted.
- Breaking the Fin Unnecessarily: Between the two brass screws and the two silver screws, there is a small metal break-off fin. If you are not intentionally creating a split-wired circuit (where one outlet is switched by a wall switch and the other is always hot), leave these fins intact.
Frequently Asked Questions
Do I need a Tamper-Resistant (TR) outlet?
Yes. As mandated by the NEC and heavily emphasized in 2026 building code adoptions across all 50 states, all 15A and 20A receptacles installed in residential dwellings must be Tamper-Resistant. These feature internal plastic shutters that only open when equal pressure is applied to both slots simultaneously, preventing children from inserting foreign objects.
What if the electrical box has no ground wire?
If you live in an older home (pre-1960s) and open the box to find only two wires (hot and neutral) with no ground, you cannot install a standard grounded receptacle. You must either install a GFCI (Ground Fault Circuit Interrupter) receptacle and label it 'No Equipment Ground', or leave the existing two-prong ungrounded receptacle in place. Consult a licensed electrician for whole-house grounding solutions.