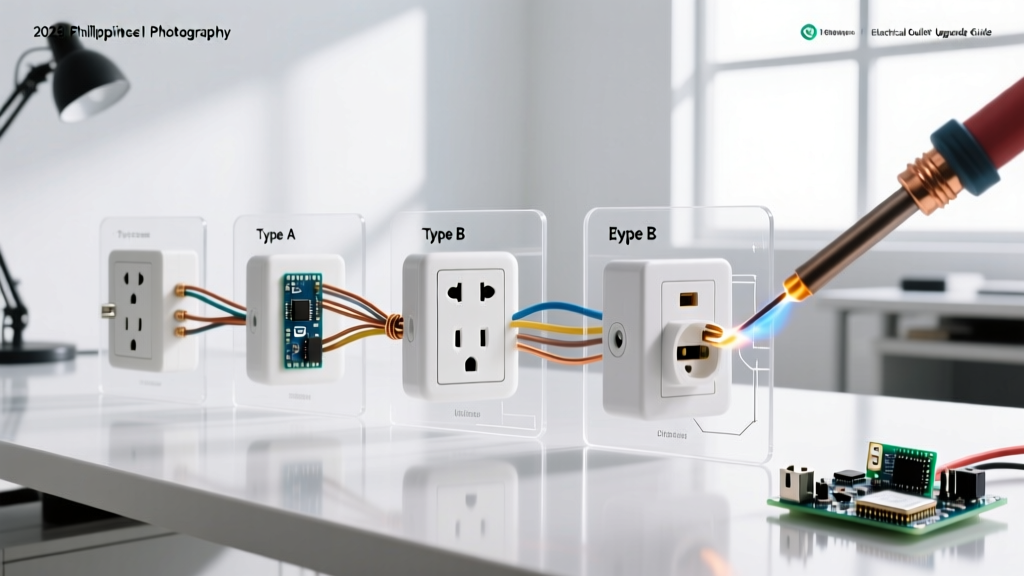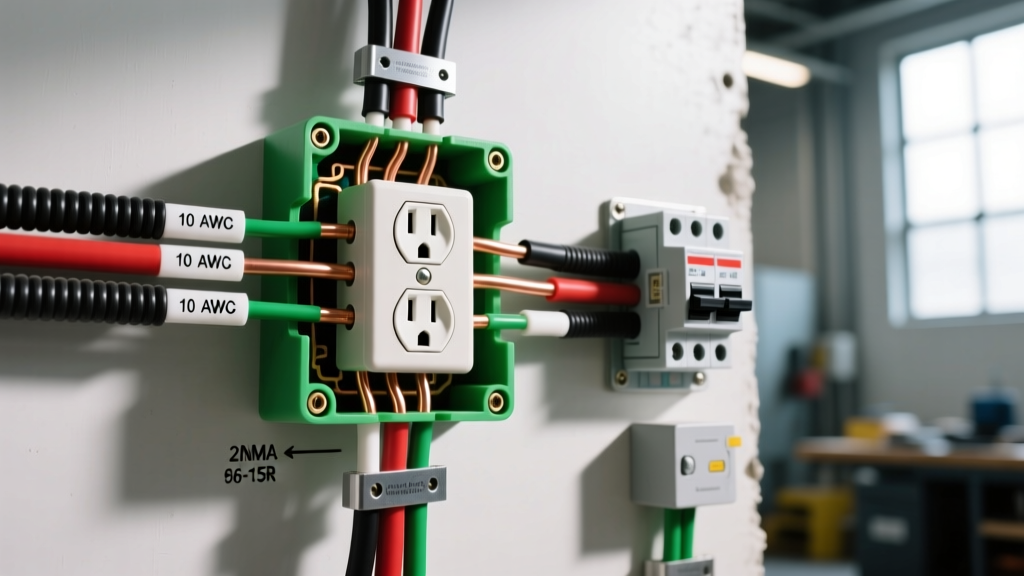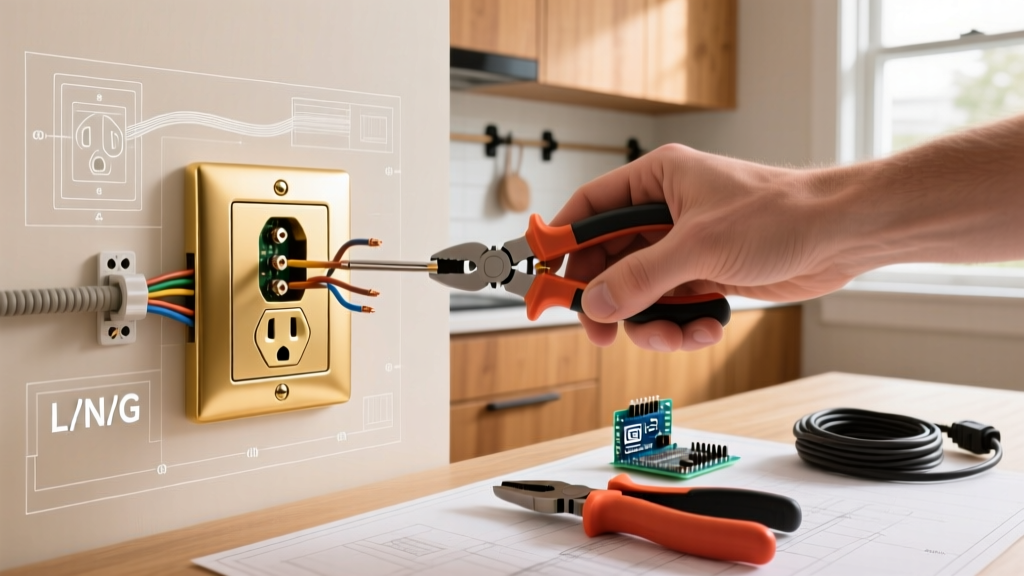

Upgrading your home's hardware is one of the most impactful ways to elevate your interior design, and swapping standard white receptacles for a gold electrical outlet is a trending choice in 2026 luxury renovations. Whether you are matching brass cabinet pulls, vintage light fixtures, or warm-toned wallpapers, designer finishes like brushed gold and antique brass add a bespoke touch to any room. However, beneath the premium metallic faceplate lies a standard 15-amp or 20-amp electrical device that requires precise, code-compliant wiring.
This beginner-friendly tutorial will walk you through the exact process of safely replacing a standard duplex receptacle with a premium gold-finished outlet. We will cover essential tools, National Electrical Code (NEC) requirements, and the specific installation quirks of screwless designer wall plates.
Why Choose a Gold Electrical Outlet?
When homeowners search for a gold electrical outlet, they are typically looking for one of two distinct products:
- Designer Aesthetic Receptacles: These feature brass, champagne, or brushed gold faceplates and yokes. Brands like Legrand (radiant® collection) and Leviton (Decora metallic series) dominate this space. They are used to match interior design elements.
- Audiophile Gold-Plated Contacts: These outlets feature internal 24K gold-plated brass contacts designed to reduce oxidation and lower contact resistance for high-end home theater and audio systems. The faceplate itself is usually standard white or black.
This guide focuses on the designer aesthetic receptacle, as it is the most common residential upgrade. According to the National Fire Protection Association (NFPA), any receptacle replacement must adhere to current safety standards, regardless of the cosmetic finish.
Tools and Materials Required
Working with premium hardware requires care to avoid scratching the metallic finish. Gather the following tools before shutting off the power:
- Non-Contact Voltage Tester: Klein Tools NCVT-2 or equivalent (dual-range).
- Wire Strippers: Klein 11055 (for 10-18 AWG solid/stranded wire).
- Screwdrivers: #1 and #2 Phillips, plus a 1/4-inch flathead.
- Torque Screwdriver: Klein 690 (or similar) set to 14 in-lbs for NEC-compliant terminal tightening.
- Designer Gold Outlet: e.g., Legrand radiant 15A Tamper-Resistant Duplex in Brushed Gold (Model RT15TRGCC6).
- Shim Washers & Plaster Ears: Essential for aligning screwless gold faceplates on uneven drywall.
Cost Breakdown: Standard vs. Designer Gold Outlets
| Receptacle Type | Brand / Model Example | Finish | Average Price (2026) |
|---|---|---|---|
| Standard 15A TR Duplex | Leviton T5262-W | White | $1.50 - $2.50 |
| Designer 15A TR Duplex | Legrand radiant RT15TR | Brushed Gold / Champagne | $8.50 - $12.00 |
| Heavy-Duty 20A Spec Grade | Hubbell 5262 Series | Braz (Brass) | $14.00 - $18.00 |
| Audiophile 20A (Gold Contacts) | PS Audio Power Port | White (Internal Gold) | $125.00 - $150.00 |
Step-by-Step Installation Guide
Step 1: Kill the Power and Verify
Locate your main electrical panel and switch off the breaker controlling the room you are working in. Never rely solely on the wall switch. Insert your non-contact voltage tester into both the top and bottom slots of the existing outlet. The Consumer Product Safety Commission (CPSC) strongly advises testing both before and after removing the faceplate to ensure no back-fed voltage is present from a multi-wire branch circuit (MWBC).
Step 2: Extract and Inspect the Existing Wiring
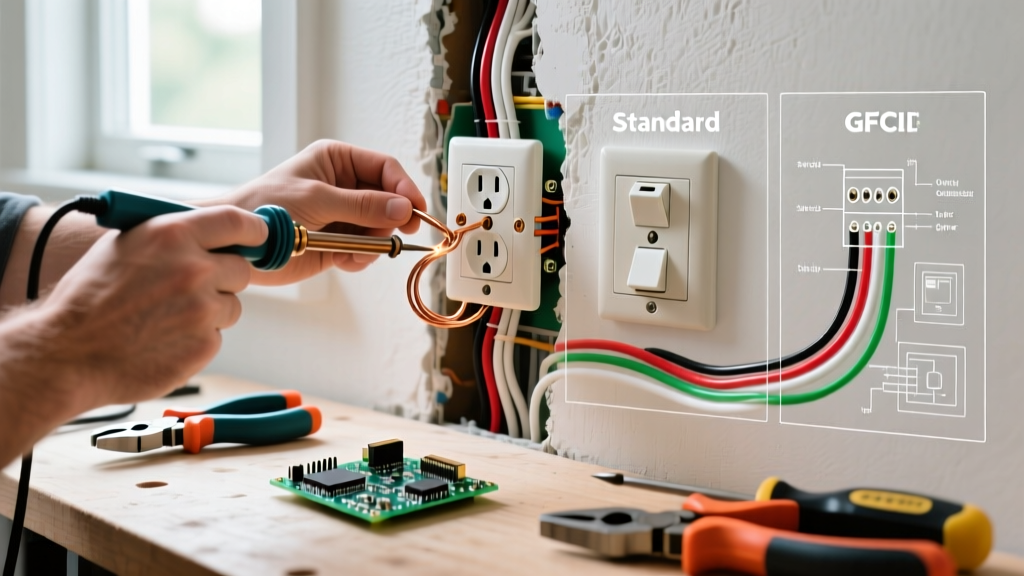
Remove the center screw of the old faceplate, then unscrew the top and bottom mounting screws securing the yoke to the electrical box. Gently pull the receptacle out. Take note of the wire colors and their positions:
- Black (or Red) Wire: The 'Hot' or 'Line' conductor. Connects to the brass-colored screws.
- White Wire: The 'Neutral' conductor. Connects to the silver-colored screws.
- Bare Copper (or Green): The 'Ground' conductor. Connects to the green grounding screw at the bottom.
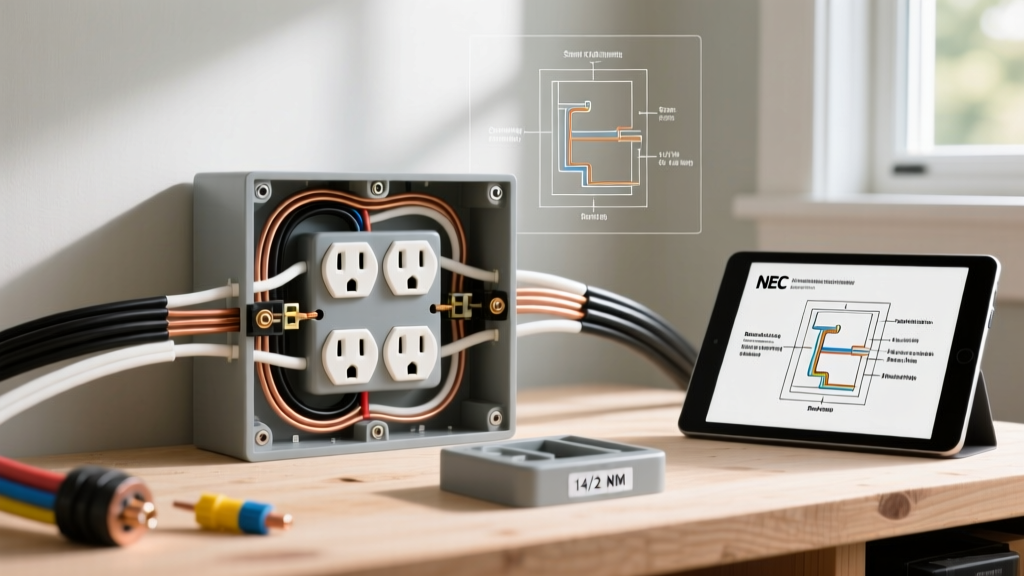
Pro Tip: If you see two black and two white wires, your outlet is likely in the middle of a 'daisy chain' circuit, feeding power to downstream outlets. Keep the pairs separated and use pigtails if the new gold outlet does not support back-wiring multiple conductors.
Step 3: Prep the Conductors for the Gold Receptacle
Premium outlets demand pristine wire terminations. If the existing copper wires are nicked, corroded, or heavily oxidized, snip the ends off with your wire strippers. Strip exactly 1/2 inch (12.7mm) of insulation from the wire. Most Legrand and Leviton devices feature a physical strip gauge molded into the back of the thermoplastic body—use it to ensure consistency. Exposed copper beyond the terminal screw can cause a short circuit against the metal electrical box.
Step 4: Terminate the Connections
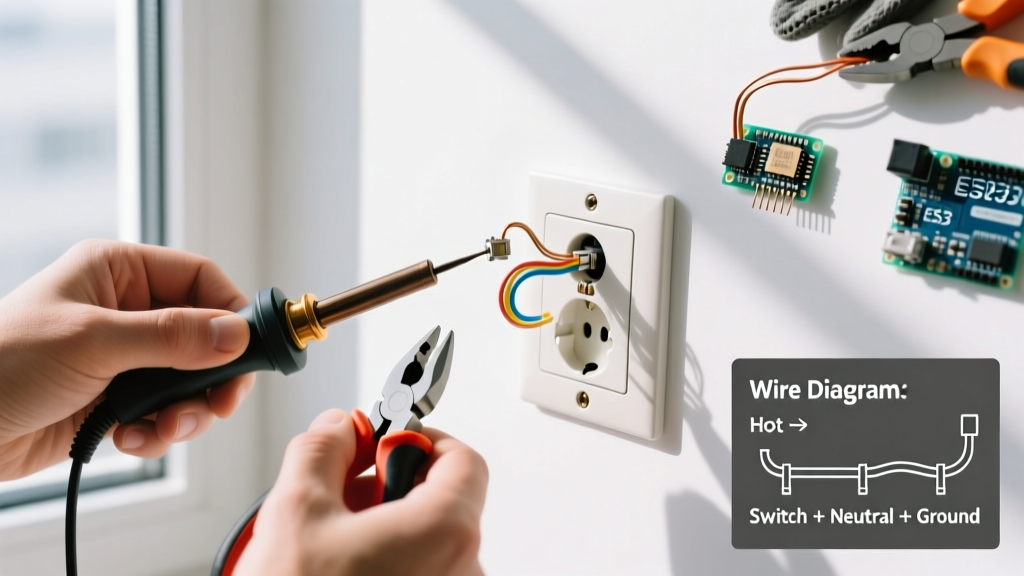
You have two termination options: side-wiring (shepherd's hook) or back-wiring (clamp plate). For a secure, professional connection on a designer gold electrical outlet, we recommend back-wiring with the internal clamp plate if the model supports it. Insert the stripped wire straight into the back hole and tighten the side screw.
If side-wiring, bend the wire into a 'shepherd's hook' using needle-nose pliers. Loop the wire clockwise around the brass or silver screw. This ensures that as you tighten the screw, the loop closes tighter rather than being pushed outward. Use your torque screwdriver set to 14 in-lbs to secure the connection. The U.S. Department of Energy notes that proper torque prevents arcing and thermal expansion issues that lead to electrical fires.
Step 5: Mount and Align the Designer Faceplate
This is where beginners struggle with gold and brass outlets. Designer collections often use screwless snap-on faceplates. These require a plastic subframe to be screwed into the wall first, with the metallic gold plate snapping over it.
Critical Alignment Warning: If your drywall is uneven or the electrical box is recessed more than 1/4 inch, the screwless gold faceplate will not sit flush and may snap or bow. Use cataloged shim washers (like Legrand Model 325) behind the subframe yoke to bring it perfectly flush with the wall surface before snapping on the gold cover.
Fold the wires neatly in a Z-pattern behind the outlet, push the yoke into the box, and secure it with the provided 6-32 mounting screws. Snap the gold faceplate onto the subframe until you hear a firm click on all four corners.
Common Beginner Mistakes with Designer Outlets
- Scratching the Finish: Using a magnetic screwdriver tip with metal shavings attached can permanently gouge a soft brushed gold finish. Wipe your tools clean and use non-marring plastic pry tools when removing the old plate.
- Ignoring Tamper-Resistant (TR) Codes: Since the 2008 NEC update (and reinforced in 2023/2026 codes), all 15A and 20A residential receptacles must be Tamper-Resistant. Ensure your gold outlet has the 'TR' stamp on the yoke. The internal shutters require equal pressure on both prongs; warn guests that new TR outlets feel slightly 'stiff' when plugging in appliances.
- Mixing 15A and 20A Circuits: If your breaker is 20A (usually a kitchen or bathroom circuit), you must use a 20A receptacle (identified by a T-shaped neutral slot) or a 15A duplex receptacle on a circuit with multiple outlets. Never put a standard 15A plug-configured gold outlet on a dedicated 20A single-receptacle circuit.
Frequently Asked Questions
Can I spray paint a standard white outlet gold?
No. The NEC strictly prohibits painting electrical receptacles. Paint can seep into the internal contacts, creating a high-resistance thermal hazard, and it will void the UL (Underwriters Laboratories) listing of the device. Always purchase a factory-finished gold or brass electrical outlet.
Do gold outlets require a special electrical box?
No, they fit into standard single-gang or multi-gang electrical boxes. However, because designer snap-on plates are slightly thicker and less forgiving than standard screw-on plates, using a 'deep' or 'extra-deep' electrical box (2.5 inches or more) gives you more room to manage the wires without putting pressure on the back of the yoke.
Will the gold finish tarnish over time?
High-quality architectural finishes, such as Legrand's brushed gold or Leviton's brass, are coated with a clear UV-stable lacquer or PVD (Physical Vapor Deposition) coating. They will not tarnish or oxidize like raw, unlacquered brass hardware, provided you clean them only with a dry microfiber cloth and avoid harsh chemical degreasers.