
Why Upgrading Your Electrical Outlet Hook Up is Critical
The standard 15-amp duplex receptacle has been a staple in residential wiring for decades, but the way we consume electricity has fundamentally changed. Modern kitchens, home offices, and entertainment centers draw significantly more continuous power than homes built in the 1980s or 1990s were designed to handle. Furthermore, the National Electrical Code (NEC) continuously updates safety mandates regarding ground fault and arc fault protection. If your home features two-prong ungrounded outlets, loose-fitting plugs, or outdated push-in backstab wiring, a comprehensive electrical outlet hook up upgrade is not just a cosmetic improvement—it is a critical fire prevention measure.
According to the U.S. Consumer Product Safety Commission (CPSC), electrical receptacles are involved in thousands of residential fires annually, often stemming from degraded internal contacts, improper wire terminations, or overloaded circuits. This guide provides a deep-dive, professional-grade approach to upgrading and replacing your receptacles, ensuring your home meets modern safety and performance standards.
Assessing Your Current Receptacles: When to Upgrade
Before purchasing materials, audit your existing outlets. Look for physical signs of failure and identify the circuit amperage. Here is a diagnostic matrix to help you determine the necessary upgrade path.
| Current Outlet Type | Condition / Symptoms | Recommended Upgrade | Estimated Material Cost |
|---|---|---|---|
| Two-Prong (Ungrounded) | No ground wire present in box | GFCI Receptacle (labeled 'No Equipment Ground') | $18 - $25 |
| Standard 15A Duplex | Plugs fall out easily, scorch marks | Commercial-Grade 15A (e.g., Leviton 5266-SW) | $3.50 - $5.00 |
| Kitchen/Bath 15A | Tripping frequently with high-wattage appliances | 20A GFCI Receptacle (requires 12 AWG wire & 20A breaker) | $20 - $28 |
| Bedroom/Living Area | Standard receptacle, no AFCI breaker | AFCI Receptacle (e.g., Eaton AFTR15) | $28 - $35 |
Essential Tools for a Professional-Grade Hook Up
Skip the cheap multi-tools. A reliable electrical outlet hook up requires precision instruments to ensure secure terminations and verify safety.
- Voltage Tester: Fluke 1AC-II VoltAlert (Non-contact) and a standard 3-prong receptacle tester (e.g., Klein Tools RT250) for post-installation verification.
- Wire Strippers: Klein Tools 11055 (10-18 AWG). Clean strips prevent nicking the copper, which creates weak points that can snap under torque.
- Torque Screwdriver: CDI 1002MFRMHSS or similar. NEC 110.14(D) requires terminations to be tightened to the manufacturer's specified torque.
- Lineman Pliers & Side Cutters: For bending perfect shepherd hooks and trimming excess wire.
Step-by-Step Electrical Outlet Hook Up: The Upgrade Process
Follow this exact sequence to replace a standard duplex receptacle safely and securely.
Step 1: Isolate and Verify Power
Turn off the circuit breaker. Do not rely solely on a non-contact voltage tester; plug in a lamp or use a multimeter to confirm the circuit is entirely dead. Tape the breaker panel door shut to prevent accidental re-energizing while you work.
Step 2: Extract and Inspect the Wiring
Unscrew the existing receptacle and gently pull it from the junction box. Inspect the wire insulation. If the insulation is brittle, cracked, or shows signs of thermal melting, you must cut back the damaged wire and splice in new pigtails using Wago 221 Lever-Nuts or approved wire nuts.
Step 3: Precision Wire Preparation
Strip the insulation to exactly 3/4 inch (19mm). Stripping too little leaves exposed insulation under the terminal plate, causing a high-resistance connection. Stripping too much leaves bare copper exposed outside the receptacle body, creating a short-circuit hazard.
Step 4: The Termination (Back-Wire vs. Side-Wire vs. Push-In)
CRITICAL EXPERT WARNING: Never use the 'push-in' backstab holes found on the rear of builder-grade receptacles. These rely on a small brass spring clip that grips the wire. Over years of thermal expansion and contraction (from current load cycling), these clips loosen, leading to arcing and fires.
The Correct Method: Use screw-clamp back-wiring if the receptacle supports it (common on commercial-grade models like the Leviton 5266). You insert the straight-stripped wire into the rear hole, and tightening the side screw pulls a heavy-duty internal metal plate down onto the wire, creating a massive, secure contact area. If using traditional side-wiring, form a clockwise 'shepherd hook' with your lineman pliers so the tightening screw pulls the loop closed rather than pushing it out.
Step 5: Torque and Secure
Tighten the terminal screws. For 14 AWG copper wire, standard manufacturer torque specs usually hover around 12 to 14 inch-pounds. Use a calibrated torque screwdriver to ensure compliance with NEC 110.14(D). Fold the wires neatly into the box using an accordion fold, ensuring no bare ground wires touch the hot or neutral terminal screws.
Upgrading to Specialized Receptacles
Modern electrical codes require specialized protection in specific areas of the home. Here is how to handle the hook up for advanced devices.
GFCI (Ground Fault Circuit Interrupter) Installation
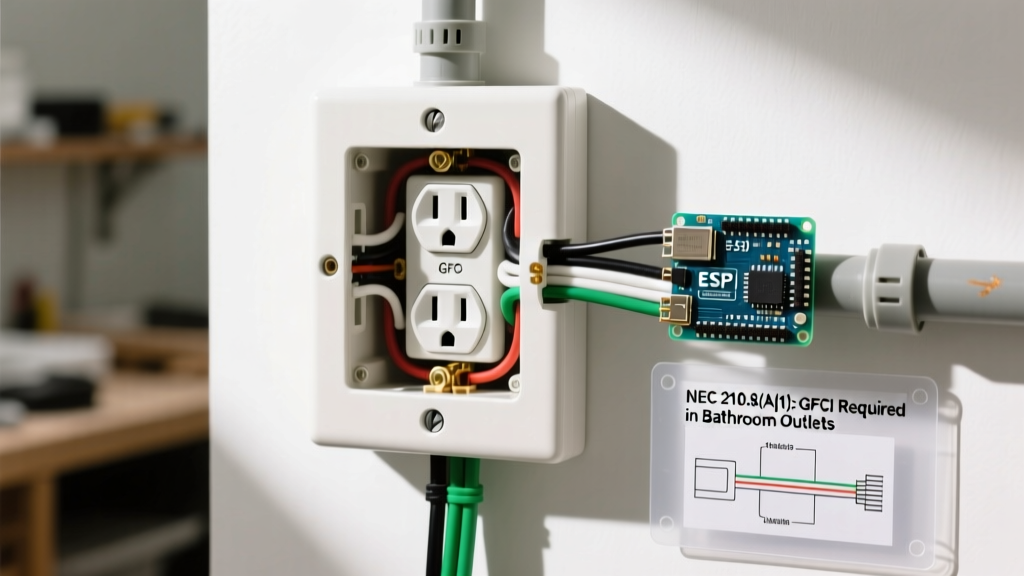
Required in kitchens, bathrooms, garages, and outdoor locations. The most common DIY failure during a GFCI electrical outlet hook up is confusing the LINE and LOAD terminals.
- LINE: Connects to the incoming power from the breaker panel.
- LOAD: Connects to downstream outlets that you want to protect with this single GFCI device.
Pro Tip: If you are only replacing a single outlet and not protecting downstream devices, connect your hot and neutral wires ONLY to the LINE terminals. Leave the LOAD terminals empty and cover them with the included yellow warning tape.
AFCI (Arc Fault Circuit Interrupter) Installation
Required in bedrooms, living rooms, and hallways to detect dangerous parallel and series arcing. AFCI receptacles (like the Eaton AFTR15) are wired similarly to standard duplexes but feature internal microprocessors. Ensure your ground wire is securely bonded to the green grounding screw; AFCI devices require a clean ground reference to accurately sample current imbalances and detect arcing signatures.
Troubleshooting Common Hook Up Failures
If your newly upgraded outlet fails to function correctly, consult this troubleshooting matrix before calling an electrician.
- GFCI Trips Immediately: You likely have a downstream ground fault, or you have reversed the LINE and LOAD connections. Swap the wires and re-test.
- Receptacle Tester Shows 'Open Ground': The bare copper or green wire is not making solid contact with the grounding screw, or the junction box itself is ungrounded and you failed to bond the receptacle to a grounded metal box.
- Receptacle Tester Shows 'Reverse Polarity': The black (hot) and white (neutral) wires are swapped on the brass and silver terminal screws. Turn off the breaker and reverse them.
- Breaker Trips on High Load: You may have installed a 20A receptacle on a 15A breaker circuit, or the circuit is simply overloaded by concurrent appliance use. A 15A breaker will trip at roughly 1800 watts continuous draw.
Frequently Asked Questions (FAQ)
Can I mix 14 AWG and 12 AWG wire on the same outlet?
No. The wire gauge must match the breaker size. 14 AWG wire requires a 15A breaker, while 12 AWG requires a 20A breaker. If you are upgrading a kitchen circuit to 20A for high-draw appliances, the entire circuit run must be 12 AWG. Never place a 20A breaker on a circuit containing 14 AWG wire, as the wire will overheat and melt before the breaker trips.
What if my home has aluminum wiring?
If your home was built in the late 1960s or early 1970s, you may have aluminum branch wiring. Standard copper-rated receptacles will cause galvanic corrosion and eventual fire when connected to aluminum. You must use receptacles specifically marked CO/ALR (Copper/Aluminum Revised), or pigtail the aluminum wire to copper using specialized AlumiConn connectors before hooking up a standard receptacle.
Is it better to daisy-chain outlets or use pigtails?
For standard circuits, daisy-chaining (using both sets of terminals on the receptacle to pass power to the next box) is code-compliant. However, for multi-wire branch circuits (MWBC) or critical circuits, using wire nuts to create 'pigtails' inside the junction box is vastly superior. Pigtailing ensures that if one receptacle is removed or fails, the downstream outlets remain powered.
Final Thoughts on Outlet Upgrades
A proper electrical outlet hook up is about more than just restoring power; it is about establishing a low-resistance, thermally stable, and code-compliant connection that will last for decades. By discarding outdated push-in connectors, utilizing commercial-grade screw-clamp terminals, and adhering to modern GFCI and AFCI mandates, you drastically reduce the risk of electrical fires while future-proofing your home's infrastructure for modern power demands.