
Why Upgrade Your Electrical Receptacles?
Electrical outlets are the most frequently used mechanical components in any home, yet they are often ignored until they fail. Over time, the internal brass contacts in standard builder-grade receptacles lose their tension, leading to loose plugs, arcing, and potential fire hazards. According to the U.S. Consumer Product Safety Commission (CPSC), loose or damaged receptacles are a leading cause of residential electrical fires.
Upgrading your outlets isn't just about safety; it's about supporting modern power demands. If you are integrating smart home hubs, high-draw kitchen appliances, or home office setups, replacing worn 15-amp receptacles with commercial-specification models or upgrading to dedicated 20-amp circuits is a critical home improvement. Furthermore, the National Electrical Code (NEC) now mandates Tamper-Resistant (TR) receptacles in virtually all dwelling areas to prevent childhood injuries from foreign object insertion.
15A vs. 20A Receptacles: Sizing Your Upgrade
Before learning how to install an electrical outlet, you must determine the correct amperage rating for your specific circuit. Installing a 20A receptacle on a 15A circuit is a code violation, while installing a 15A receptacle on a 20A circuit is only permitted if it is a duplex (two-plug) configuration, though a 20A receptacle is always preferred for heavy loads.
| Feature | 15-Amp Receptacle (Standard) | 20-Amp Receptacle (Heavy Duty) |
|---|---|---|
| Wire Gauge Required | 14 AWG (Minimum) | 12 AWG (Minimum) |
| Breaker Size | 15 Amp | 20 Amp |
| Prong Configuration | Two vertical slots | One vertical, one horizontal slot (T-slot) |
| Recommended Model | Leviton Decora 5320-W (TR) | Hubbell HBL5262 (Commercial Spec) |
| Best Use Case | Bedrooms, living rooms, lighting | Kitchens, bathrooms, garages, workshops |
The Professional Tool Kit for Outlet Replacement
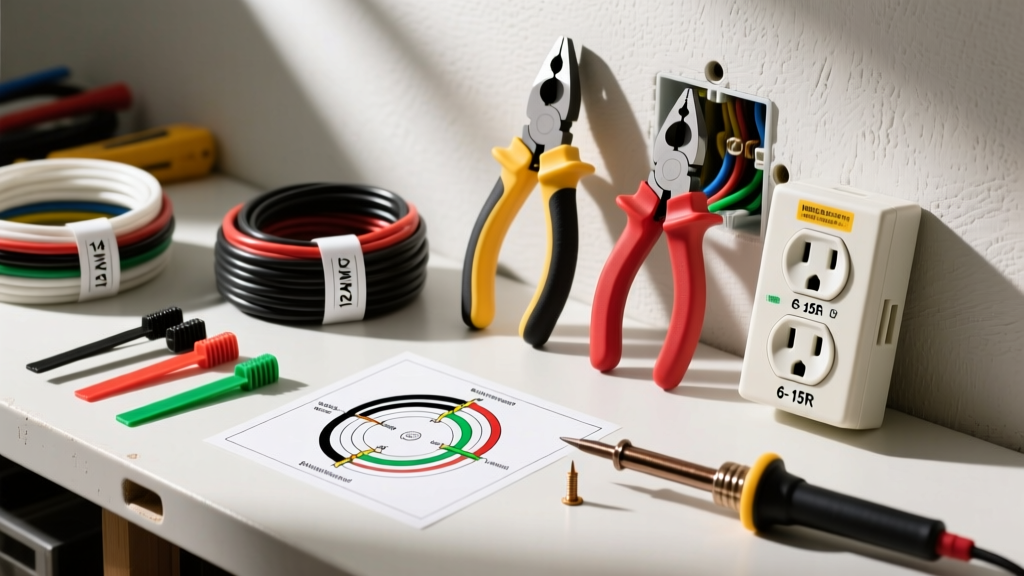
Skip the cheap multi-tools. To ensure a safe, code-compliant installation that passes inspection, you need precision instruments.
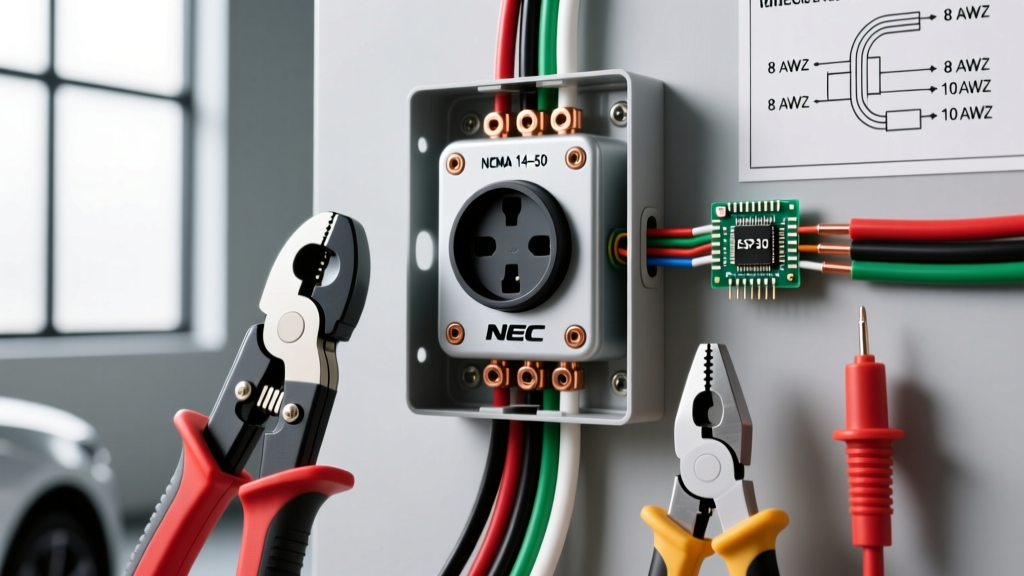
- Non-Contact Voltage Tester: Fluke 1AC-II or Klein Tools NCVT-2. Never rely solely on the breaker panel labels.
- Wire Strippers: Klein Tools 11063W (for 14/12 AWG solid copper). Clean strips prevent copper nicking, which creates weak points that snap under torque.
- Torque Screwdriver: CDI Torque 401SM or Wiha 64502. The NEC now references UL 498, requiring terminal screws to be tightened to the manufacturer's specifications (typically 14 in-lbs for standard receptacles).
- Receptacle Tester: Gardner Bender GRT-930 to verify wiring topology post-installation.
Step-by-Step: How to Install an Electrical Outlet
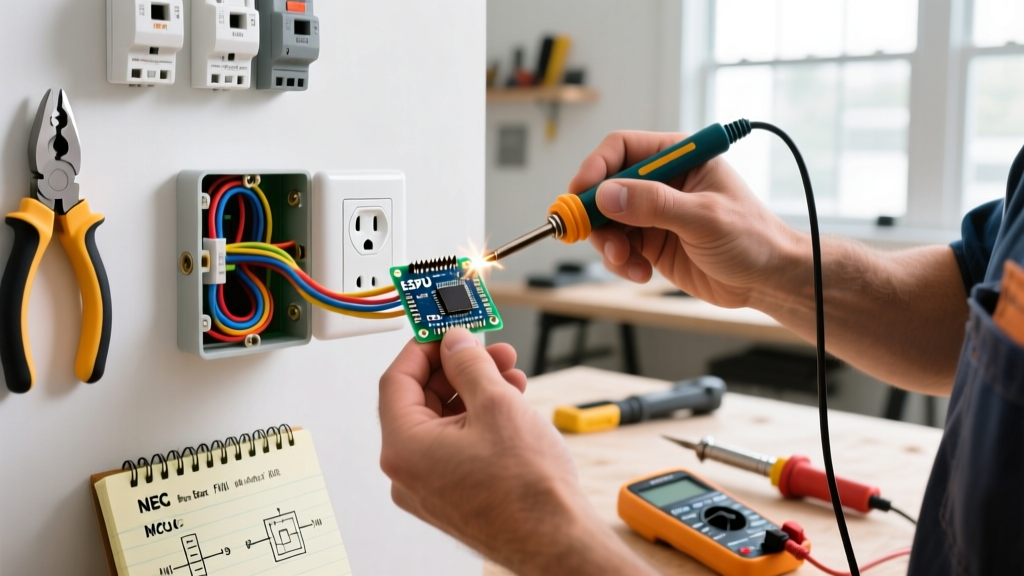
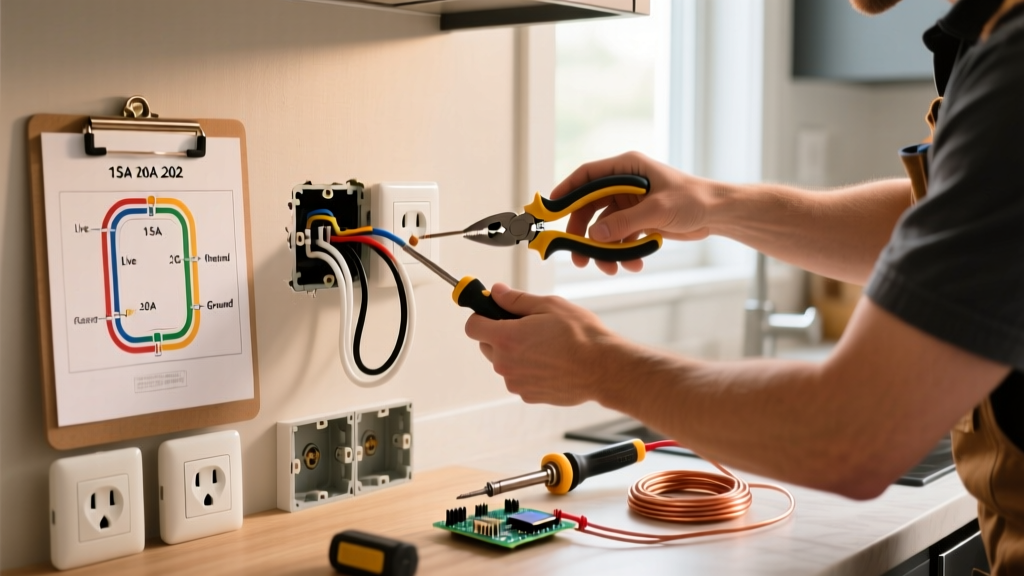
Follow this exact sequence to replace an existing outlet or install a new one in a retrofit box.
Step 1: Kill Power and Verify (LOTO Procedure)
Turn off the circuit breaker. Use your non-contact voltage tester on the top and bottom slots of the existing outlet. Remove the faceplate and test the bare ground wire and the side terminal screws. Always assume a wire is live until proven dead with a tester.
Step 2: Extract and Inspect the Electrical Box
Unscrew the mounting strap and gently pull the receptacle out. Modern TR receptacles and smart plugs require more physical depth. Check your box fill capacity per NEC Article 314. A standard single-gang plastic box holds 18 to 22.5 cubic inches. If you have four 12 AWG cables entering the box, plus pigtails and grounds, you may need to upgrade to a deep 22.5 cu-in box to prevent wire crushing and overheating.
Step 3: Prep the Conductors
Using your Klein 11063W strippers, remove exactly 3/4 inch of insulation from the black (hot), white (neutral), and bare/green (ground) wires. If the existing wire ends are frayed, oxidized, or previously nicked by old strippers, snip them back and re-strip. Clean copper ensures optimal conductivity.
Step 4: Terminate the Wires
Connect the bare ground wire to the green grounding screw. Next, connect the white neutral to the silver terminal, and the black hot wire to the brass terminal. Critical Rule: When using side-wire termination, always loop the wire clockwise around the screw. This ensures that as you tighten the screw (turning clockwise), the loop pulls tighter rather than being pushed out from under the screw head.
Step 5: Torque to Specification
Set your torque screwdriver to 14 in-lbs (or the specific value stamped on the back of the receptacle). Tighten each terminal screw until the driver clicks. Under-torquing causes arcing; over-torquing strips the brass threads or deforms the wire, reducing the contact surface area.
Step 6: Mount and Test
Carefully fold the wires into the box using a specific pattern: grounds first (pushed to the back), then neutrals, then hots. Mount the receptacle using the provided 6-32 machine screws. Do not use drywall screws, as their tapered heads can crack the plaster ears of the yoke. Restore power and test with your GRT-930 receptacle tester to confirm correct polarity and grounding.
Termination Methods: Side-Wire vs. Back-Wire vs. Push-In
Understanding the physical connection types on the back of your new receptacle is vital for long-term reliability.
- Push-In (Stab-In): Found on cheap builder-grade outlets. A small brass spring grips the wire. Expert Verdict: Avoid these entirely. They are notorious for loosening over time due to thermal expansion and contraction, and they cannot be used with 12 AWG wire.
- Side-Wire (Loop): The traditional method of looping stripped wire around a screw. Reliable, but time-consuming and prone to user error if the loop is too large or placed counter-clockwise.
- Back-Wire (Screw-Clamp): Found on commercial-spec receptacles (like the Hubbell HBL5262). You insert the straight-stripped wire into a rear clamp, and tightening the screw pulls a heavy steel plate down onto the wire. Expert Verdict: This is the gold standard. It provides maximum surface area contact, is faster to install, and virtually eliminates loose connections.
Common Edge Cases and Troubleshooting
What if I have a 2-prong ungrounded box?
If you are upgrading an older home with metal clad (MC) cable or BX without a dedicated ground wire, you cannot legally install a standard 3-prong grounded receptacle unless the metal box itself is verified as a continuous ground path back to the panel. If no ground path exists, the NEC allows you to install a GFCI receptacle, but you must label it with the included sticker reading "No Equipment Ground."
The outlet tester shows 'Reversed Polarity'
This means the black (hot) and white (neutral) wires are swapped on the terminals. This is a severe shock hazard, as the outer shell of any plugged-in appliance will be energized. Turn off the breaker, swap the wires so the black is on the brass screw and the white is on the silver screw, and re-test.
Dealing with Multi-Wire Branch Circuits (MWBC)
If you open the box and find two black wires connected to two different breakers (sharing a single white neutral), you have an MWBC. Warning: You must turn off both breakers before working. When replacing the outlet, if you need to break the hot-side fin to split the top and bottom receptacles onto different circuits, ensure the handle-tie on the breaker panel is intact to trip both legs simultaneously.
Pro Tip: When upgrading outlets in kitchens or bathrooms, always verify that the circuit is protected by a GFCI (Ground Fault Circuit Interrupter) or AFCI (Arc Fault Circuit Interrupter) breaker, as mandated by recent NEC updates. If the breaker is standard, the first receptacle in the chain must be a GFCI outlet to protect downstream loads.
Final Thoughts on Receptacle Upgrades
Learning how to install an electrical outlet is a foundational DIY skill, but it requires respect for the physics of electricity and the strictures of the NEC. By investing in commercial-grade TR receptacles, utilizing a torque screwdriver, and favoring screw-clamp back-wiring over push-in terminals, you ensure your home's electrical infrastructure is safe, durable, and ready for the power demands of modern living.