
Why Install a Ceiling Electrical Outlet?
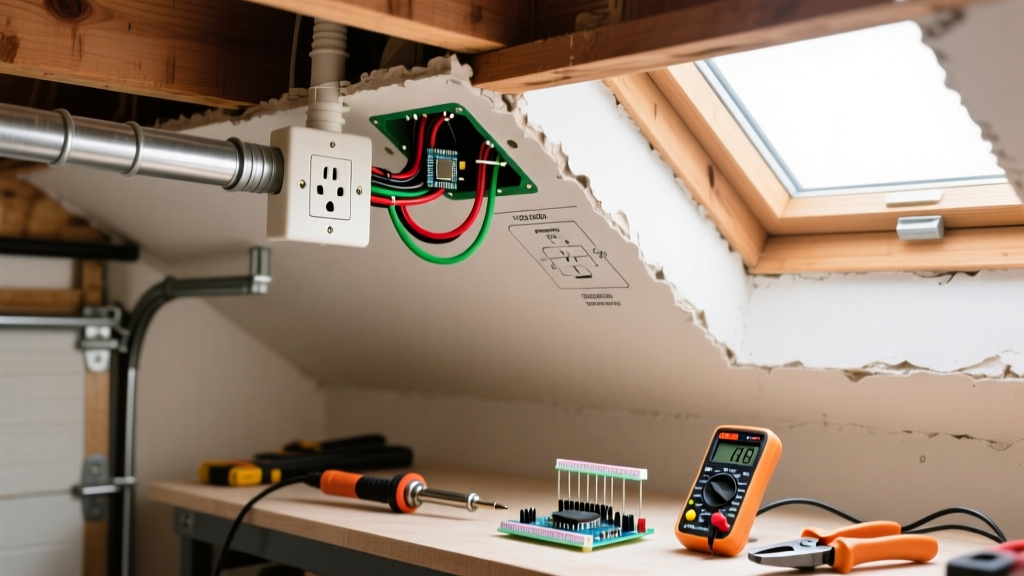
While wall receptacles are the standard in residential wiring, a ceiling electrical outlet serves critical, specialized functions. Homeowners typically install ceiling-mounted receptacles to power garage door openers, attic ventilation fans, workshop pendant lighting, or seasonal holiday displays. Because these outlets are often located in unfinished spaces or damp environments, the installation requires strict adherence to safety codes and specific material choices.
This beginner-friendly tutorial will walk you through the exact process of installing a 15-amp or 20-amp ceiling receptacle, focusing on the most common scenario: adding a dedicated outlet in a garage or attic space. As of 2026, material costs for a basic installation range from $35 to $60, assuming you already have basic hand tools and an accessible circuit.
Critical NEC Code Requirements for Ceiling Receptacles
Before cutting any drywall, you must understand the National Electrical Code (NEC) parameters governing ceiling boxes and receptacle placement. According to the National Fire Protection Association (NFPA), which publishes the NEC, the following rules apply:
- Box Support (NEC 314.27): Ceiling boxes must be securely fastened to the building structure. If you plan to hang a ceiling fan from this box later, it must be rated to support at least 50 pounds. For a simple receptacle, a standard nail-on or retrofit box is sufficient.
- GFCI Protection (NEC 210.8): All 125-volt, single-phase, 15- and 20-ampere receptacles installed in garages, attics, and crawl spaces must have Ground-Fault Circuit-Interrupter (GFCI) protection. You can achieve this by installing a GFCI receptacle at the ceiling or by using a GFCI circuit breaker.
- AFCI Protection (NEC 210.12): Depending on your local jurisdiction's adoption of the latest NEC cycle, bedrooms and living areas require Arc-Fault Circuit-Interrupter (AFCI) protection. If your ceiling outlet extends from a bedroom circuit, an AFCI breaker is mandatory.
⚠️ SAFETY WARNING: Never rely solely on a wall switch to confirm a circuit is dead. The Consumer Product Safety Commission (CPSC) reports that electrical shocks and fires frequently occur when DIYers assume a circuit is off. Always verify with a non-contact voltage tester at the actual wires before touching them.
Tools and Materials Checklist
Using the right materials prevents overheating and ensures a secure mechanical connection. Below is a curated list of professional-grade components suitable for a 2026 installation.
| Item | Recommended Model / Spec | Approx. Cost (2026) |
|---|---|---|
| Ceiling Box | Carlon B618R-UPC (Round, 18 cu. in., New Work) | $3.50 |
| Receptacle | Leviton 5262-SW (15A, 125V, Tamper-Resistant, Spec Grade) | $4.25 |
| Cable | Southwire 14/2 or 12/2 NM-B (Romex) - 25ft coil | $18.00 |
| Voltage Tester | Klein Tools NCVT-3 (Non-Contact Dual Range) | $28.00 |
| Wire Strippers | Klein Tools 11055 (10-20 AWG Solid Wire) | $24.00 |
Step-by-Step Installation Guide
Step 1: Power Down and Verify
Locate your main electrical panel and turn off the breaker supplying the circuit you will be tapping into. If you are running a new circuit, turn off the main breaker. Once the breaker is off, test the wires at the source junction box using your Klein NCVT-3 tester. The LED should remain green (or unlit, depending on the model), indicating zero voltage.
Step 2: Mount the Ceiling Box
For unfinished garages or attics with exposed joists, use a "new work" box with integral nails, such as the Carlon B618R. Position the box against the side of the joist so the front edge will be flush with the finished drywall. Drive the provided nails securely into the wood. Pro Tip: Ensure the box has a minimum volume of 18 cubic inches to accommodate the incoming cable, the outgoing cable (if daisy-chaining), and the receptacle yoke without violating NEC box fill calculations.
Step 3: Run and Secure the NM-B Cable
Feed your 14/2 NM-B cable (for 15A circuits) or 12/2 NM-B cable (for 20A circuits) through the knockout in the ceiling box. Pull at least 8 inches of cable into the box. Secure the cable to the wooden joist using approved cable staples within 8 inches of the box, and every 4.5 feet thereafter, as mandated by NEC 334.30.
Step 4: Strip and Prep the Conductors
Using your wire strippers, carefully remove the outer PVC jacket of the NM-B cable, leaving at least 1/4 inch of jacket inside the box to protect the wire insulation from the box edges. Strip exactly 3/4 inch of insulation from the black (hot), white (neutral), and bare copper (ground) wires. Do not nick the copper conductors, as this creates a weak point that can snap under terminal pressure.
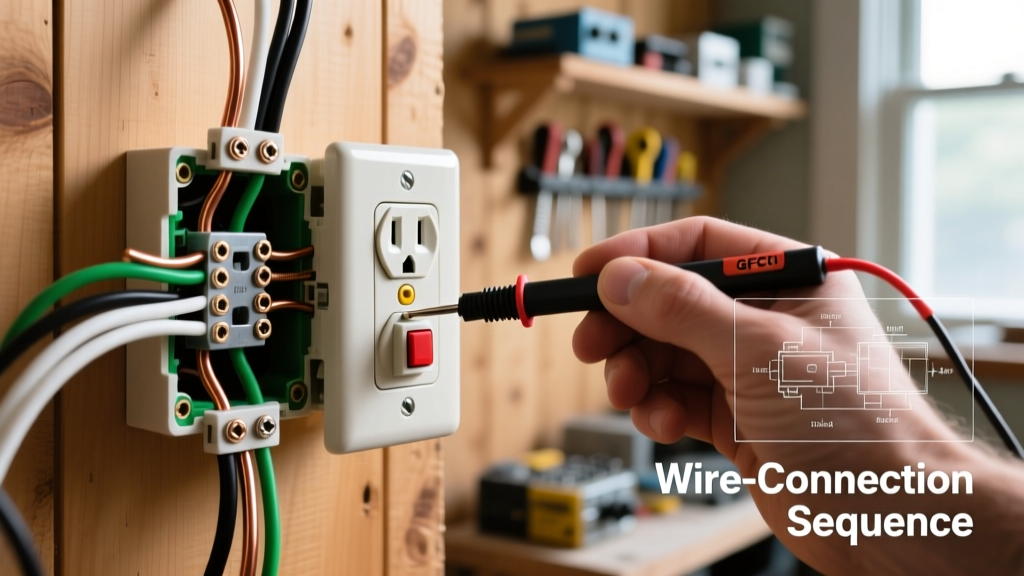
Step 5: Terminate the Receptacle
For a standard Leviton 5262-SW receptacle, you have two wiring options: side-wiring or back-wiring. Back-wiring is highly recommended for beginners.
- Ground: Loop the bare copper wire clockwise around the green grounding screw and tighten. Alternatively, insert it into the green back-wire hole.
- Neutral: Insert the stripped white wire into the back-wire hole located on the side of the receptacle marked "WHITE" or "LINE". Push it in until it seats firmly against the internal brass clamp.
- Hot: Insert the stripped black wire into the back-wire hole on the side marked with brass screws.
Torque Specification: If using the side-terminal screws instead of back-wiring, use a torque screwdriver set to 14 in-lbs to prevent terminal creep and arcing over time.
Step 6: Tuck, Mount, and Test
Carefully fold the wires into the box in a Z-pattern (ground in back, neutral in middle, hot in front) to avoid pinching. Secure the receptacle to the box using the provided 6-32 machine screws. Snap on the cover plate, restore power at the breaker, and test the outlet using a standard 3-prong receptacle tester.
Common Beginner Mistakes and Edge Cases
1. Ignoring Box Fill Calculations
Stuffing too many wires into a shallow ceiling box causes heat buildup. Under NEC 314.16, each 14 AWG conductor counts as 2.0 cubic inches. A standard receptacle yoke counts as two conductors (4.0 cubic inches). Always use deep boxes (18 to 22 cubic inches) for ceiling installations to give yourself room to work.
2. Over-tightening Terminal Screws
Beginners often crank terminal screws until the brass strip bends. This deforms the wire, reduces the contact surface area, and creates a high-resistance connection that will eventually melt the plastic yoke. Stop tightening the moment the wire is snug and cannot be pulled out.
3. Dealing with Pre-1960s Ungrounded Wiring
If you are retrofitting a ceiling outlet in an older home and only have 2-wire ungrounded cable (no bare copper ground), you cannot install a standard 3-prong receptacle. According to NEC 406.4(D), your only legal options are:
- Install a 2-prong receptacle.
- Install a GFCI receptacle and label it "No Equipment Ground" (the GFCI protects against shock even without a ground wire).
- Run a new, separate equipment grounding conductor back to the panel's grounding bar.
Frequently Asked Questions
Can I use a ceiling electrical outlet for a heavy ceiling fan?
No. A standard receptacle box is not rated for the dynamic vibration and weight of a ceiling fan. If you intend to install a fan, you must use a fan-rated ceiling box (like the Carlon B618R-FAN) that is mechanically braced between joists, and you should hardwire the fan canopy directly rather than using a plug-in receptacle.
Do I need a special cover plate for a garage ceiling outlet?
If the garage ceiling is finished with drywall and the space is not subject to direct moisture or hose spray, a standard indoor nylon cover plate is perfectly fine. However, if the outlet is in an unfinished, damp crawlspace or an exposed carport ceiling, you must use an "in-use" weatherproof bubble cover to meet NEC 406.9 requirements.
Is it better to use a GFCI breaker or a GFCI receptacle at the ceiling?
While a GFCI breaker at the panel protects the entire circuit, resetting it requires walking to the electrical panel. If your ceiling outlet is 12 feet high in a garage, resetting a tripped GFCI receptacle at the ceiling is incredibly difficult without a ladder. Therefore, installing a GFCI circuit breaker in the panel is the most practical and user-friendly solution for high-mounted ceiling outlets.