
The Critical Role of Outlet Trim in Electrical Safety
When homeowners and facility managers think about electrical safety, they often focus on the internal wiring, breaker panels, and GFCI mechanisms. However, the trim around electrical outlet assemblies—encompassing wall plates, plaster rings, decorative rosettes, and gap fillers—serves as the vital physical barrier between live electrical components and the environment. In 2026, as smart outlets with integrated Zigbee and Matter radios become standard, the thermal and physical tolerances of outlet trim have become even more critical. Poorly fitted trim can lead to arc flash exposure, moisture ingress, and severe HVAC energy loss.
This comprehensive inspection and testing guide provides master-level protocols for evaluating outlet trim. We will cover exact measurement tolerances, thermal testing methodologies, and National Electrical Code (NEC) compliance standards to ensure your installations are safe, efficient, and up to code.
The Hidden Dangers of Poorly Fitted Outlet Trim
Trim is not merely cosmetic; it is a life-safety component. Failing to properly inspect the trim around electrical outlet boxes can result in three primary hazards:
- Arc Flash and Shock Exposure: Missing or cracked wall plates expose the terminal screws and bare ground wires. According to the U.S. Consumer Product Safety Commission (CPSC), exposed electrical parts are a leading cause of residential shock incidents and electrical fires.
- Thermal Runaway Concealment: Loose connections generate heat. If the trim is made of combustible materials or is improperly seated against drywall, this heat can ignite surrounding paper backing or insulation.
- Moisture and Draft Ingress: Gaps between the drywall and the plaster ring allow conditioned air to escape and humid air to enter the wall cavity, promoting mold growth and increasing energy bills. The U.S. Department of Energy identifies unsealed electrical boxes on exterior walls as a major source of residential air leakage.
Essential Tools for Trim and Gap Inspection
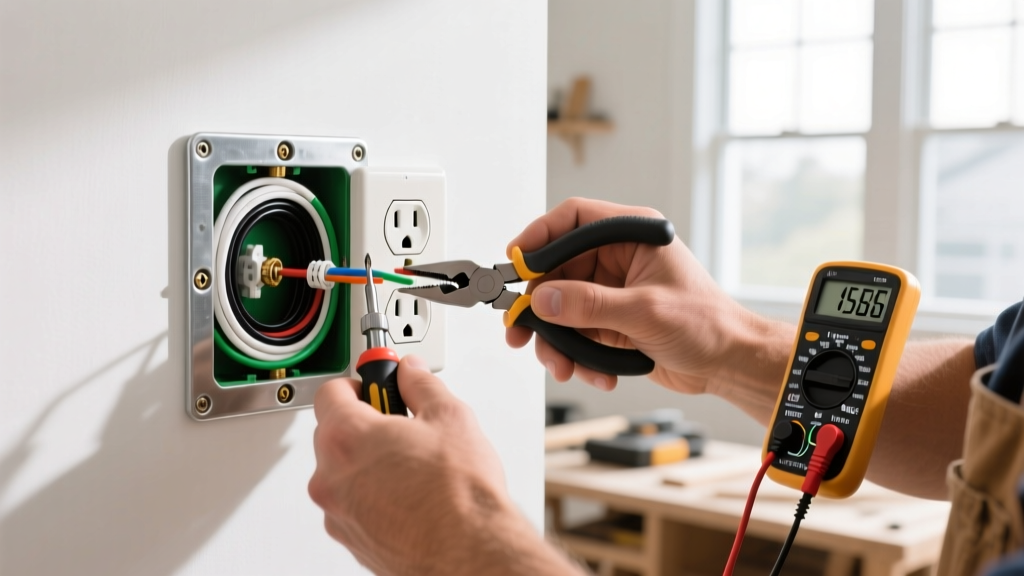
Professional inspection requires precision tools. Relying on visual estimation is unacceptable for code compliance. Below is the required toolkit for a thorough trim inspection in 2026.
| Tool / Equipment | Specific Model Recommendation | Purpose | Est. Cost (2026) |
|---|---|---|---|
| Feeler Gauge Set | TEKTON 0.001-0.025 in. Blade | Measuring exact gap widths between drywall and plaster rings. | $12.00 |
| Thermal Imaging Camera | FLIR C5 or FLIR ONE Edge Pro | Detecting hot spots from loose terminals and cold drafts from gaps. | $450.00 |
| Non-Contact Voltage Tester | Klein Tools NCVT-3IR | Verifying absence of voltage near exposed trim edges without physical contact. | $28.00 |
| Inspection Mirror | General Tools 18 in. Telescoping | Viewing the top and bottom edges of plaster rings behind the wall plate. | $15.00 |
The 4-Step Inspection and Testing Protocol
Follow this systematic workflow to evaluate the integrity of the trim around electrical outlet installations.
Step 1: Visual and Physical Plate Assessment
Begin by inspecting the exterior wall plate. Look for micro-fractures in thermoset nylon or polycarbonate plates. In high-traffic commercial spaces, stainless steel plates (like the Leviton Vycor series) may show edge corrosion. Ensure the plate sits flush against the wall surface. If the plate rocks when pressed, the underlying device yoke (strap) is likely bent, or the drywall is uneven, creating a gap that violates NEC seating requirements.
Step 2: The 1/8-Inch Gap Test (NEC 314.21)
Remove the wall plate to expose the plaster ring (mud ring) and the drywall cutout. Using your feeler gauge, measure the gap between the edge of the electrical box/plaster ring and the drywall. NEC Article 314.21 strictly mandates that gaps in noncombustible surfaces (like drywall or plaster) must not exceed 1/8 inch (3mm). If a 0.125-inch blade slides into the gap, the installation is a code violation and requires immediate remediation. For further reading on box and enclosure requirements, refer to EC&M's guide on NEC enclosure rules.
Step 3: Thermal and Draft Testing
With the wall plate removed, power the circuit back on temporarily and scan the area with a thermal imaging camera. Look for two anomalies:
- Hot Spots: Temperatures exceeding 104°F (40°C) at the terminal screws indicate high-resistance connections that could melt the surrounding trim.
- Cold Drafts: On exterior walls, use a smoke pencil or the thermal camera to detect cold air infiltration around the trim edges. This indicates a failure in the vapor barrier or foam gasket behind the plate.
Step 4: Hardware and Torque Verification
Inspect the 6-32 mounting screws. Are they stripped? Are they too long, bottoming out inside the box and pushing the device forward? Over-tightening these screws is a common error that cracks thermoset trim. Use a precision torque screwdriver set to 12-15 in-lbs to secure the trim without inducing stress fractures.
Expert Insight: In 2026, many electricians are switching to pre-gasketed smart outlet covers. These feature integrated closed-cell foam that compresses to seal gaps up to 3/16 inch, providing a secondary defense against draft ingress even if the drywall cutout is slightly oversized.
Common Code Violations and Edge Cases
During inspections, you will encounter recurring failures. Here is how to identify and classify them:
The 'Floating' Outlet Violation
The Issue: The drywall was cut too deep, and the outlet box is recessed more than 1/4 inch from the finished wall surface. The trim plate bridges the gap, but the device itself is 'floating' in the wall cavity.
NEC Reference: NEC 314.20 requires boxes in combustible surfaces to be flush or project slightly, and in noncombustible surfaces, they can be recessed no more than 1/4 inch.
The Fix: Install a plastic box extender (e.g., Carlon SC100RR, approx. $3.50) to bring the box edge flush with the drywall before applying the trim.
Missing Plaster Rings on Metal Boxes
The Issue: In older commercial renovations, you may find metal mud boxes where the drywall was cut roughly, and the installer simply slapped a standard wall plate over the jagged hole without a plaster ring.
The Hazard: The sharp drywall edges can abrade the wire insulation over time, and the lack of a metal plaster ring removes the grounding continuity path for metal plates.
The Fix: Cut away the damaged drywall to expose the box tabs, install a raised plaster ring, and patch the surrounding drywall.
Remediation Strategies and Material Costs
When the trim around electrical outlet assemblies fails inspection, choose the correct remediation path based on the severity of the gap.
| Gap Severity | Measurement | Recommended Remediation | Material Cost per Outlet |
|---|---|---|---|
| Minor Gap | 1/8 in. to 1/4 in. | Install a gap-filler trim ring (e.g., Leviton 325-W) behind the standard wall plate. | $0.15 - $0.30 |
| Moderate Gap | 1/4 in. to 1/2 in. | Use an oversized (Midsize or Jumbo) wall plate. Midsize plates add 3/16 in. to width/height. | $4.50 - $8.00 |
| Severe Gap / Recessed Box | > 1/2 in. or Recessed > 1/4 in. | Install a telescoping box extender and patch surrounding drywall with setting-type compound. | $5.00 - $15.00 |
Frequently Asked Questions
Can I use caulk to seal the gap between the drywall and the outlet box?
No. Standard latex or silicone caulk is not an approved firestop material for electrical boxes unless it is specifically rated as an intumescent firestop sealant (like 3M Fire Barrier Sealant). Furthermore, caulk makes future maintenance and device replacement messy and difficult. Always use mechanical gap fillers or box extenders to address trim gaps.
Do decorative rosettes and wood trim blocks require special inspection?
Yes. When installing outlets in wood paneling, log cabins, or using decorative wood rosettes, the wood is considered a combustible surface. NEC 314.20 requires the box to extend to the finished surface or project slightly. The trim around electrical outlet assemblies in these environments must sit perfectly flush to prevent heat from escaping into the combustible wood grain.
How often should outlet trim be inspected in commercial facilities?
Under standard preventative maintenance schedules (such as NFPA 70B recommendations), visual inspections of wall plates and trim should occur annually. However, in high-vibration environments (e.g., manufacturing floors) or high-moisture areas (e.g., commercial kitchens), trim and gasket integrity should be tested bi-annually to ensure the IP rating of the enclosure is maintained.
Final Thoughts on Trim Integrity
Inspecting the trim around electrical outlet boxes is a hallmark of professional craftsmanship and rigorous safety standards. By utilizing precision feeler gauges, thermal imaging, and a strict adherence to NEC 314.21 and 314.20, electricians and inspectors can eliminate hidden fire hazards and energy leaks. Never compromise on the final millimeter of an installation; the trim is the shield that protects both the electrical system and the building's occupants.