
Bridging the Gap Between Diagram and Reality
An electrical outlet diagram provides the logical roadmap for wiring a receptacle, but a schematic alone cannot guarantee a safe, code-compliant installation. Translating those lines and symbols into a physical, fire-safe connection requires a precise selection of materials, properly rated hardware, and specialized hand tools. As we navigate the 2026 electrical landscape, the National Electrical Code (NEC) has become increasingly stringent regarding termination torque, box fill calculations, and ground-fault protection. According to the National Fire Protection Association (NFPA), improper terminations and undersized wiring remain leading causes of residential electrical fires.
This comprehensive tool and material guide moves beyond basic theory. We will dissect the physical components required to execute standard 15-amp and 20-amp outlet diagrams, split-receptacle configurations, and GFCI setups, providing exact model numbers, current market pricing, and critical installation specifications.
Decoding the Electrical Outlet Diagram: Wire Selection
The most fundamental element in any electrical outlet diagram is the conductor. Standard residential branch circuits rely on Non-Metallic (NM) sheathed cable, commonly known by the brand name Romex. Selecting the correct gauge and jacket type is non-negotiable for passing inspection and preventing thermal overload.
| Cable Type | AWG Gauge | Max Breaker | Jacket Color | Approx. Cost (250ft) | Primary Use Case |
|---|---|---|---|---|---|
| NM-B 14/2 | 14 AWG | 15 Amp | White | $105 - $120 | Standard lighting and 15A living room outlets |
| NM-B 12/2 | 12 AWG | 20 Amp | Yellow | $135 - $155 | Kitchen, bathroom, garage, and outdoor receptacles |
| NM-B 12/3 | 12 AWG (3-wire) | 20 Amp | Orange | $190 - $220 | Split-receptacles and Multi-Wire Branch Circuits (MWBC) |
Expert Insight: While 14 AWG is permissible for 15-amp circuits, many professional electricians exclusively pull 12 AWG (yellow jacket) for all receptacle circuits. The marginal increase in material cost is offset by the physical durability of the thicker copper and the flexibility to upgrade to a 20-amp breaker in the future without rewiring.
Matching Receptacle Hardware to Diagram Symbols
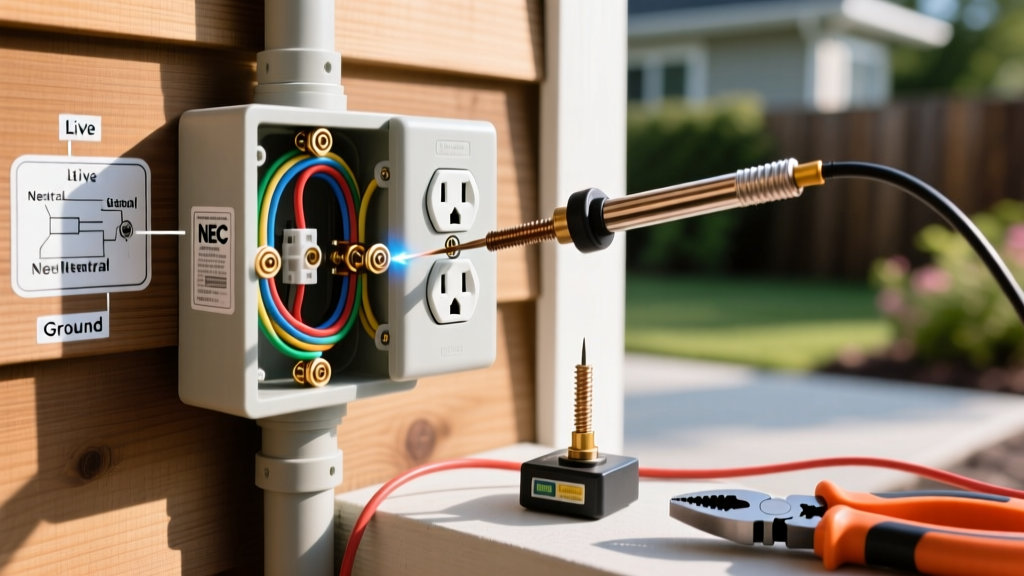
Electrical outlet diagrams use specific symbols to denote standard duplex, ground-fault circuit interrupter (GFCI), and tamper-resistant (TR) receptacles. Sourcing the correct physical hardware is critical.
Standard 20A Tamper-Resistant Duplex
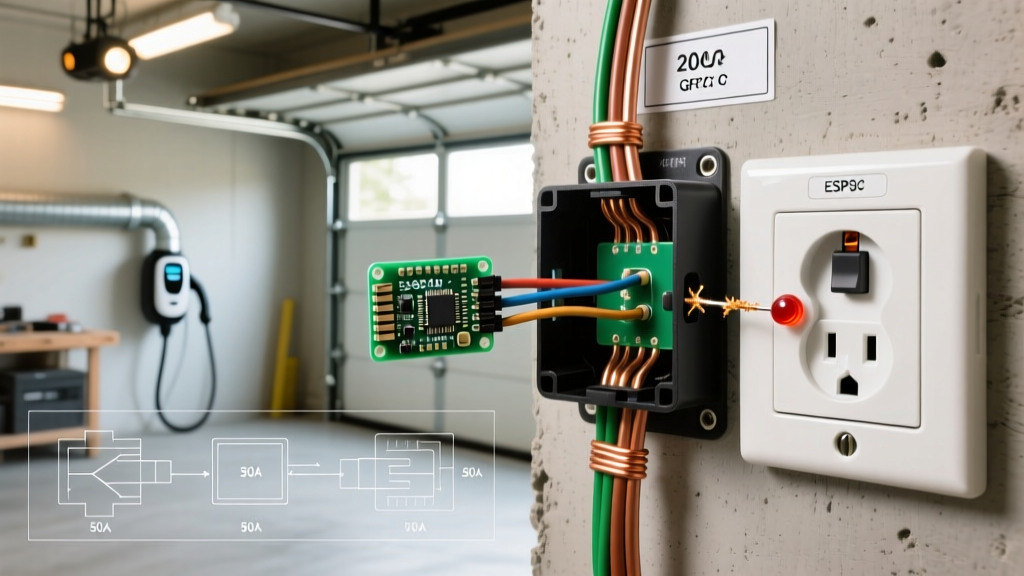
For kitchen and garage diagrams requiring 20A circuits, you must install a 20A receptacle (identified by the T-shaped neutral slot). A highly reliable choice is the Leviton Decora 20A Tamper-Resistant Receptacle (Model T5262), retailing around $3.75. Unlike cheap builder-grade outlets that use push-in backstab connectors—which are notorious for arcing and failing under load—the T5262 features side-wire clamps that securely grip 12 AWG solid copper wire when torqued to specification.
GFCI Receptacles for Wet Locations
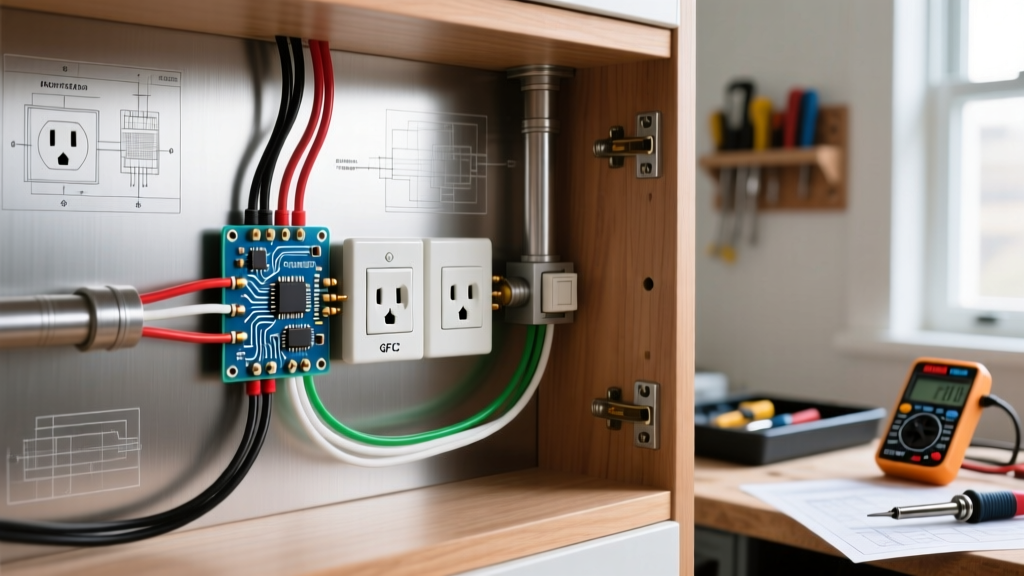
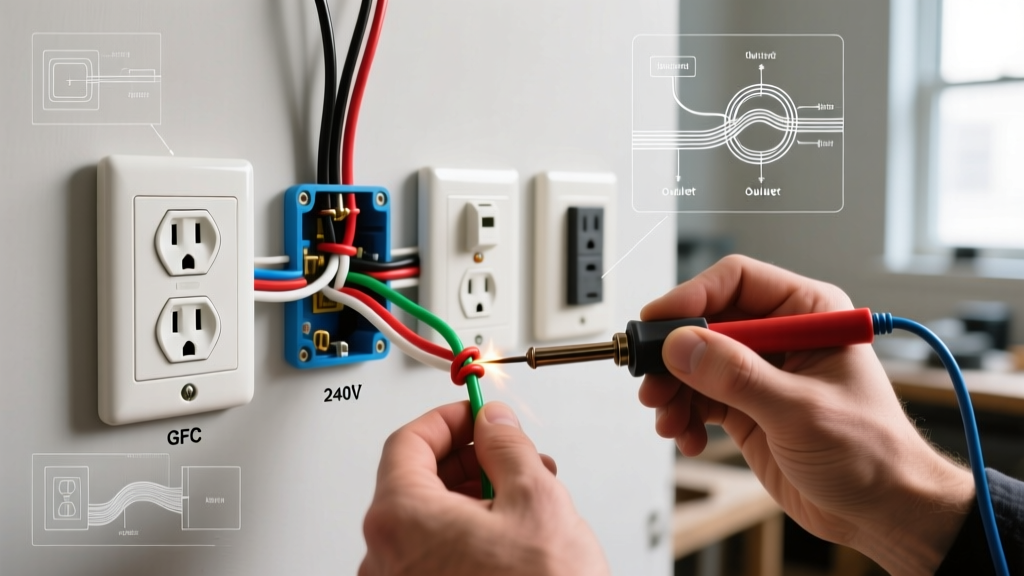
When your diagram indicates a GFCI symbol (often required for bathrooms, exteriors, and within 6 feet of a sink per NEC Article 210.8), the Leviton SmartlockPro 20A GFCI (Model GFNT2-0W0) is an industry standard at approximately $16.50. A common error when following a GFCI electrical outlet diagram is reversing the LINE and LOAD terminals. The LINE terminals connect to the incoming power from the breaker panel, while the LOAD terminals protect downstream standard outlets. Reversing these will leave the receptacle energized but strip all ground-fault protection from the circuit.
The Essential Tool Arsenal for Outlet Wiring
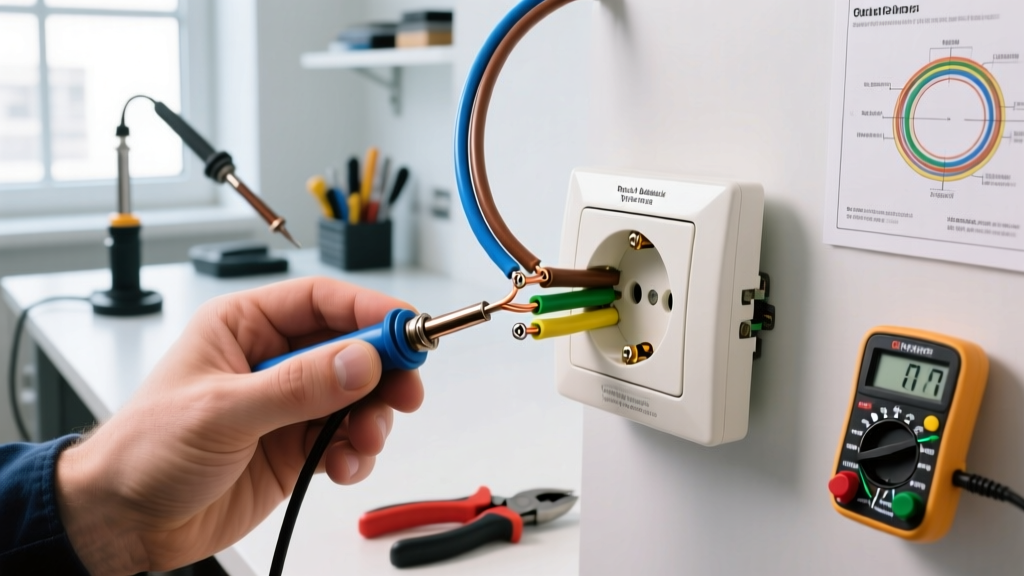
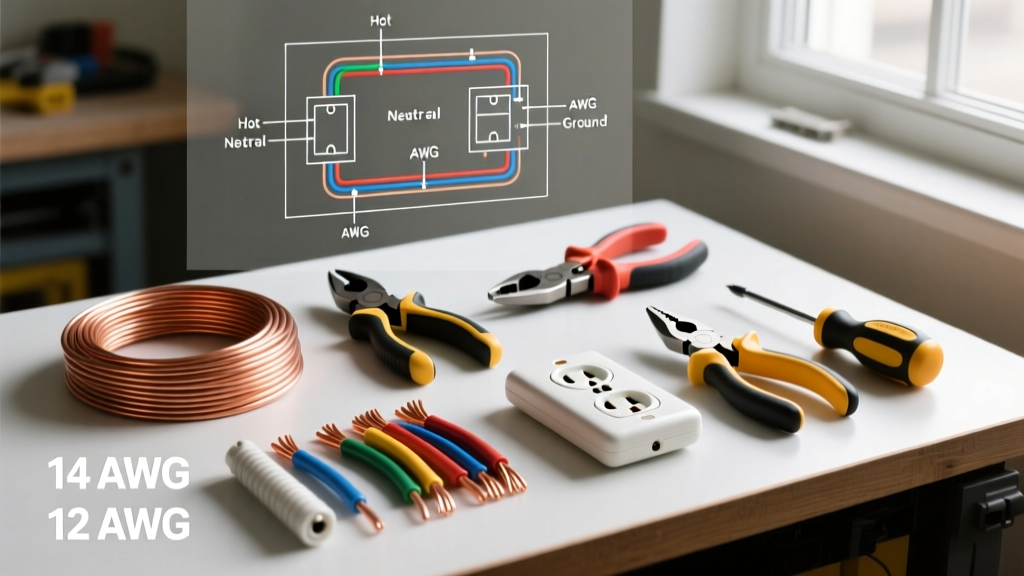
Executing an electrical outlet diagram safely requires more than a basic screwdriver. Modern code compliance demands precision tools that prevent conductor damage and ensure mechanical stability.
- Wire Strippers: The Klein Tools 11055 (approx. $28) features precision-machined stripping holes. When stripping 12 AWG solid copper for a receptacle, use the 12 AWG hole to score the insulation without nicking the copper conductor. A nicked wire creates a microscopic fracture point that can snap under thermal expansion or cause localized resistance heating.
- Torque Screwdriver: NEC 2023 and 2026 Article 110.14(D) strictly mandates that terminations be torqued to the manufacturer's specifications using a calibrated tool. Most standard 15A and 20A receptacles require 14 in-lbs (1.58 Nm) of torque. The Wiha 285T10 Torque Screwdriver (approx. $135) allows you to dial in this exact specification, preventing both loose connections (which cause arcing) and over-tightened screws (which strip the brass threads or crush the wire).
- Non-Contact Voltage Tester (NCVT) & Multimeter: Before touching a single wire, verify the circuit is dead. The Klein Tools NCVT-4IR ($35) tests for AC voltage and infrared temperature, helping you identify if an existing outlet is running hot due to a loose connection before you begin work.
Connectors, Pigtailing, and Box Fill
When an electrical outlet diagram calls for pigtailing (connecting multiple wires together with a short jumper wire to the receptacle), the connector you choose dictates the longevity of the joint.
WAGO Lever-Nuts vs. Traditional Wire Nuts
Traditional twist-on wire nuts, like the Ideal 33 Yellow Wing-Nuts ($0.15 each), have been the standard for decades. However, they require significant hand strength to twist properly and can fail if the installer fails to pre-twist the wires or leaves exposed copper below the skirt.
For modern installations, WAGO 221 Series Lever-Nuts (e.g., the 221-413 for 3 conductors, approx. $0.65 each) are vastly superior. They feature a transparent housing allowing visual confirmation of the wire seat, and the lever mechanism applies a constant, maintenance-free spring pressure on the conductor. They are UL-listed, save immense time, and drastically reduce the risk of a loose neutral pigtail.
Box Fill Warning: When using WAGO connectors or adding pigtails, you must recalculate the box fill per NEC Article 314.16. Each 12 AWG conductor counts as 2.25 cubic inches. A standard single-gang plastic nail box is only 22 cubic inches. If your diagram requires multiple cables entering a single box, you may need to upgrade to a "deep" 25 cubic inch box to remain code-compliant and prevent crushing the wires behind the receptacle yoke.
Edge Cases: Split Receptacles and MWBCs
Advanced electrical outlet diagrams often feature split-receptacles, commonly used in kitchens where the top and bottom outlets are on separate circuits to prevent tripping a breaker when using a microwave and toaster simultaneously.
- The Break-Off Fin: To execute this, you must use a pair of linesman pliers to snap the brass (hot) connecting fin on the side of the duplex receptacle. Never break the silver (neutral) fin unless the diagram specifically calls for an isolated neutral setup, which is rare in residential wiring.
- Multi-Wire Branch Circuits (MWBC): If your split outlet is fed by a 12/3 NM cable (red, black, white, bare), you are wiring an MWBC. The Occupational Safety and Health Administration (OSHA) and the NEC require that both hot breakers be tied together using an approved handle tie (like the Eaton CHMIT, approx. $4.50) or a factory-installed 2-pole breaker. This ensures that if an electrician turns off one breaker to work on the top outlet, the shared neutral wire is not accidentally energized by the still-live bottom outlet, preventing lethal shock hazards.
Final Verification and Testing
Once the physical wiring matches the electrical outlet diagram and the drywall is patched, the final step is verification. Do not rely solely on a $10 plug-in receptacle tester. While useful for a quick sanity check, they cannot detect high-resistance connections or reversed line/load on a GFCI.
Invest in a professional-grade tester like the Amprobe INSP-3 (approx. $110). This device not only verifies wiring topology but also trips the GFCI circuit electronically to verify the internal solenoid is functioning, and measures the exact trip time in milliseconds. According to the U.S. Fire Administration, routine testing and verification of ground-fault and arc-fault devices are critical maintenance steps in preventing residential electrical fires.
Summary Checklist for the Workbench
Before starting your next outlet installation, ensure your cart includes: NM-B cable of the correct gauge, TR-rated receptacles (Leviton T5262 or GFNT2), WAGO 221 lever connectors, a Klein 11055 wire stripper, and a calibrated torque screwdriver set to 14 in-lbs. By pairing a precise electrical outlet diagram with professional-grade materials and code-mandated tools, you ensure an installation that is not only functional but inherently safe for decades to come.