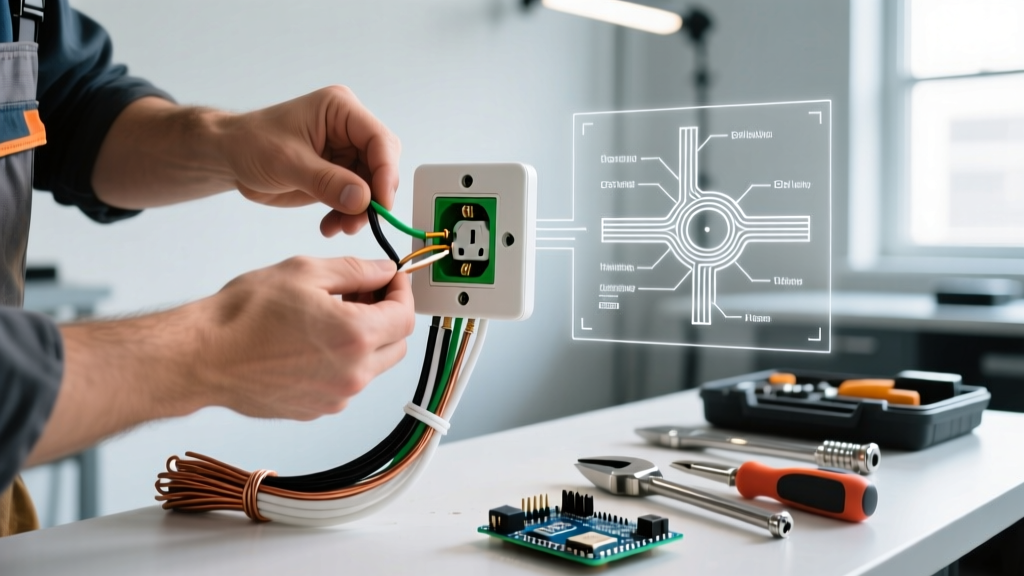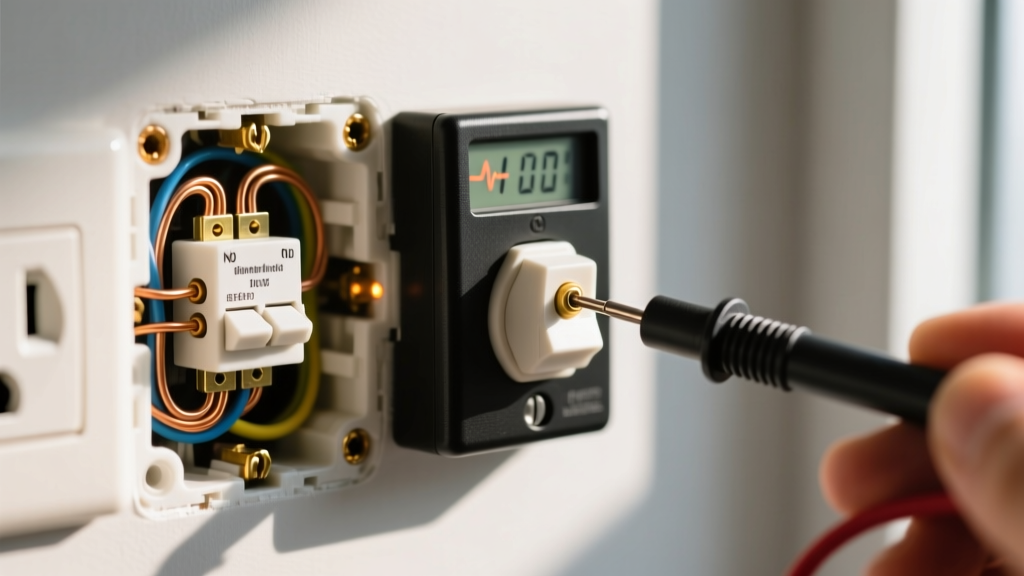

The Critical Role of Proper Outlet Cover Installation
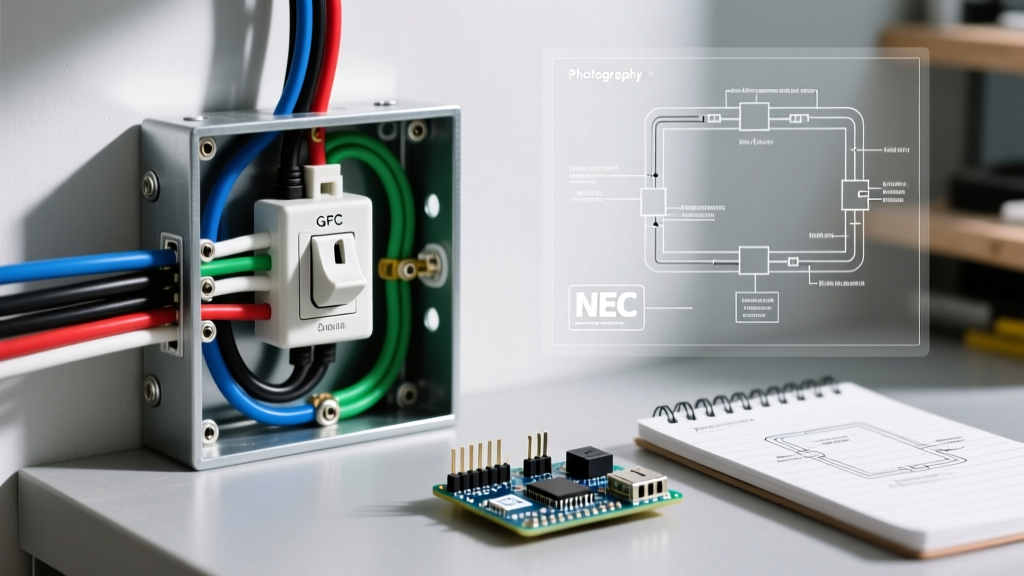
An electrical cover outlet plate is not merely a decorative afterthought; it is a vital life-safety component. It prevents accidental contact with live 120V or 240V terminals, contains potential arc flashes within the junction box, and ensures compliance with the National Electrical Code (NEC). Yet, improper installation—such as using incorrect screw lengths, ignoring recessed box gaps, or failing to seal outdoor enclosures—remains a leading cause of residential electrical shocks and minor fires. According to the National Fire Protection Association (NFPA), proper enclosure and covering of electrical boxes are fundamental to preventing arc-related ignition of surrounding combustible materials.
In this comprehensive 2026 guide, we will walk through the exact step-by-step installation procedures for standard, decorator, and weatherproof electrical cover outlet plates, including advanced troubleshooting for uneven drywall and deep-set boxes.
Essential Tools and Materials
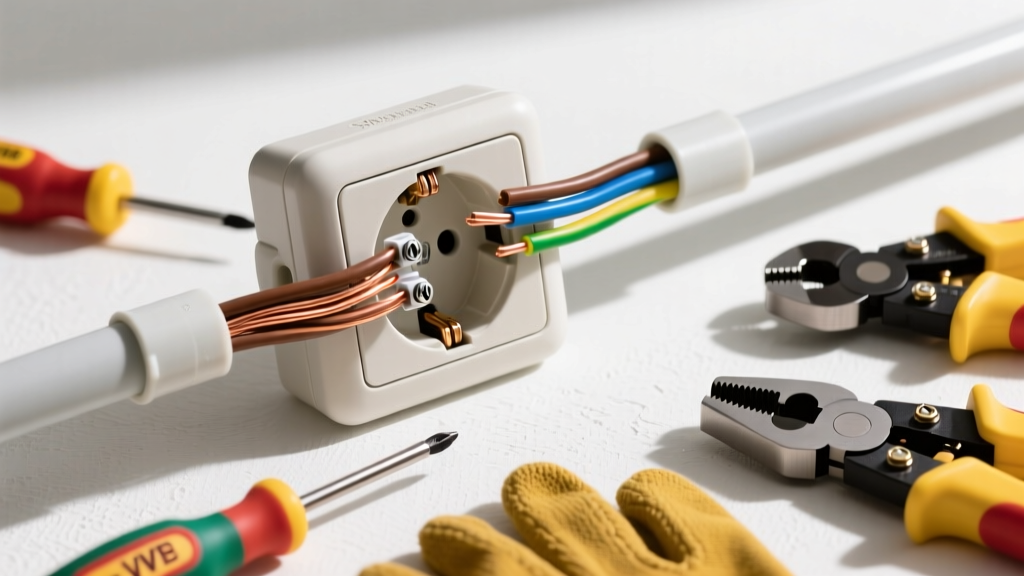
Before beginning, gather the following professional-grade tools. Using the correct tools prevents stripped screws, cracked plates, and false voltage readings.
- Non-Contact Voltage Tester (NCVT): A dual-range tester (e.g., Klein Tools NCVT-2) capable of detecting both low-voltage and standard 120V-240V AC.
- Screwdrivers: #1 and #2 Phillips, plus a 1/8-inch flathead. Magnetic tips are highly recommended.
- Replacement Screws: Standard outlet covers require 6-32 x 1/2-inch machine screws. Never use drywall or wood screws, as they can pierce wire insulation inside the box.
- Box Extenders: Arlington Industries BE1 or equivalent non-combustible extenders for recessed boxes.
- Caulk: 100% silicone or polyurethane exterior sealant for outdoor installations.
Understanding Electrical Cover Outlet Types and Dimensions
Selecting the correct plate ensures a flush fit and proper device operation. Below is a comparison matrix of the most common covers used in modern residential and commercial wiring.
| Cover Type | Standard Dimensions | Primary Use Case | Avg. Cost (2026) |
|---|---|---|---|
| Standard Duplex | 4.5" x 2.75" | Basements, garages, utility rooms | $0.50 - $1.20 |
| Decorator (Rocker) | 4.5" x 2.75" | Living spaces, modern Decora-style receptacles | $1.00 - $3.50 |
| Midway / Jumbo | 5.25" x 3.0" (or larger) | Hiding drywall gaps, crooked box alignments | $1.50 - $4.00 |
| In-Use Weatherproof | 5.0" x 5.5" x 3.0" | Outdoor, damp locations (NEC 406.9) | $12.00 - $25.00 |
Material Science: Nylon vs. Polycarbonate vs. Thermoset
In 2026, polycarbonate has largely overtaken traditional nylon for premium electrical cover outlet plates due to its superior UV stability and impact resistance. Thermoset (Bakelite-style) plates remain the standard for high-heat commercial environments because they will not melt under severe arcing conditions, though they are highly brittle and prone to cracking if over-torqued during installation.
Step-by-Step Installation: Standard and Decorator Plates
Follow these precise steps to ensure a safe, code-compliant, and aesthetically pleasing installation.
Step 1: De-energize and Verify
Navigate to your main electrical panel and switch off the breaker controlling the outlet. Insert a plug-in circuit tester to verify the outlet is dead. Follow up by testing the slots with your NCVT. The U.S. Consumer Product Safety Commission (CPSC) emphasizes that relying solely on wall switches to cut power is a fatal error; always trip the breaker and verify with a tester.
Step 2: Remove the Existing Plate and Inspect
Unscrew the existing cover. Before installing the new one, inspect the gap between the electrical box and the finished wall surface. NEC Article 314.20 mandates that in combustible surfaces (like drywall or wood), the box must be flush or project slightly. If the box is recessed by more than 1/8-inch, you must install a box extender ring to close the gap and prevent heat or sparks from entering the wall cavity.
Step 3: Align and Hand-Thread
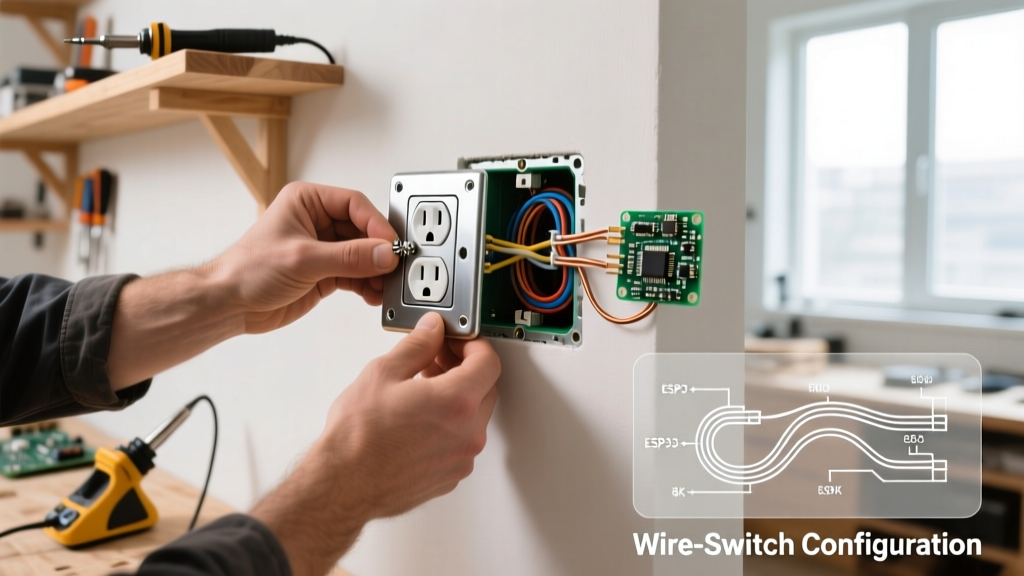
Place the new electrical cover outlet plate over the receptacle. Align the screw holes with the mounting ears on the outlet. Pro Tip: Always hand-thread the 6-32 screws for the first three turns. Outlet mounting ears are often made of soft brass; using a power drill or forcing a cross-threaded screw will strip the ear, requiring a full receptacle replacement.
Step 4: Torque and Level
Tighten the top and bottom screws alternately, applying even pressure. Stop tightening the moment the plate sits flush against the wall. Over-torquing is the number one cause of cracked nylon and thermoset plates. If the outlet sits crooked, loosen the top and bottom device mounting screws (not the cover screws), rotate the receptacle body until level, and retighten.
Troubleshooting Common Installation Edge Cases
Edge Case: The Protruding Box
If the electrical box sticks out past the drywall, a standard flat plate will not sit flush, leaving an unsightly gap. Solution: Use a recessed outlet cover plate (sometimes called a 'beveled' or 'sloped' cover), which features a built-in 1/4-inch to 1/2-inch depth transition to bridge the gap smoothly.
Edge Case: Massive Drywall Cutouts
Contractors sometimes cut drywall holes too large, leaving gaps around a standard 4.5" x 2.75" plate. Solution: Upgrade to an 'Oversized' or 'Jumbo' electrical cover outlet plate. These measure up to 3.5 inches wide and 5.5 inches tall, easily concealing botched drywall work without requiring mudding and repainting.
Installing a Weatherproof 'In-Use' Electrical Cover Outlet
Outdoor installations require strict adherence to NEC Article 406.9(B), which dictates that receptacles in damp or wet locations must be enclosed in a weatherproof enclosure that remains weatherproof even when a cord is plugged in (an 'in-use' or 'bubble' cover).
- Remove the Old Cover: Take off the existing flat or flip-lid weatherproof cover.
- Apply Sealant: Run a continuous bead of 100% silicone caulk around the back edge of the new in-use cover's flange. Critical Code Note: Do not caulk the bottom edge of the flange. This allows condensation or driven rain that enters the enclosure to weep out the bottom, preventing water accumulation inside the box.
- Mount the Enclosure: Secure the cover to the exterior box using the provided corrosion-resistant stainless steel screws.
- Test the Hinge and Latch: Plug in your outdoor equipment (e.g., a pond pump or holiday lighting transformer) and close the bubble lid. Ensure the latch engages fully and the cord exits cleanly through the bottom corrugated gasket.
For reliable outdoor protection, the Taymac MX1000 series and Sigma in-use covers remain the industry benchmarks in 2026, offering robust polycarbonate construction that resists yellowing from UV exposure.
Frequently Asked Questions (FAQ)
Can I paint my electrical cover outlet plates to match the wall?
While paintable covers exist, painting standard plates is generally discouraged. Paint can seep into the receptacle slots, creating a conductive path or a fire hazard. Furthermore, painting over the UL listing mark on the plate can violate local inspection codes. If you must paint, remove the plate, paint it off-site, let it cure for 48 hours, and reinstall it.
Why do my cover plate screws keep stripping?
You are likely using the wrong screw pitch. Standard receptacles and switches use 6-32 screws. However, some heavy-duty 20A commercial receptacles and ground screws use 8-32 or 10-32 threads. Forcing a 6-32 screw into an 8-32 tapped hole will strip the threads immediately. Always verify the thread pitch before driving the screw.
Are metal cover plates safer than plastic ones?
Not necessarily. While metal plates (stainless steel or brass) offer high impact resistance, they are conductive. If a live wire inside the box accidentally touches the back of a metal plate, the entire cover becomes energized, posing a severe shock hazard. Plastic (polycarbonate/nylon) plates are non-conductive, providing an extra layer of dielectric insulation. If you prefer metal plates, ensure the box is properly grounded and the receptacle yoke makes firm contact with the plate.
Final Safety Inspections
After installing your electrical cover outlet plate, restore power at the breaker. Use a standard 3-light receptacle tester to verify correct wiring (checking for open grounds or reversed polarity). Ensure the plate sits flush, does not warp the wall, and that no bare copper ground wires are visible through the cutouts. For further reading on maintaining a safe home electrical system, consult the Occupational Safety and Health Administration (OSHA) guidelines on electrical hazard mitigation, which provide excellent baseline safety practices applicable to both commercial and residential environments.