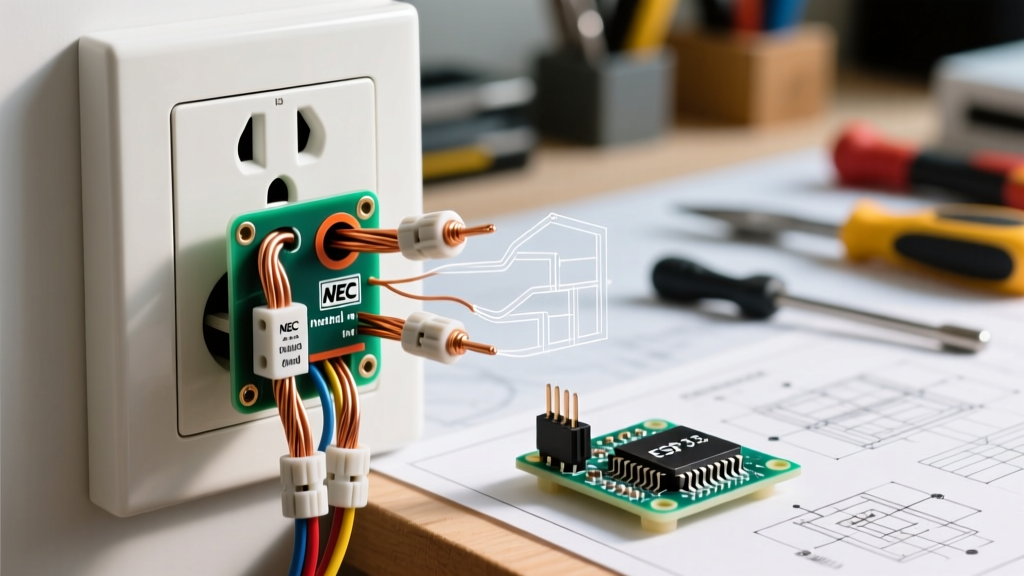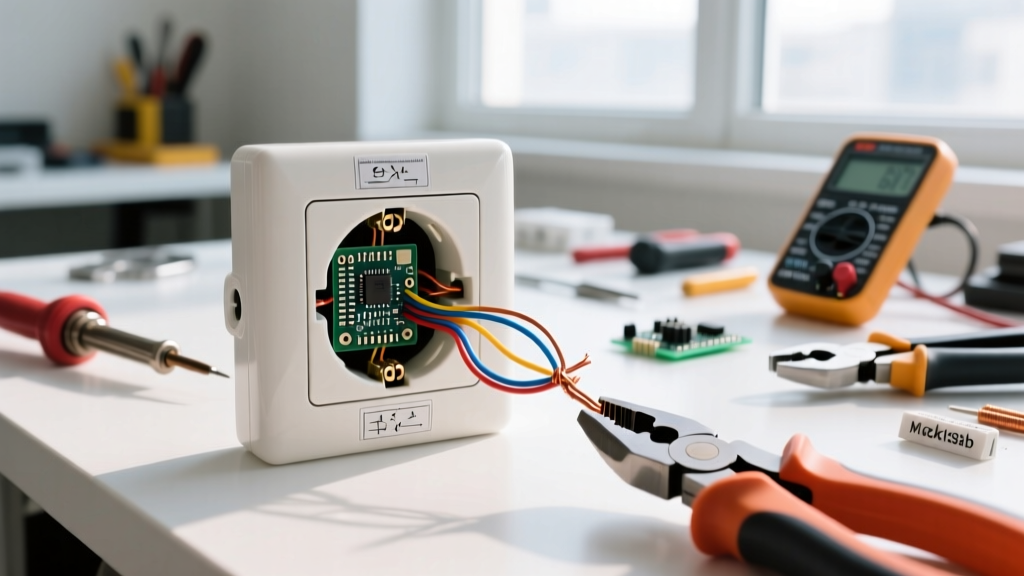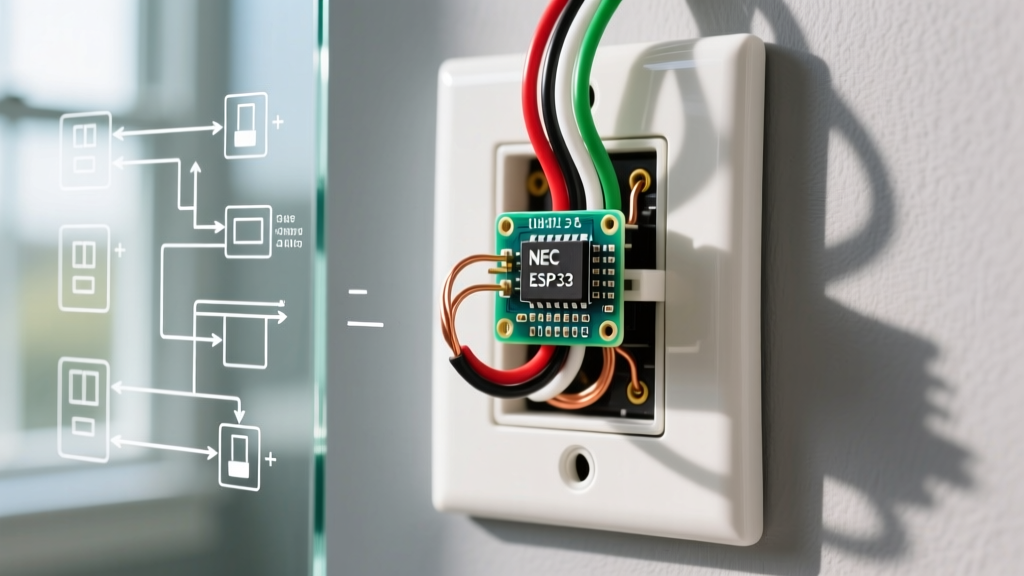

Why Add a New Electrical Outlet to an Existing Circuit?
Relying on daisy-chained power strips and extension cords is one of the leading causes of residential electrical fires. According to the U.S. Consumer Product Safety Commission (CPSC), improper use of extension cords causes over 3,000 house fires annually. If you find yourself constantly unplugging one device to plug in another, adding a new electrical outlet is a permanent, safe, and highly cost-effective solution. For beginners, the most straightforward method is tapping into an existing, nearby receptacle circuit—a process electricians call 'daisy-chaining' or 'extending' a circuit.
This comprehensive tutorial will walk you through the exact process of adding a new electrical outlet to an existing 15-amp or 20-amp branch circuit. We will cover circuit load calculations, precise material costs for 2026, and the National Electrical Code (NEC) standards you must follow to ensure your installation is safe and legal.
Pre-Installation: Tools, Materials, and 2026 Pricing
Before cutting into any drywall, gather professional-grade tools. Cheap tools lead to stripped screws and damaged wire insulation, which are primary failure points in DIY electrical work.
Essential Tool List
- Non-Contact Voltage Tester: Fluke 1AC-II VoltAlert (Approx. $35). Never rely on a cheap, unbranded tester; Fluke's dual-range sensors prevent false 'dead' readings.
- Wire Strippers: Klein Tools 11063W Katapult (Approx. $28). This specific model strips 14 and 12 AWG solid wire without nicking the copper conductor.
- Lineman Pliers: Klein Tools J203-9NE (Approx. $42).
- Drywall Saw & Utility Knife: For cutting the outlet opening and scoring Romex sheathing.
Materials and Cost Breakdown
| Material | Specific Model / Type | Estimated 2026 Cost |
|---|---|---|
| Electrical Box | Carlon B114R-UPC (Single Gang, 14 cu in, Old Work) | $2.15 |
| Receptacle | Leviton T5250-W (15A, 125V, Tamper-Resistant, Duplex) | $1.85 |
| Wiring | Southwire Romex SIMpull 14/2 NM-B (Sold by the foot) | $0.65 / ft |
| Wire Connectors | WAGO 221 Series Lever Nuts (Assortment) | $0.45 each |
| Wall Plate | Leviton 1-Gang Nylon Midway Plate | $1.20 |
Total Material Cost: Typically between $15 and $30, depending on the distance between the existing and new outlet.
Understanding Circuit Load and NEC Compliance
You cannot simply add an outlet to any random wire in your wall. You must verify that the existing circuit has the capacity to handle the additional load. The National Fire Protection Association (NFPA) outlines strict rules in NEC Article 210.23 regarding branch circuit loading.
The 80% Continuous Load Rule
For standard residential circuits, you must calculate the maximum continuous load at 80% of the breaker's rating.
- 15-Amp Circuit (14 AWG wire): Maximum continuous load is 12 Amps (1,440 Watts at 120V).
- 20-Amp Circuit (12 AWG wire): Maximum continuous load is 16 Amps (1,920 Watts at 120V).
Action Step: Identify the breaker powering the existing outlet. Map out every device currently on that circuit. If you are adding an outlet in a living room for a 500W gaming PC and a 300W monitor, ensure the existing devices on that breaker do not exceed 640W (leaving room for the new 800W load on a 15A circuit). Never extend a kitchen, bathroom, or laundry circuit; NEC Article 210.52 requires these to be dedicated, 20-amp small-appliance or laundry branch circuits.
Step-by-Step Installation Guide
Step 1: Kill the Power and Verify
Turn off the breaker controlling the existing outlet. Plug a lamp into the outlet to confirm it is dead. Next, remove the faceplate and use your Fluke 1AC-II non-contact tester on the wires inside the box. Warning: Always test the tester on a known live circuit first to ensure its battery isn't dead.
Step 2: Cut the Drywall and Fish the Cable
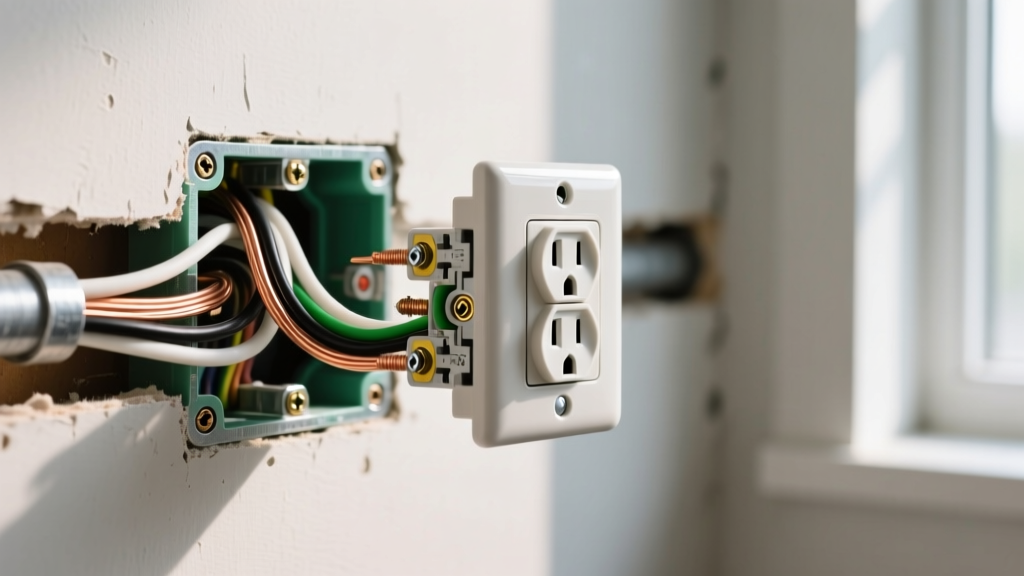
Hold the Carlon old-work electrical box against the wall where you want the new outlet. Trace the outline with a pencil. Use a drywall saw to cut the hole. Check for wall studs or plumbing behind the drywall using a stud finder with AC wire detection. Feed your 14/2 NM-B Romex cable through the wall cavity from the existing box to the new hole. Leave at least 8 inches of cable protruding from both boxes.
Step 3: Strip and Prep the Wires
Using your utility knife, carefully slit the outer yellow (or white) sheathing of the Romex, exposing the individual wires. Strip exactly 3/4 inch of insulation from the black (hot), white (neutral), and bare copper (ground) wires. Do not nick the copper; a nicked wire creates a localized hot spot that can melt insulation over time.
Step 4: Make the Connections (The Pigtailing Method)
While beginners often use the 'pass-through' method (connecting incoming and outgoing wires to the two sets of screws on the receptacle), professional electricians strongly recommend pigtailing. Pigtailing ensures that if the new receptacle fails, it does not interrupt power to downstream outlets.
- Connect the incoming black wire, the outgoing black wire, and a 6-inch black 'pigtail' wire using a WAGO 221 lever nut.
- Repeat the process for the white neutral wires.
- Connect all bare ground wires together with a standard wire nut or WAGO lever nut, and attach a 6-inch bare copper pigtail to the metal box (if metal) or directly to the green ground screw on the new receptacle.
- Attach the black pigtail to the brass (hot) screw on the Leviton receptacle.
- Attach the white pigtail to the silver (neutral) screw.
Step 5: Secure and Test
Fold the wires neatly into the back of the electrical box. Push the receptacle into the box and tighten the mounting screws, ensuring the device sits perfectly level. Attach the faceplate. Turn the breaker back on and test the new outlet with a receptacle tester (like the Klein Tools RT210) to verify correct wiring and grounding.
Wiring Configuration Matrix
Use this quick-reference table to ensure your wires are terminated on the correct receptacle screws. Reversing hot and neutral creates a severe shock hazard, even if the device appears to work normally.
| Wire Color | Function | Receptacle Terminal | Screw Color |
|---|---|---|---|
| Black | Hot (Line/Load) | Shorter Slot | Brass / Gold |
| White | Neutral (Return) | Longer Slot | Silver |
| Bare / Green | Equipment Ground | U-Shaped Pin | Green |
Common Beginner Mistakes and Edge Cases
Expert Insight: The most common DIY failure mode is 'backstabbing'—pushing stripped wires into the quick-connect holes on the back of the receptacle. These spring-loaded connections loosen over time due to thermal expansion and contraction, leading to arcing and fires. Always use the side-binding screw terminals, wrapping the wire clockwise around the screw so that tightening the screw pulls the loop tighter.
Mistake 1: Over-tightening Terminal Screws
While connections must be secure, applying excessive torque with a heavy-duty impact driver can strip the brass threads or crush the copper wire. Use a standard #2 Phillips screwdriver and tighten until the screw is snug and the wire cannot be pulled free. The NEC requires torque screwdrivers for specific high-amperage connections, but for standard 15A receptacles, hand-tightening with firm pressure is the standard practice.
Mistake 2: Exposed Copper at the Terminal
If you strip too much insulation, bare copper will be visible outside the terminal screw head. This creates a shock hazard and increases the risk of a short circuit if the bare hot wire touches the grounded metal box. If you see bare copper outside the screw, cut the wire, re-strip it to exactly 3/4 inch, and reconnect.
Mistake 3: Box Fill Violations
NEC Article 314.16 dictates 'box fill' calculations. A standard single-gang plastic box holds 14 to 18 cubic inches. Every wire, clamp, and device counts toward this volume. If you are cramming four 14/2 cables into a standard 14-cubic-inch box, you are violating code and creating a dangerous heat trap. Always upgrade to a 'deep' 22.5-cubic-inch box (like the Carlon B122R-UPC) if you are splicing multiple cables.
Final Safety Verification
As highlighted by the Electrical Safety Foundation International (ESFI), proper testing is the final, non-negotiable step in any electrical project. Once the outlet is installed and the power is restored, insert a 3-light receptacle tester. Two yellow lights indicate a correctly wired outlet. If the red light illuminates, or if the pattern indicates 'Hot/Neutral Reversed' or 'Open Ground', immediately turn off the breaker, open the box, and audit your connections against the wiring matrix above.
Adding a new electrical outlet is a highly rewarding DIY project that increases the functionality and safety of your home. By respecting circuit load limits, utilizing the pigtailing method, and adhering to NEC termination standards, you will achieve a professional-grade installation that will safely serve your home for decades.